

Introduction
In this article I want to show you how to use our new Retopologised 3D head models to quickly and easily create unique heads for both real-time and offline rendering applications. For this example I'm going to be using Marmoset toolbag mainly because all of the new head scans come with Marmoset scene file with all the shaders, textures and lighting setup.
Creating a unique head
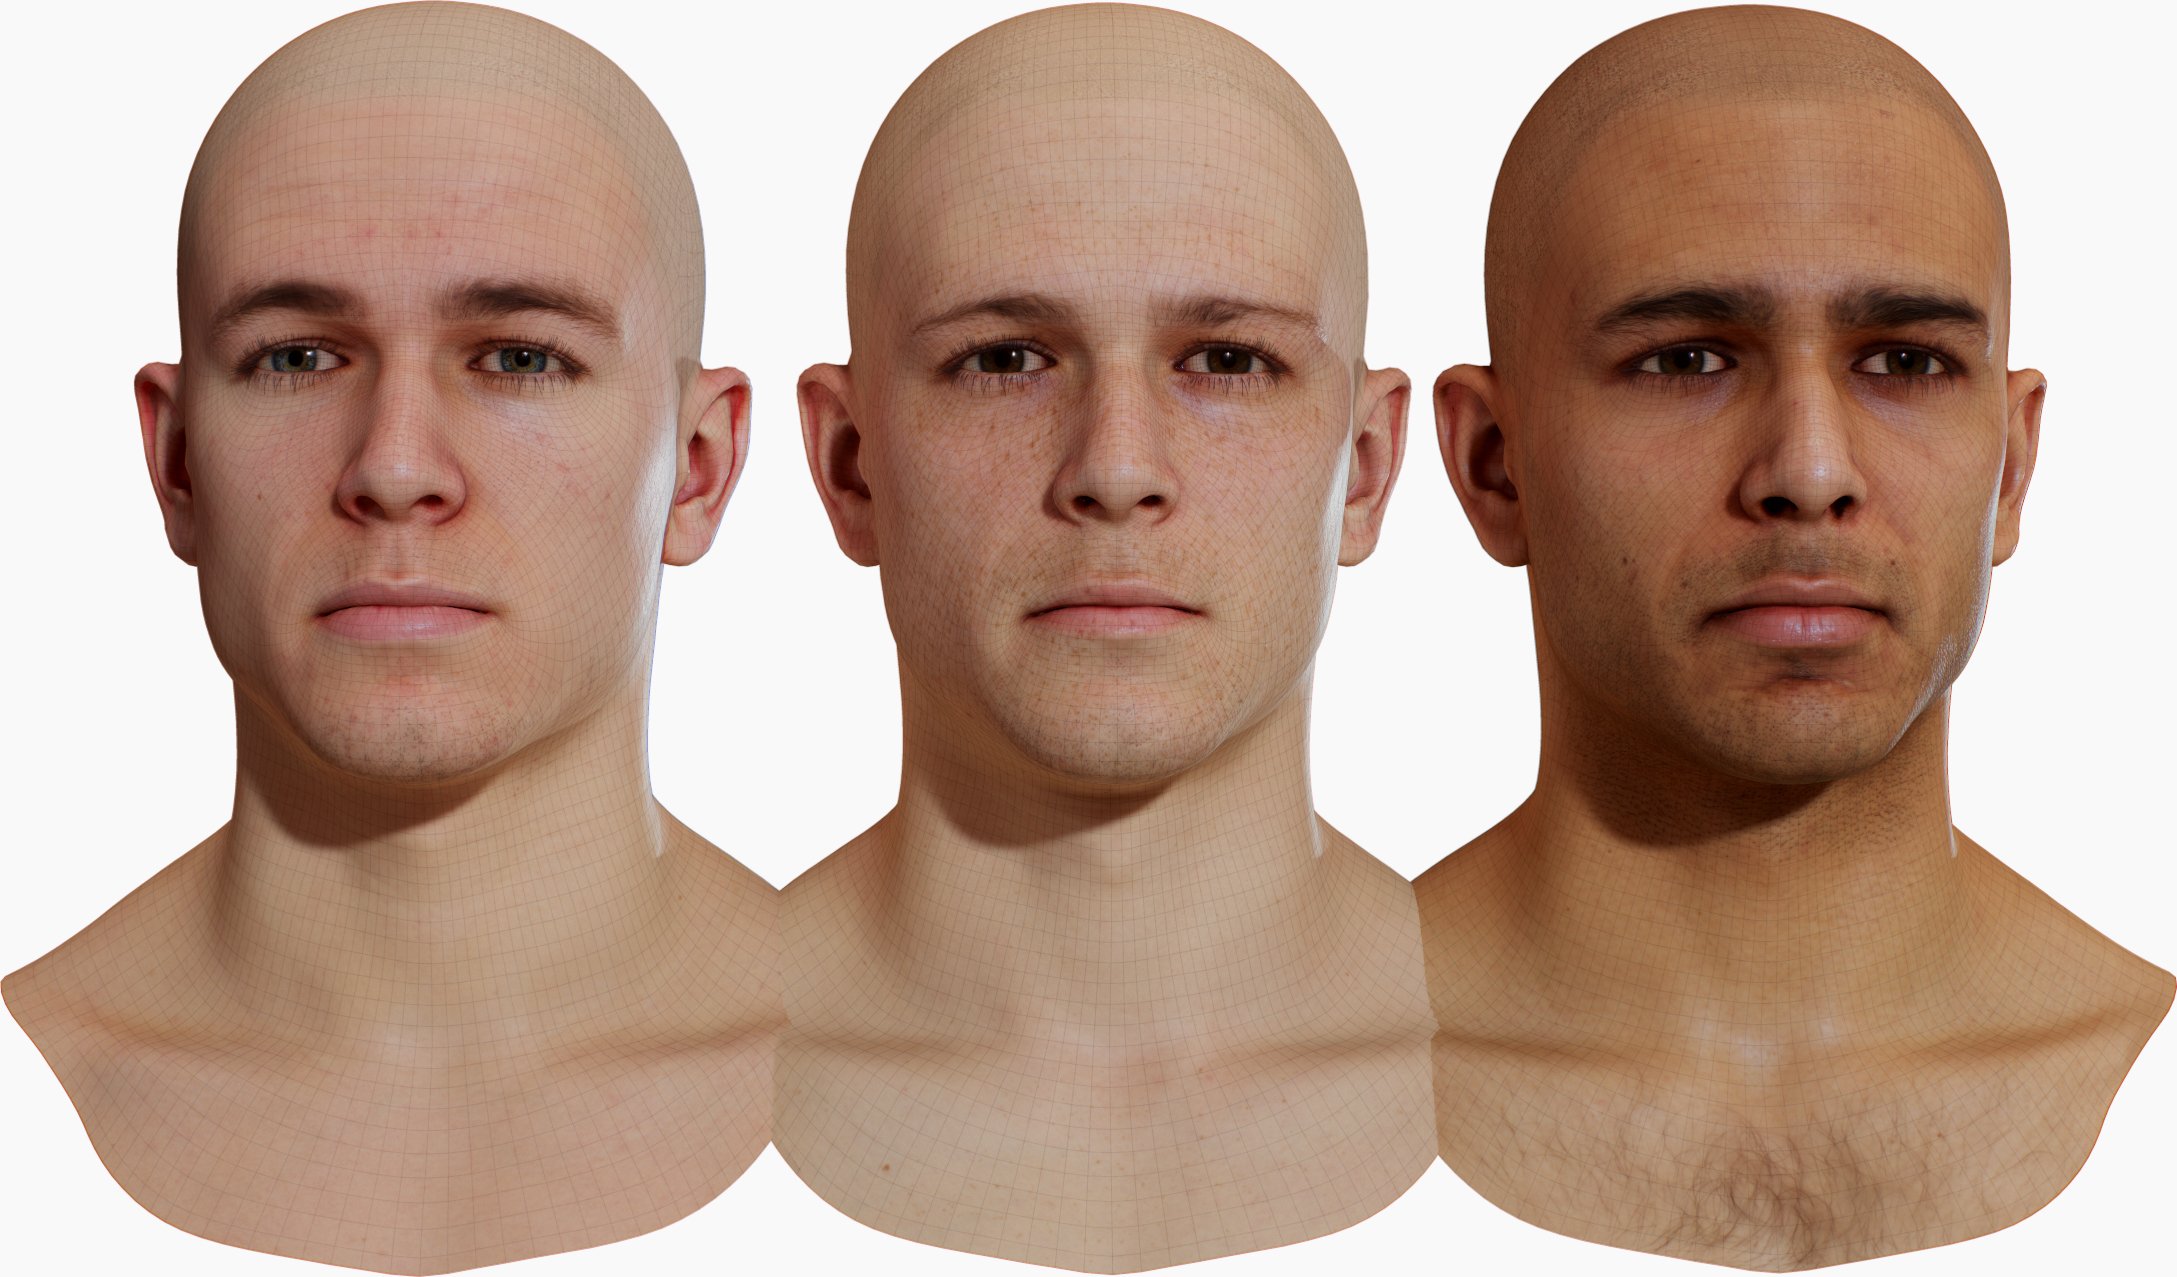
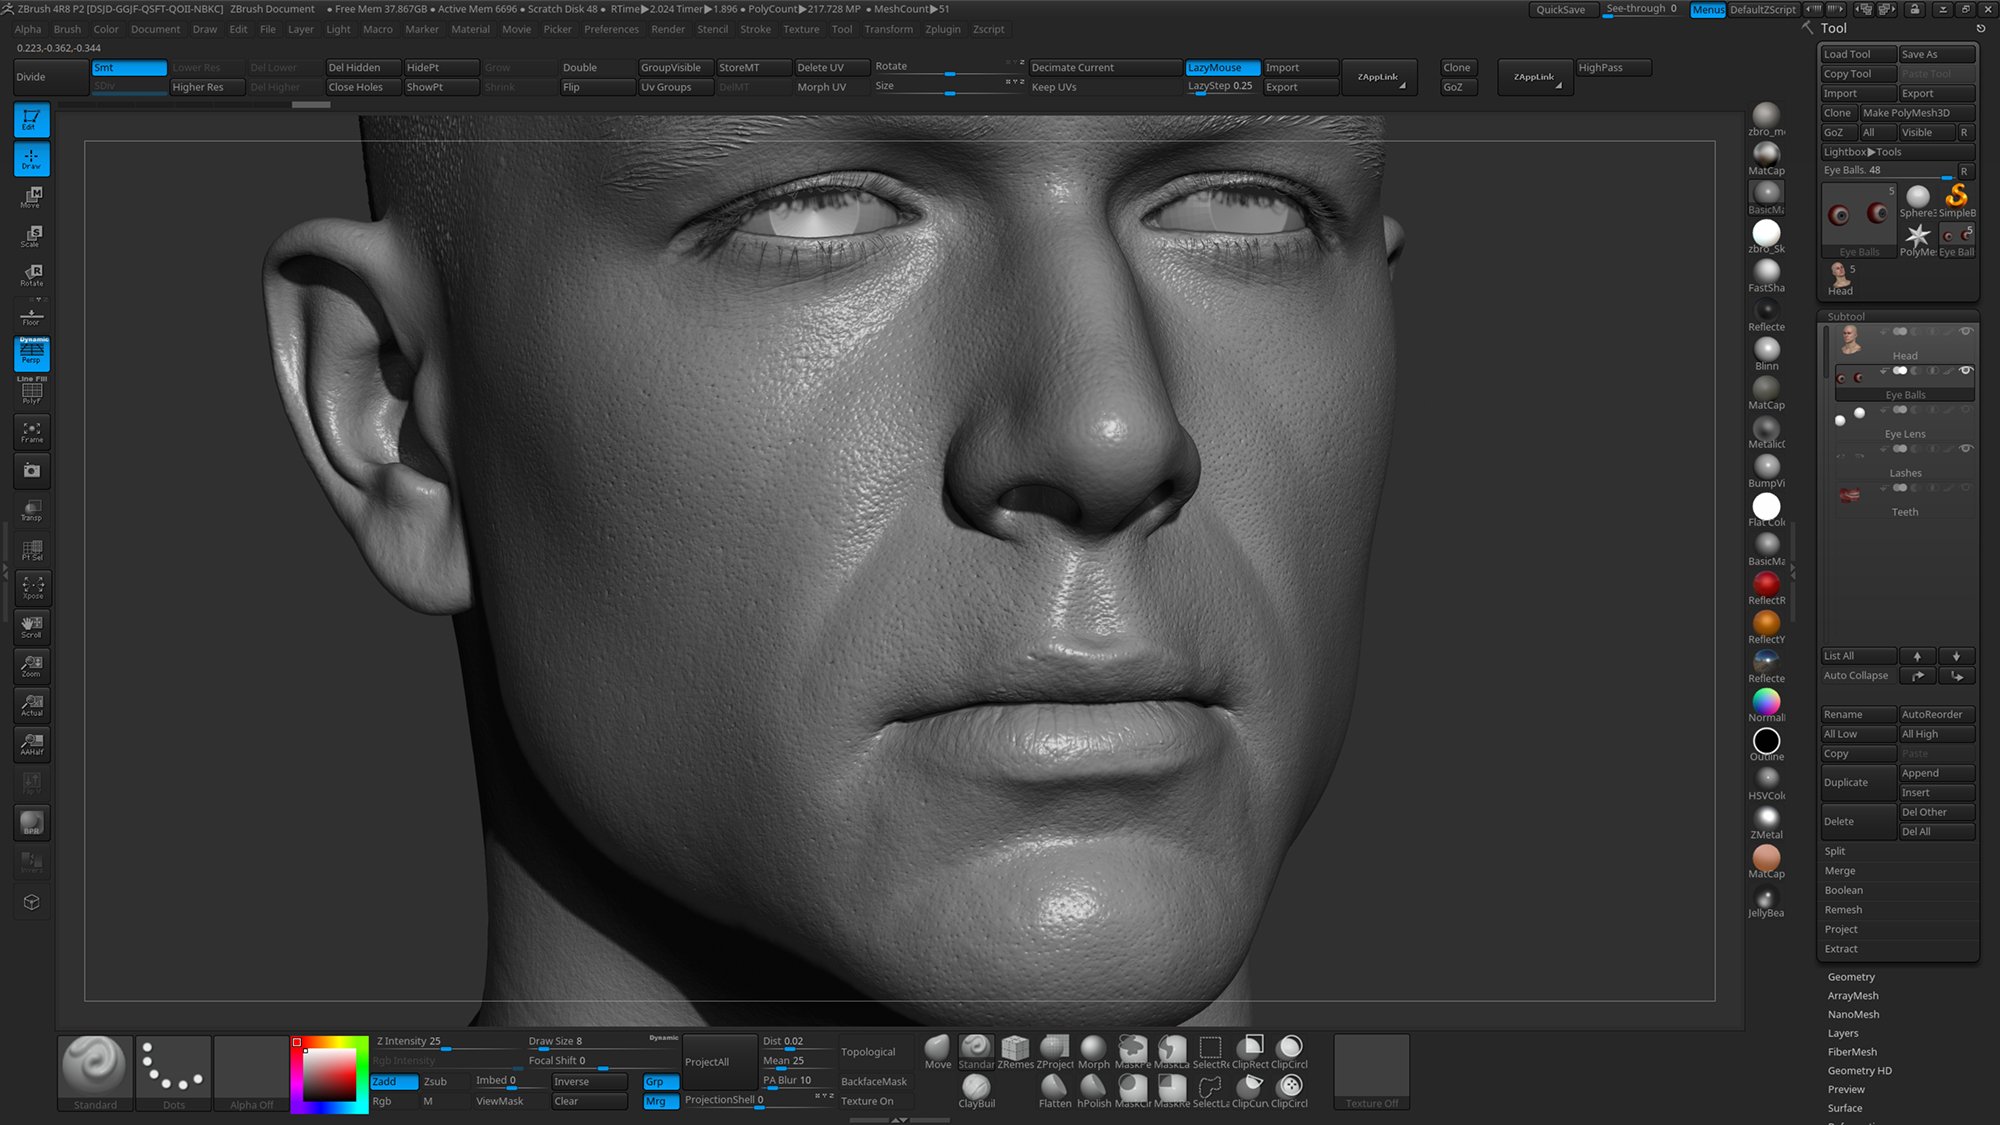
Load one of the head models into Zbrush for this example I'm using the Male Retopologised Head Scan 03. At this point we could just start sculpting or deforming the face to create something different, however because all our Retopologised head scans feature the same topology and point order we can instantly add some verity by morphing between different heads. In the video below I do this by first creating a layer on the highest subdivision level and then swithching back down to the lowest and importing the Head.OBJ from Male Retopologised Head Scan 12 into a separate layer replacing the original model. Now when I subdivide back up to the highest level I can morph between the two to create a unique head shape to serve as a starting point for the new model.
Now we can begin sculping and modifying our character to look completly different. The video below shows the whole process sped up about 300% but it only took around 10 minutes to create a head that looks totally unique compared to the origonal, you will also notice that I use the morphing technique above with 2 different head from the retopolgy packs, this was to give me a greater amount of deviation from the origonal. Because we are morphing between characters the position of the eye sockets will change, this is impossible to avoid when using scan of real people, if we were to modify the scans so that they all shared the same eye and mouth positions then they would no longer be representative of the person we scans and every model would end up looking very similar. For this reason you will notice in the video below that I have to modify the position of the eye lashes and eyes before I start sculpting onto of the head. This is very easy to do in Zbrush using the move translate tools and move brush. Due to these heads being symmetrical you only need to do it on one side of the model with symmetry turned on.
Here's the difference between the origonal head scan and the new morph + sculpt.
Retained details
Because we are sculpting and modifying the mesh on a fairly low subdivision level in Zbrush i.e level 1 or 2 we get to retain all the nice high resolution skin details of the original model. so once you have finished with the sculpting simple slide the subdivision slider up to level 6 and take a look at the nice high res details.
Marmoset Toolbag
Now that we have our high resolution head model in Zbrush its simlpy case of exporting the lowest subdivision level and importing it into your software of choice, for this example Im going to use Marmoset Toolbag 3. Each of our retopologised head scans is supplied with a Marmoset scene file which includes all the shaders.

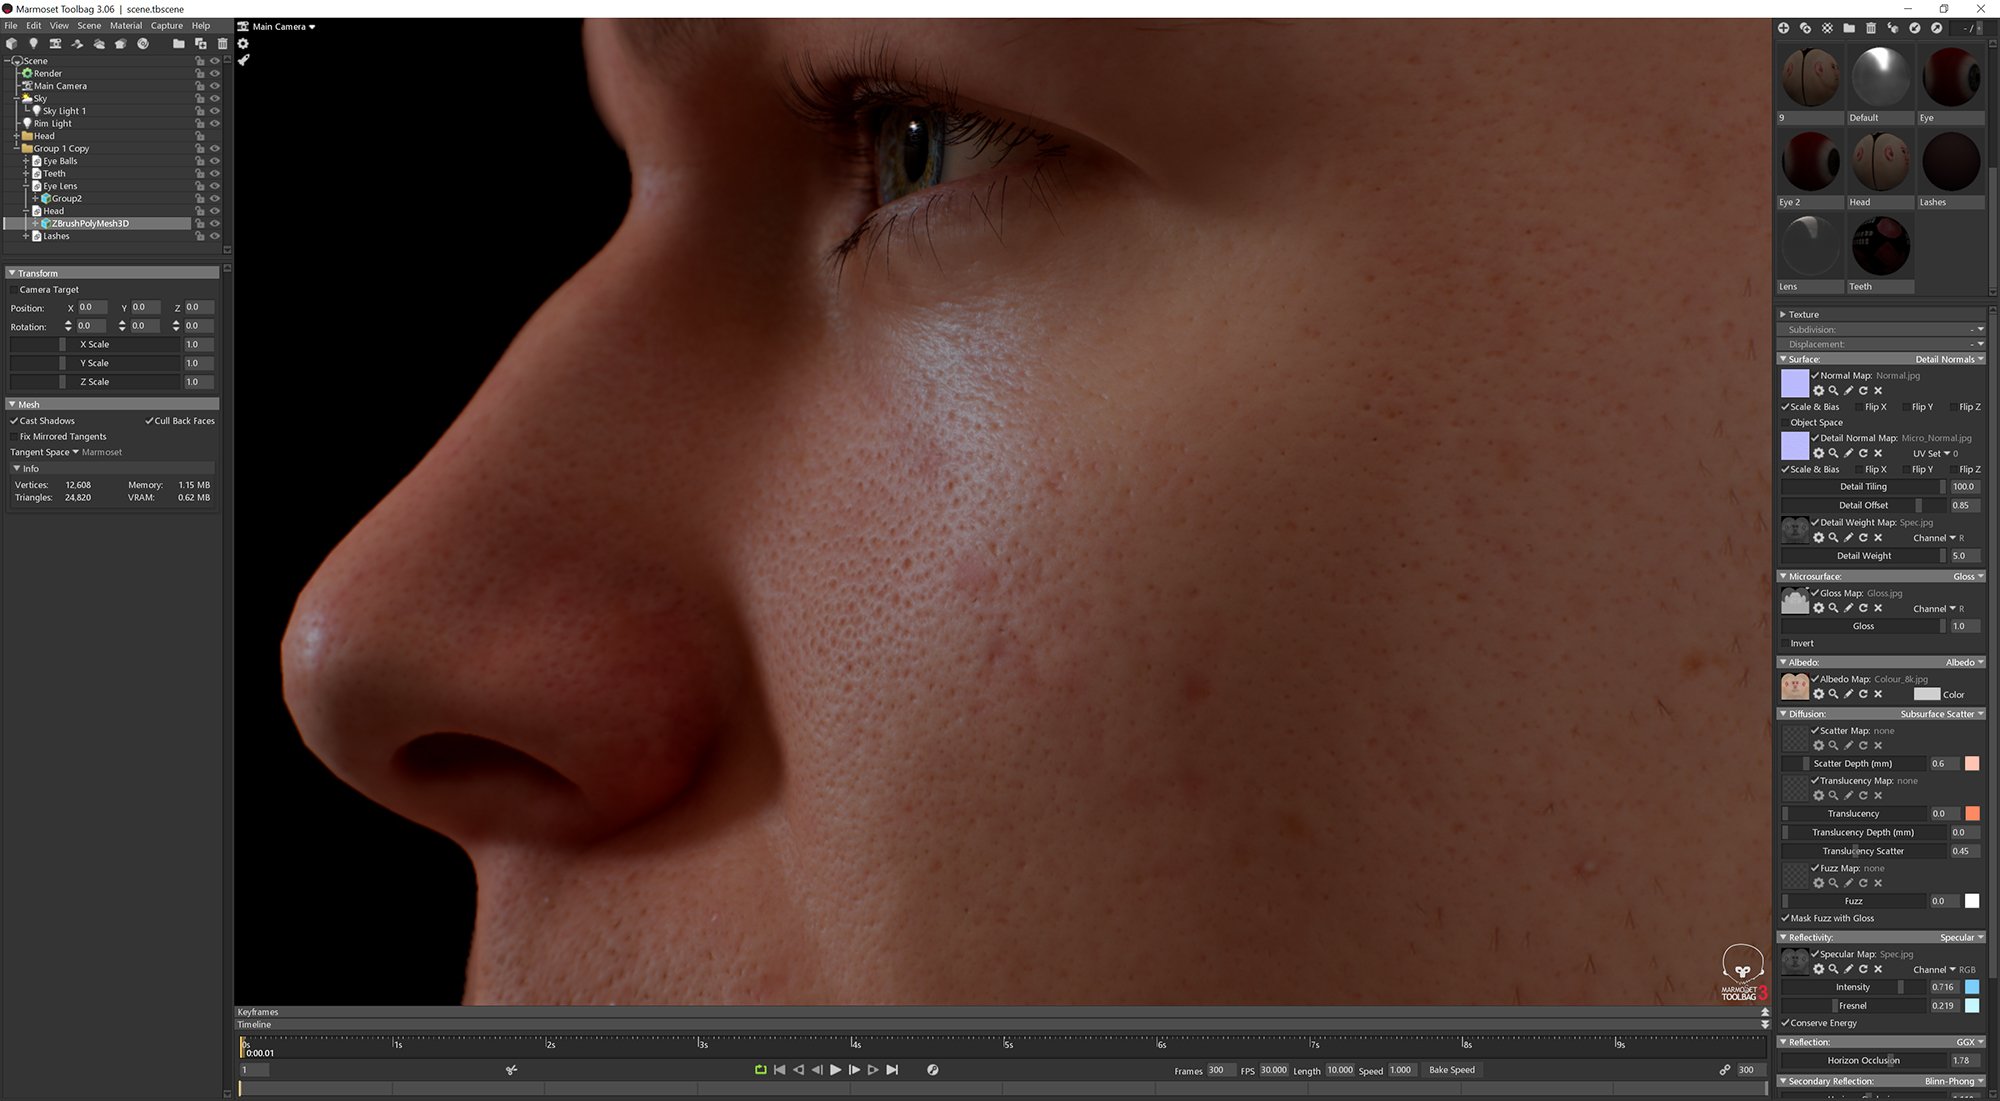
Swapable Textures
All our retopologised head models have the same UV cordinates so swapping the textures is simply a case of selecting assigning the different colour, normal and spec maps. So its really easy to add even more veriety to your new head simply by changing the textures. The example shown here in Marmost is swapping shaders that I have exported from some of the other head scans this make is really easy to chage not just the texture but all the normal and spec details by simply dragging shaders from the window on the right onto the head.
Using this technique its possible to create a huge number of different character heads in a very short space of time, simply swapping the texture on the same head can result in a very different looking face which makes it idea for quickly generating background characters for games and animation projects. The new retopolgoised head models are also compatible with our Multi Texture Base Meshes giving you an even wider selection of textures to chose from.