

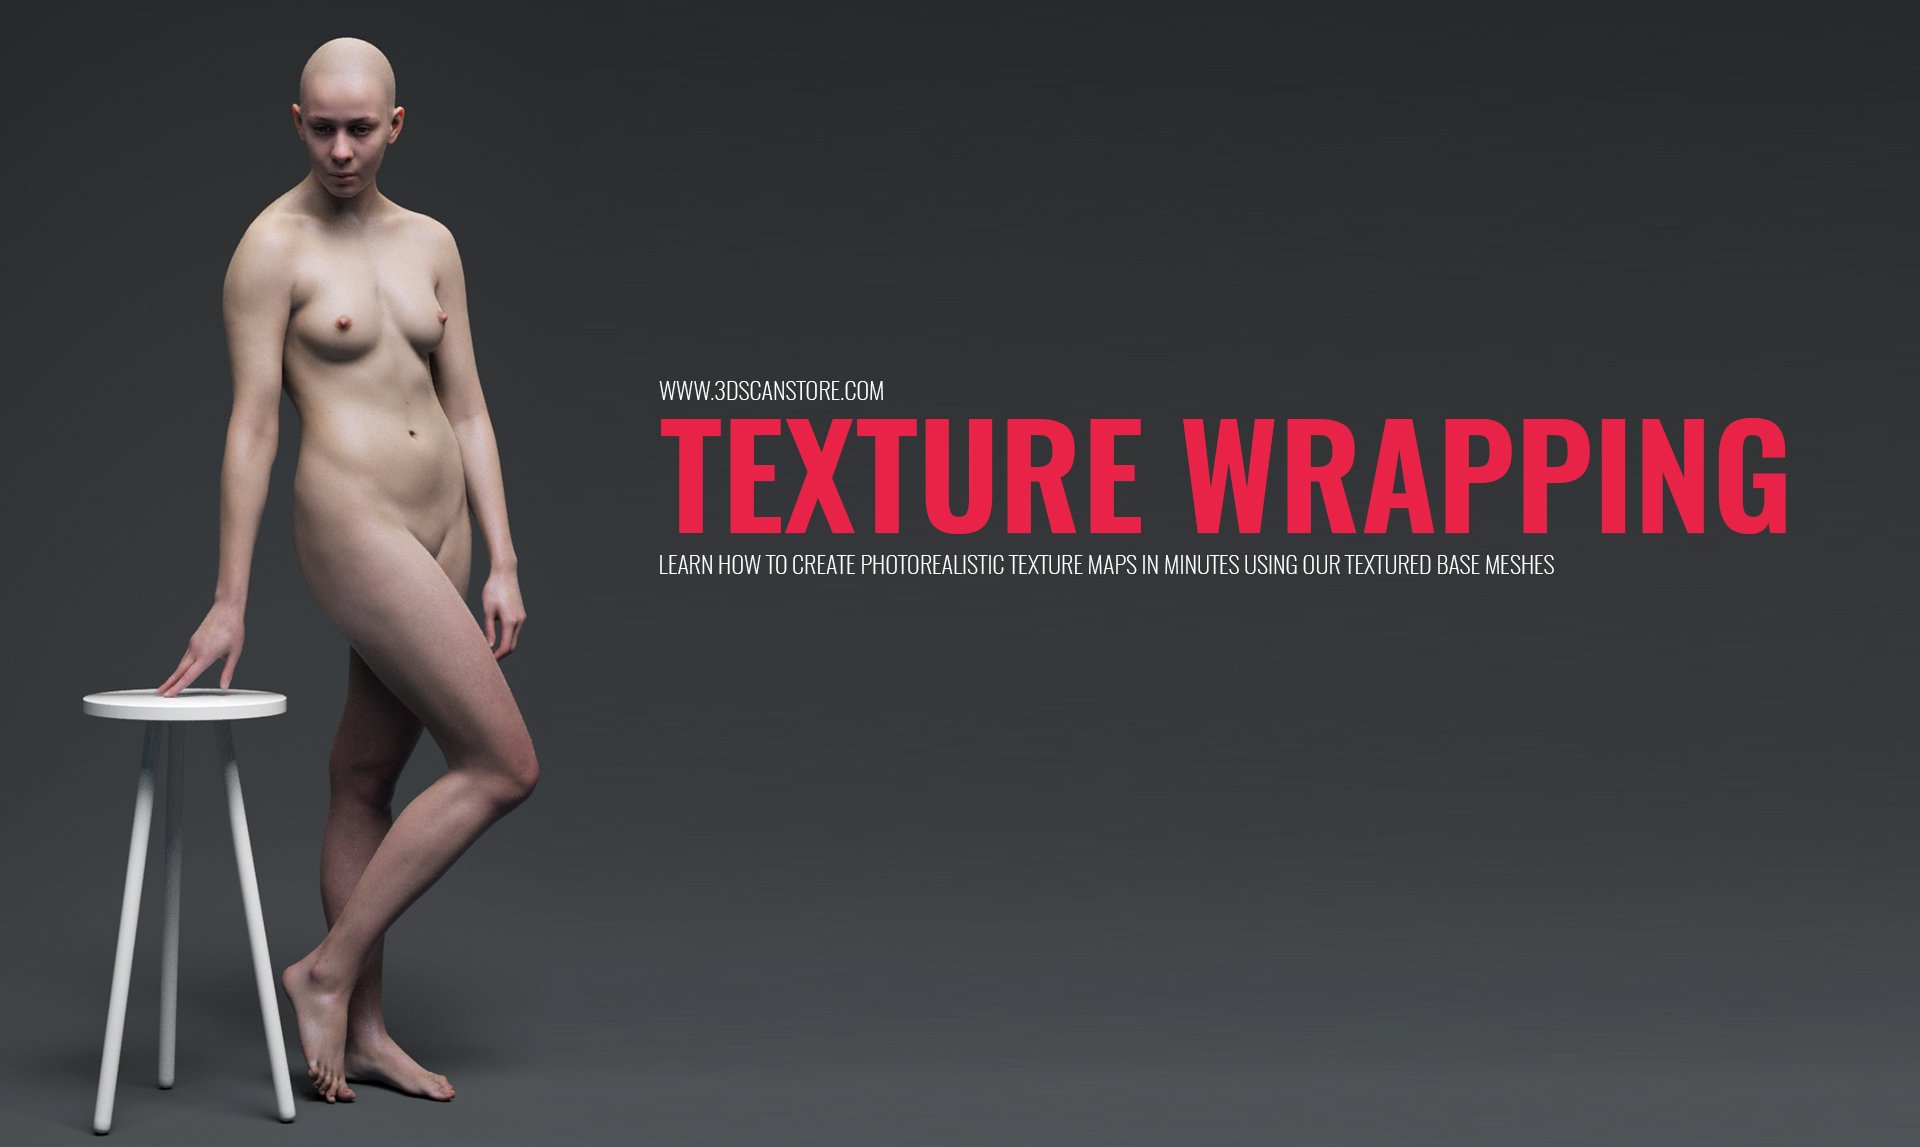
Introduction
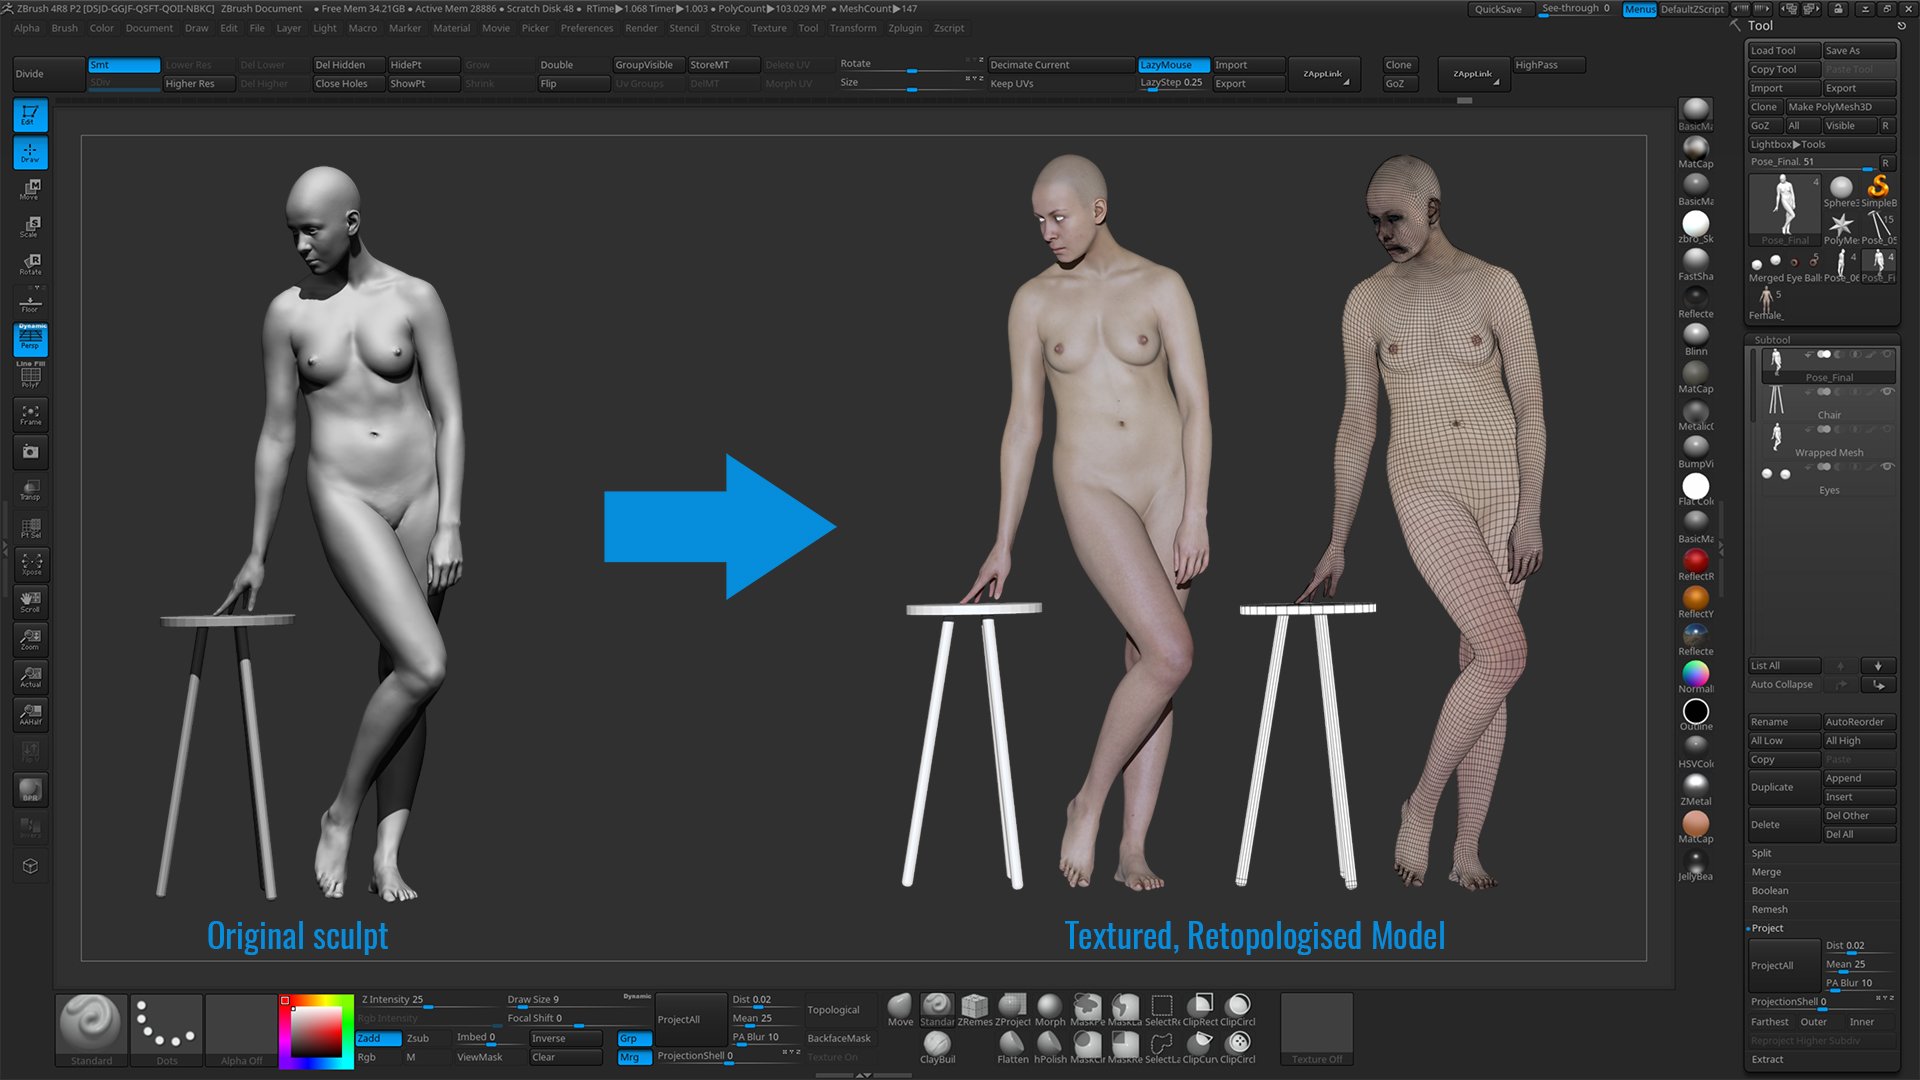
In this tutorial I want to show you how to use our textured base meshes to quickly and easily texture any full body model using a combination of Zbrush and Wrap3. For this example I am using another 3D scan from our Classical female body pack however this technique will apply just as easily to any character sculpt or model created in any software.
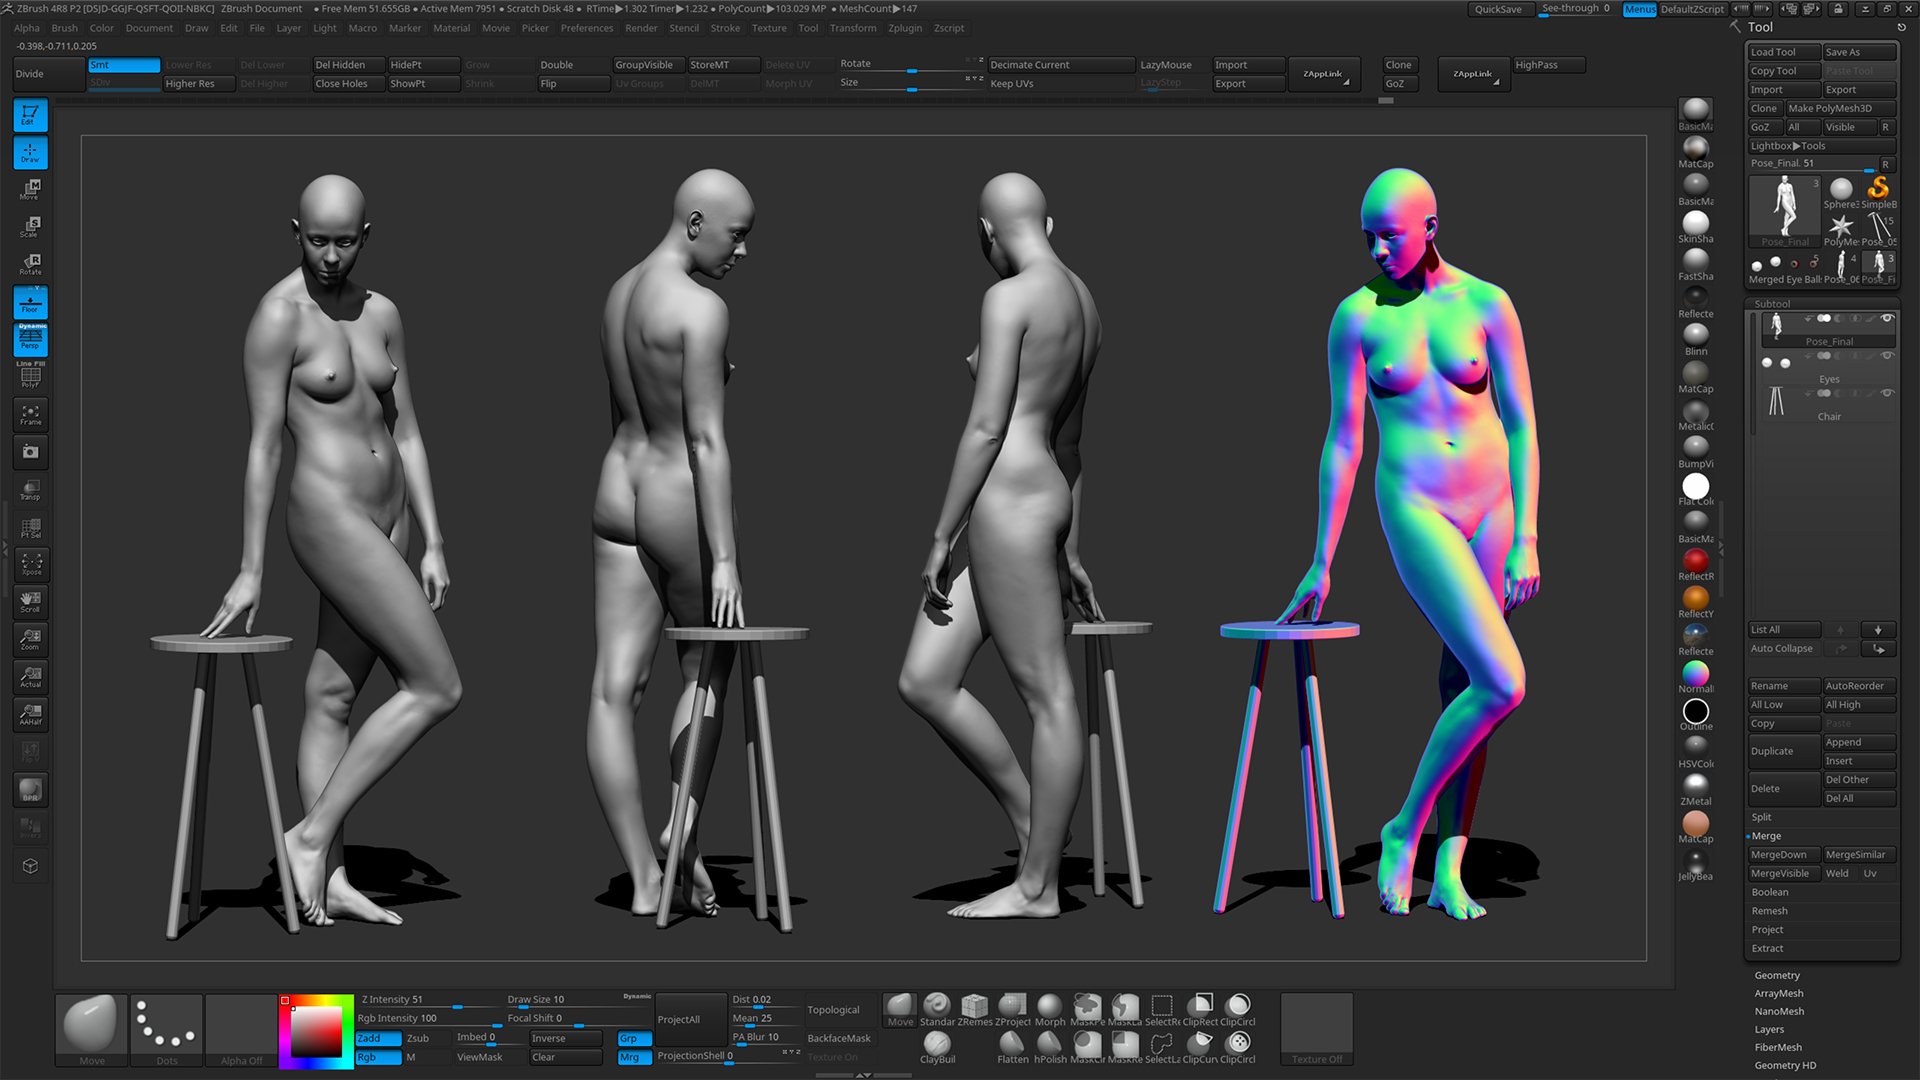
Essentially what we are going to do is transfer not just the texture but also the mesh / UV map and high resolution skin details from our textured base mesh onto the untextured non UV mapped female 3D model shown in the image above. For the purposes of this tutorial we will be using Zbrush but that's not to say that the techniques shown here don't apply to other sculpting / modelling software such as Blender, Mudbox, 3D Studio max or Maya.
First we need to export our untextured sculpt as an OBJ file, this will allow us to import it into Wrap 3, in this example I exported the model at subdivision level 3 which was around 200,000 polygons, we don't want to go too heigh with the poly-count, firstly there isn't actually any reason to go to a higher poly count that the base mesh as you cant transfer those details to a low poly base and secondly we don't want to bog wrap 3 down with unnecessarily large 3d models.
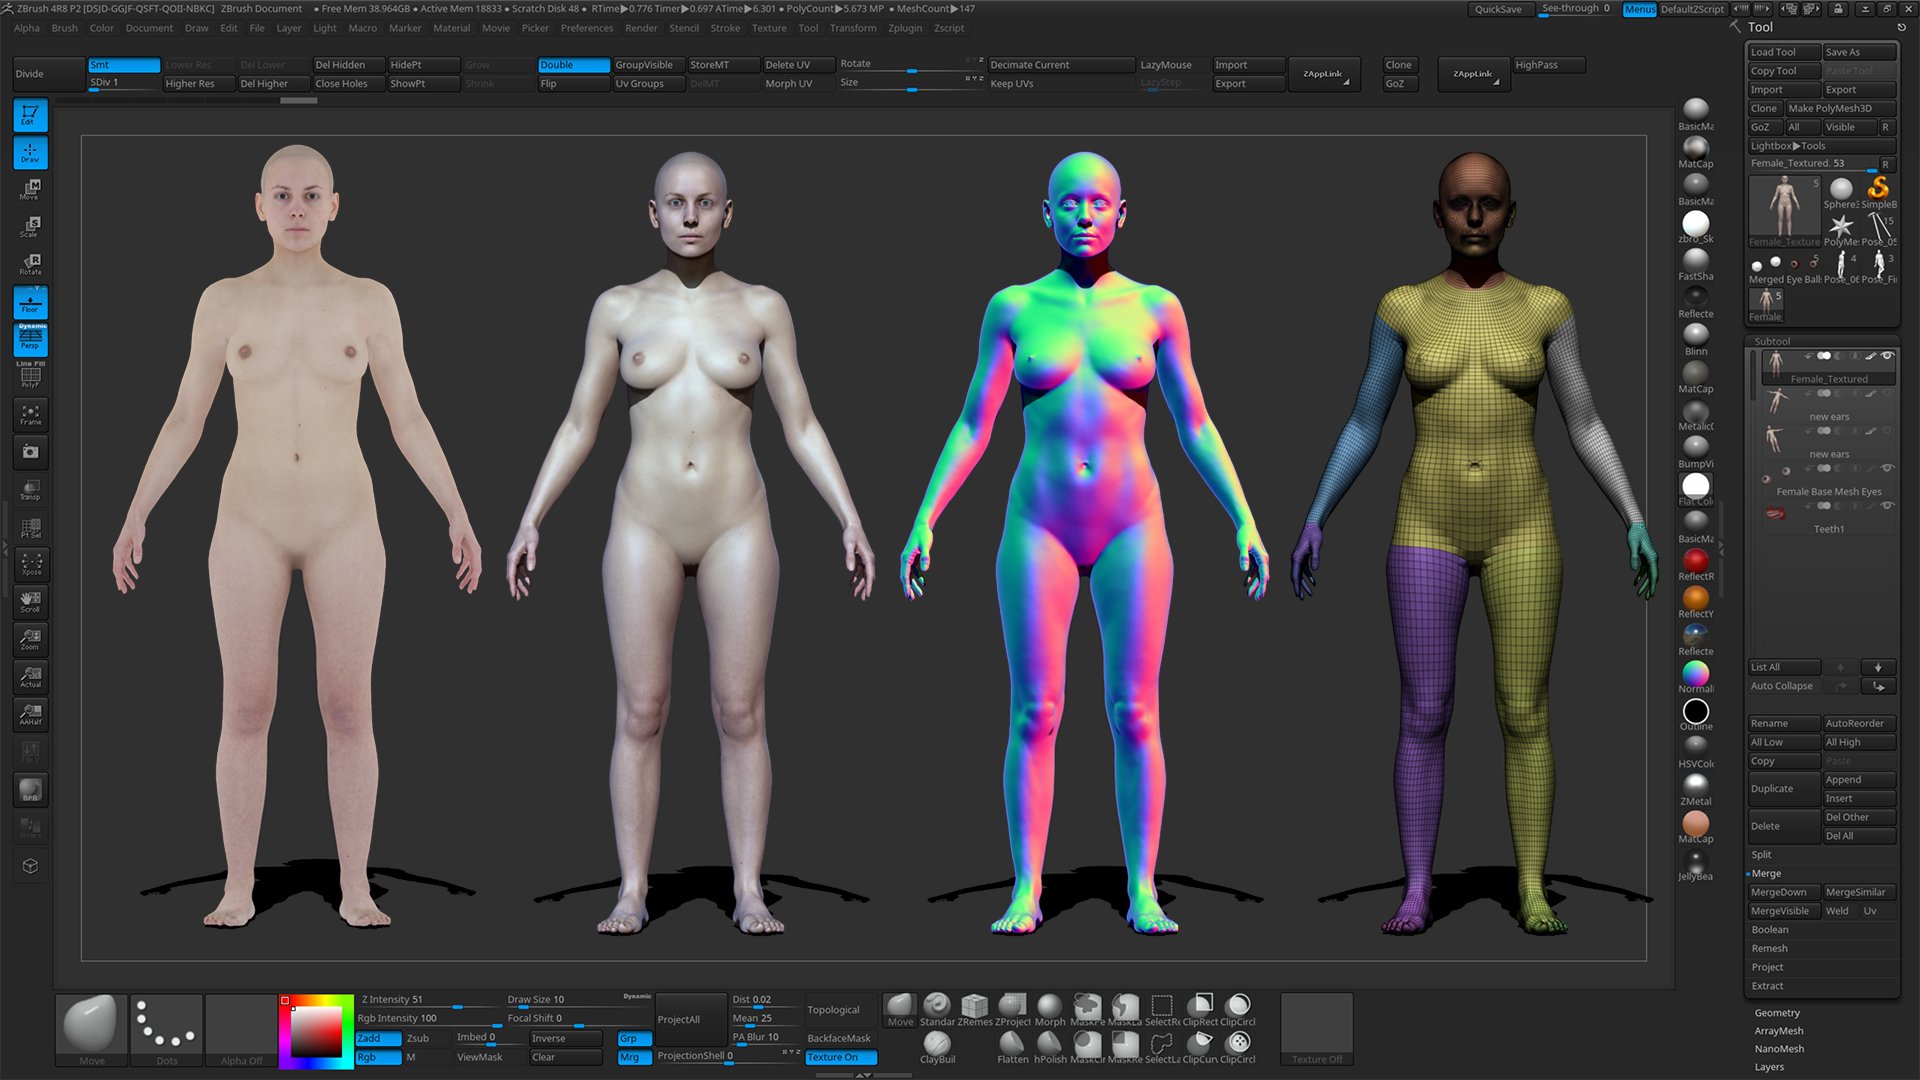
We will also need to export the scan store textured base mesh at Subdivision level 1. we could export a higher level two or three mesh but as I mentioned before we its not really necessary at this stage and will only slow things down, we can come back to Zbrush later and reproject the finer details after the wrapping process.

It's time to load up wrap 3 and import both our original sculpt and the textured base mesh model that we exported previously. Simply hover your mouse over the grey area on the right and hit the "Tab" button now scroll down to "Load/Save" and select the "LoadGeom" node once the node is visible on the screen click and load the base mesh OBJ into the "File Names" tab in node options, do the same of the sculpt mesh.
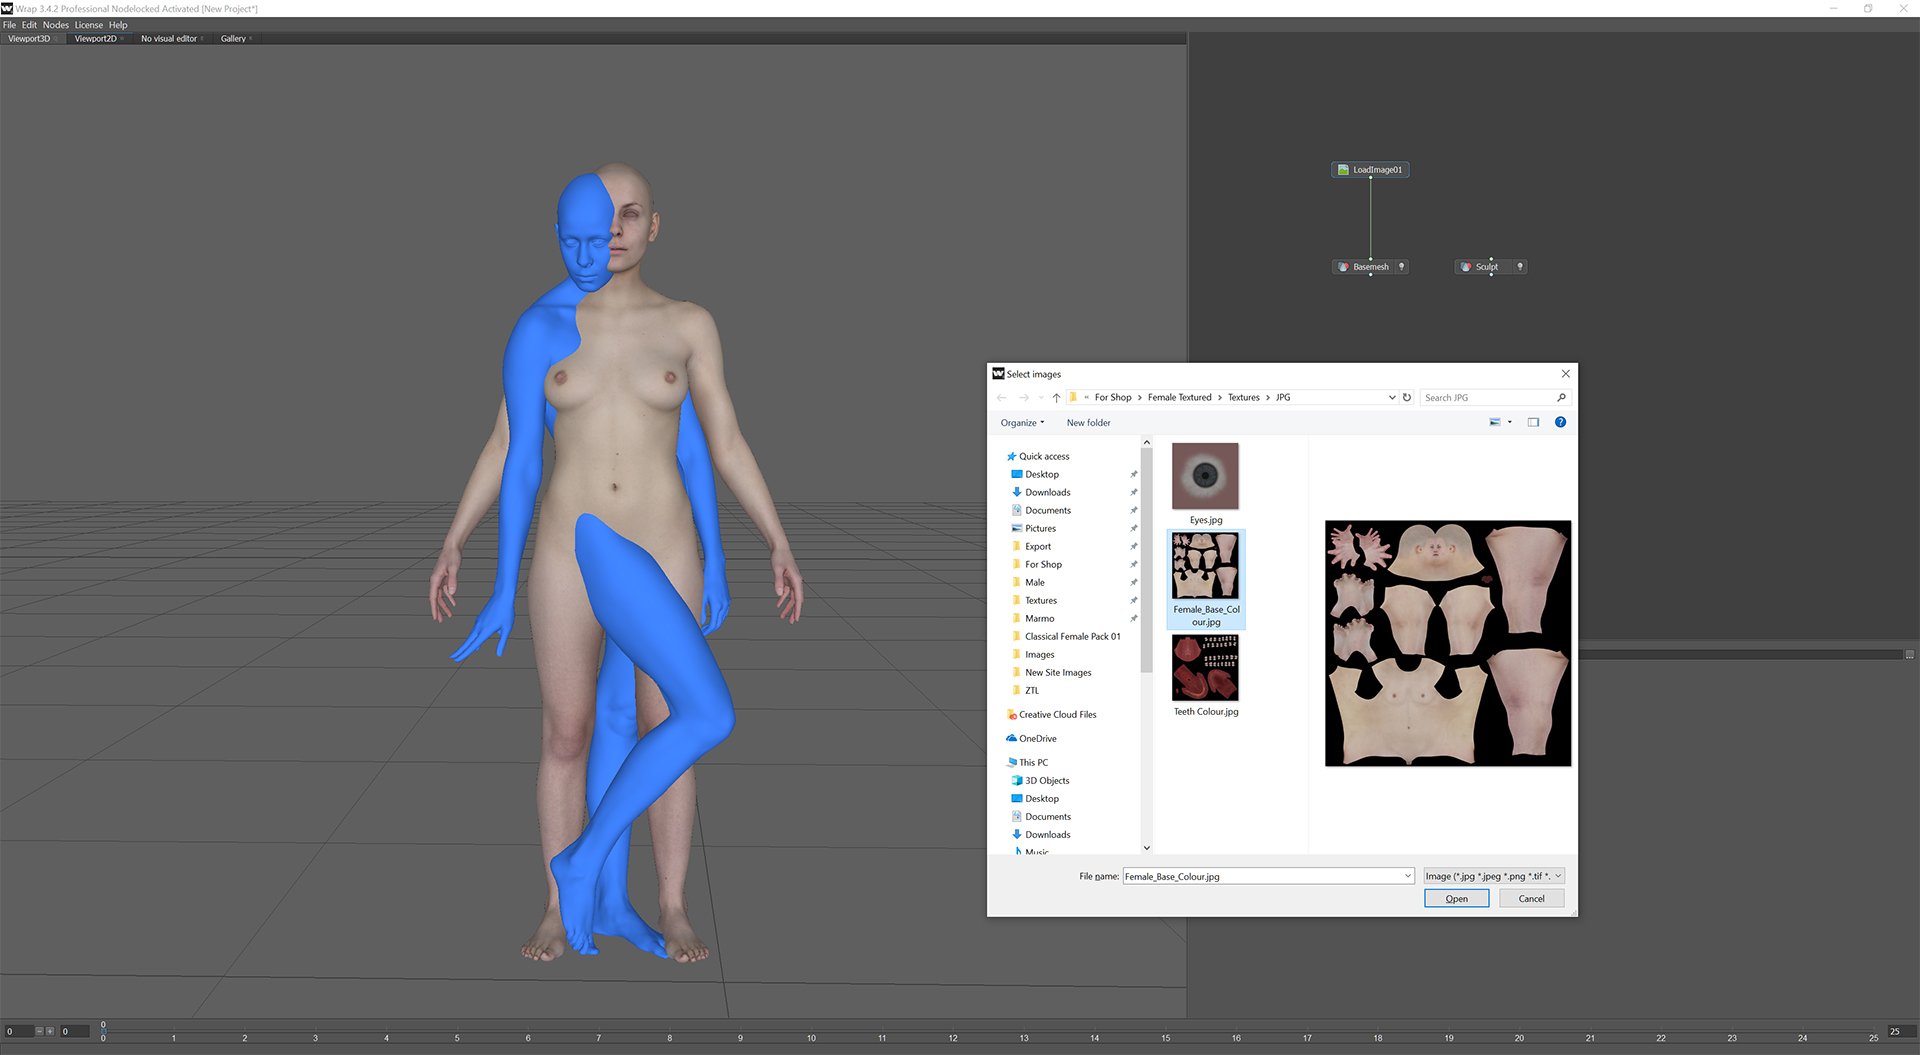
At this stage its a good idea to apply the supplied texture to the base mesh, for this example I'm using the 8k JPG version that comes with the base mesh (there is also a 16k PSD) as I don't want to bog things down with huge textures. To load the texture map simple hit "Tab" again and go to to "Load/Save" and select "LoadImage" now select the "Female_Base_Colour.jpg" File in the "Textures>JPG" folder. Adding the texture map at this stage allows for better placing of points as we can use the texture as reference rather than just the low resolution geometry.
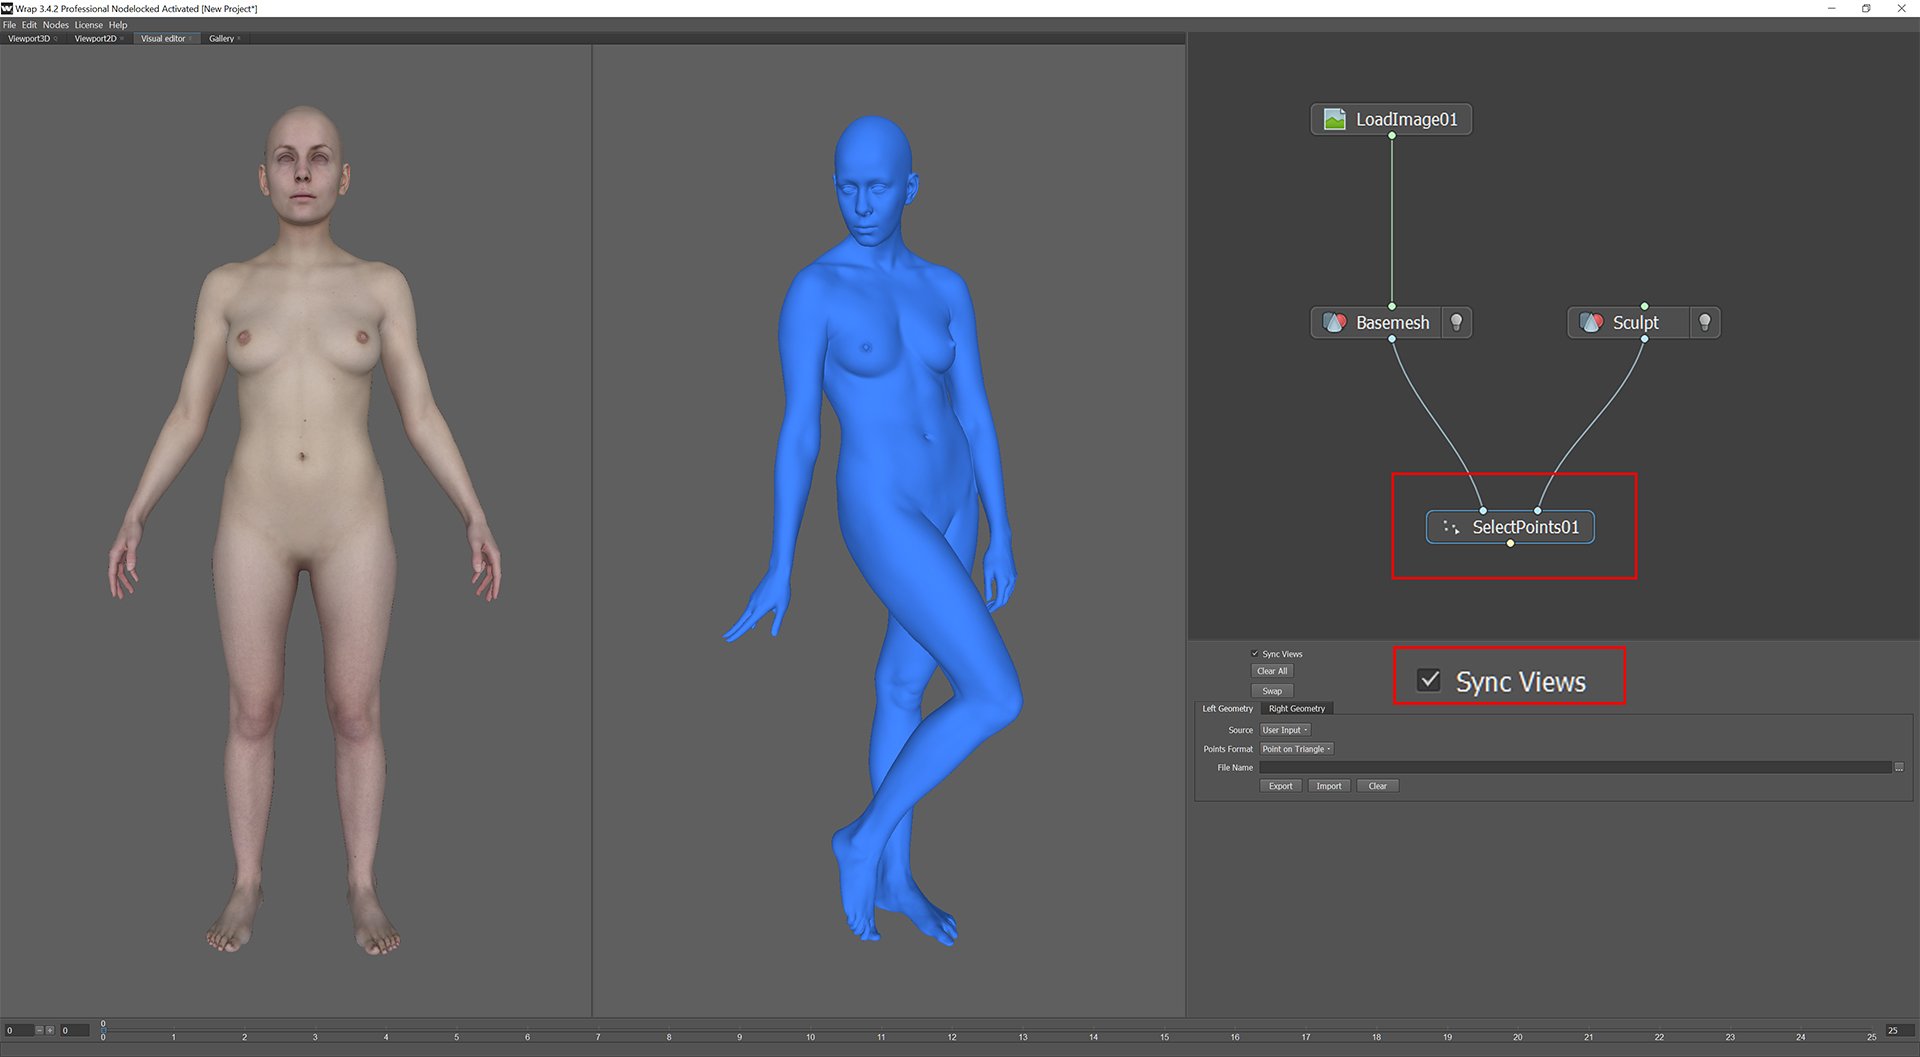
We're nearly ready to start the wrapping process, lets add the "SelectsPoints" node by hitting "Tab" and selecting "Selection > SelectPoints" Before we begin selecting the wrapping points make sure you are in the "Visual Editor" and I would also advice enabling the "Sync Views" option on the SelectPoints node, this will rotate and zoom both models in unison and makes place points a lot easier. In some cases you will need to turn it off, for example when hands are in completely different positions.
The above video shows the points selection process, The most important areas are the face, ears, hands and feet but it pays to take your time here and select as many corresponding areas as possible. Try not to bunch too many points up in one place, particularly on large featureless areas such as the back or the stomach.
Because our base mesh has eye sockets and a mouth bag its a good idea to use the "SelectPolygons" node to remove them from the wrapping process. Selecting these areas can be tricky but in the video above you can see how I use the select loop along with the expand and contract selection tools to isolate these areas. Once selected I then hide the polygons and move onto the next areas, once all the selections are hidden I simply select all the remaining polygons and "unhide all" then invert the selection, leaving me with the only the selected and previously hidden areas.
You will also notice that I am excluding the toes from the wrapping process, this is because on the original model the toes are fused together so trying to wrap individual toes onto areas like this will probably result in some errors, Id rather just approximate the position using the points and then project and fix them later in Zbrush.
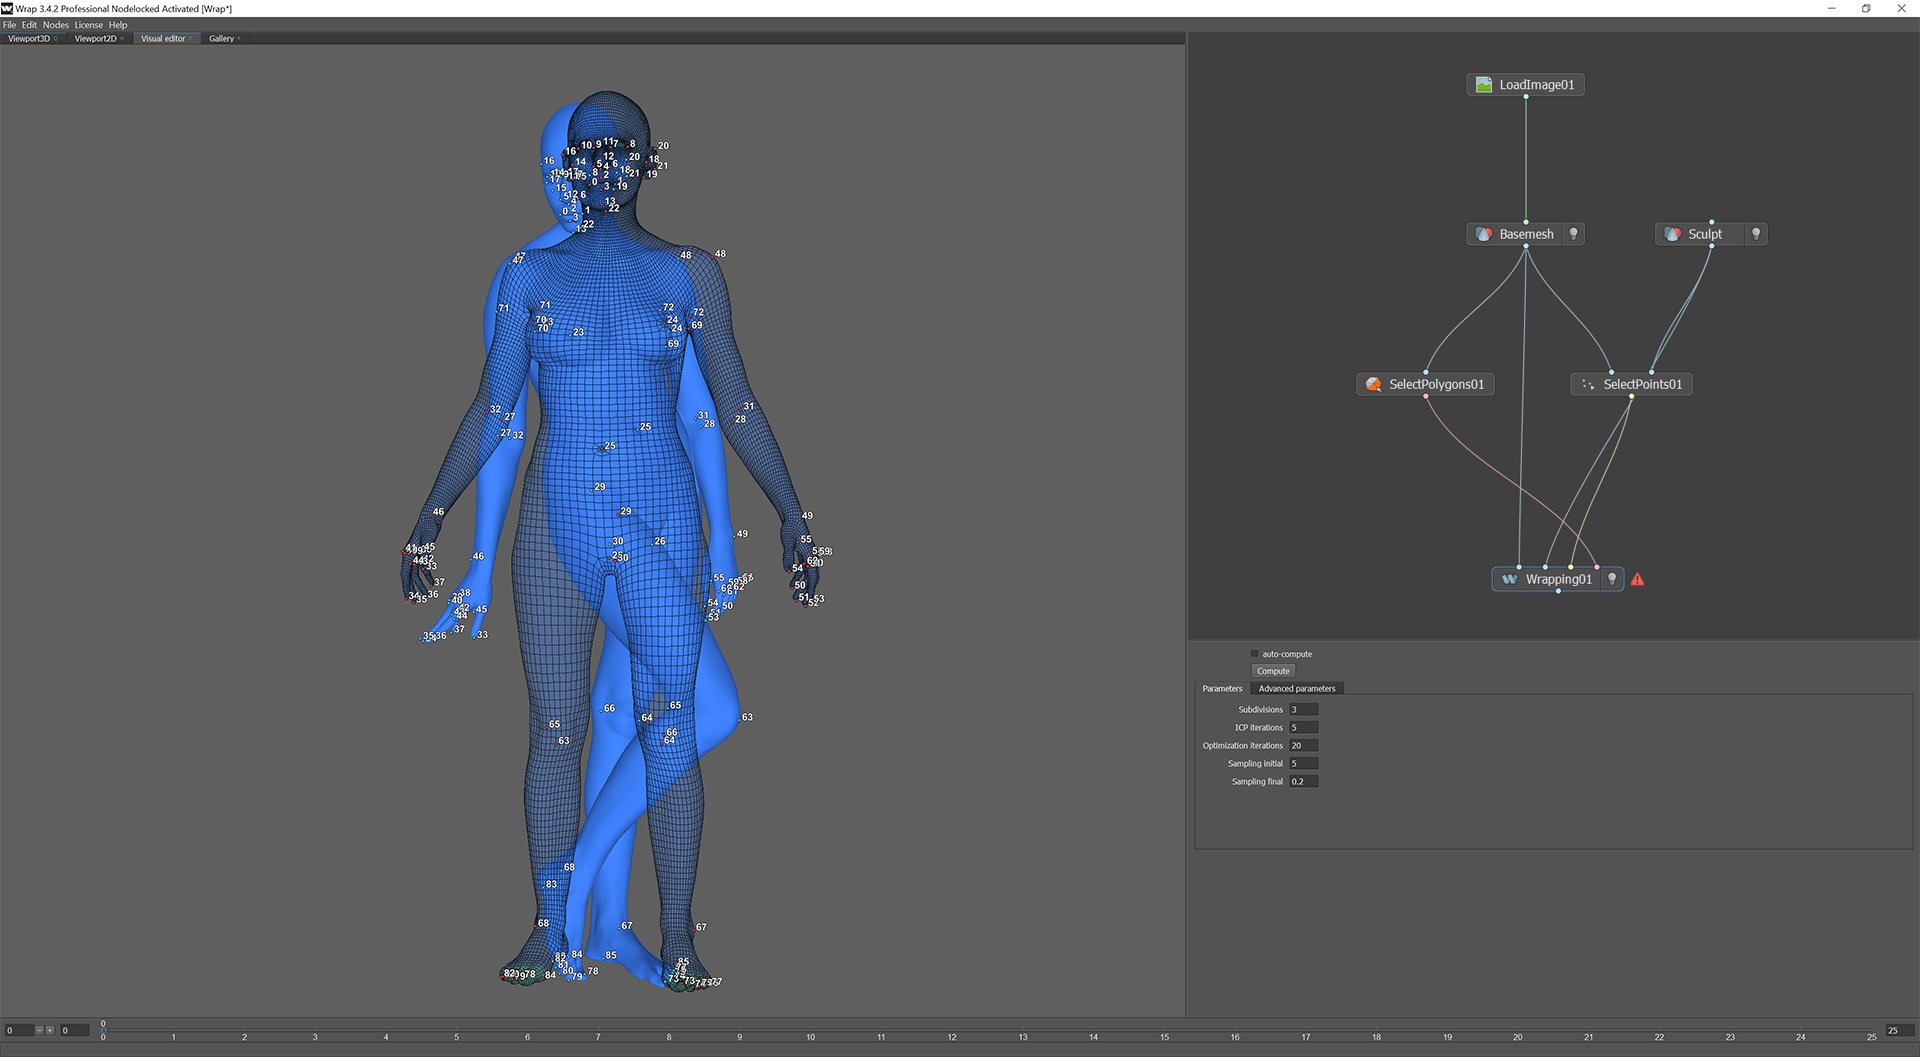
Now it's time to wrap the textured base mesh onto the sculpt. as before add a "Wrapping" node from the "Alignment" menu. For this example we are not going to change any of the default settings as they seem to work perfectly, in fact its very rare that I actually alter these at all.
You can see the wrapping process taking place in the video above
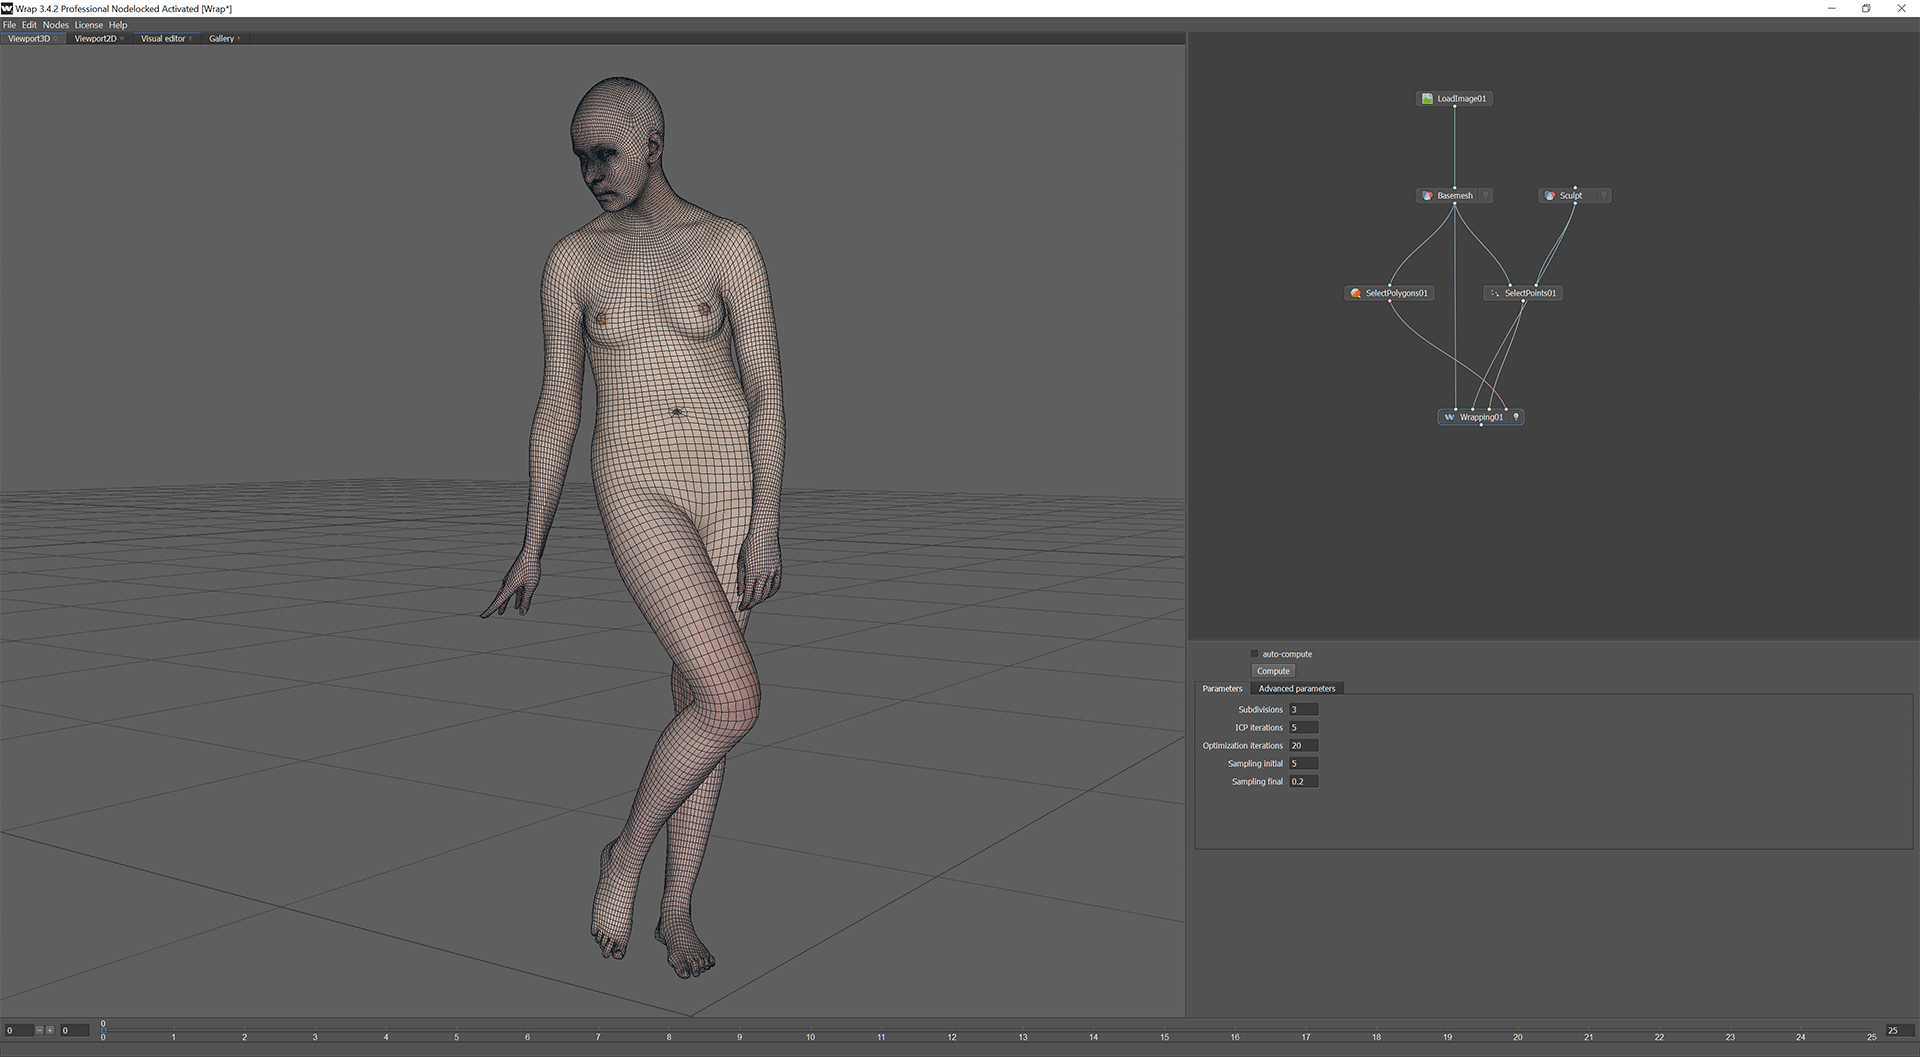
Now if we switch between the sculpt and the new wrapped base mesh you can see we have a perfectly retopologised textured version of the original.
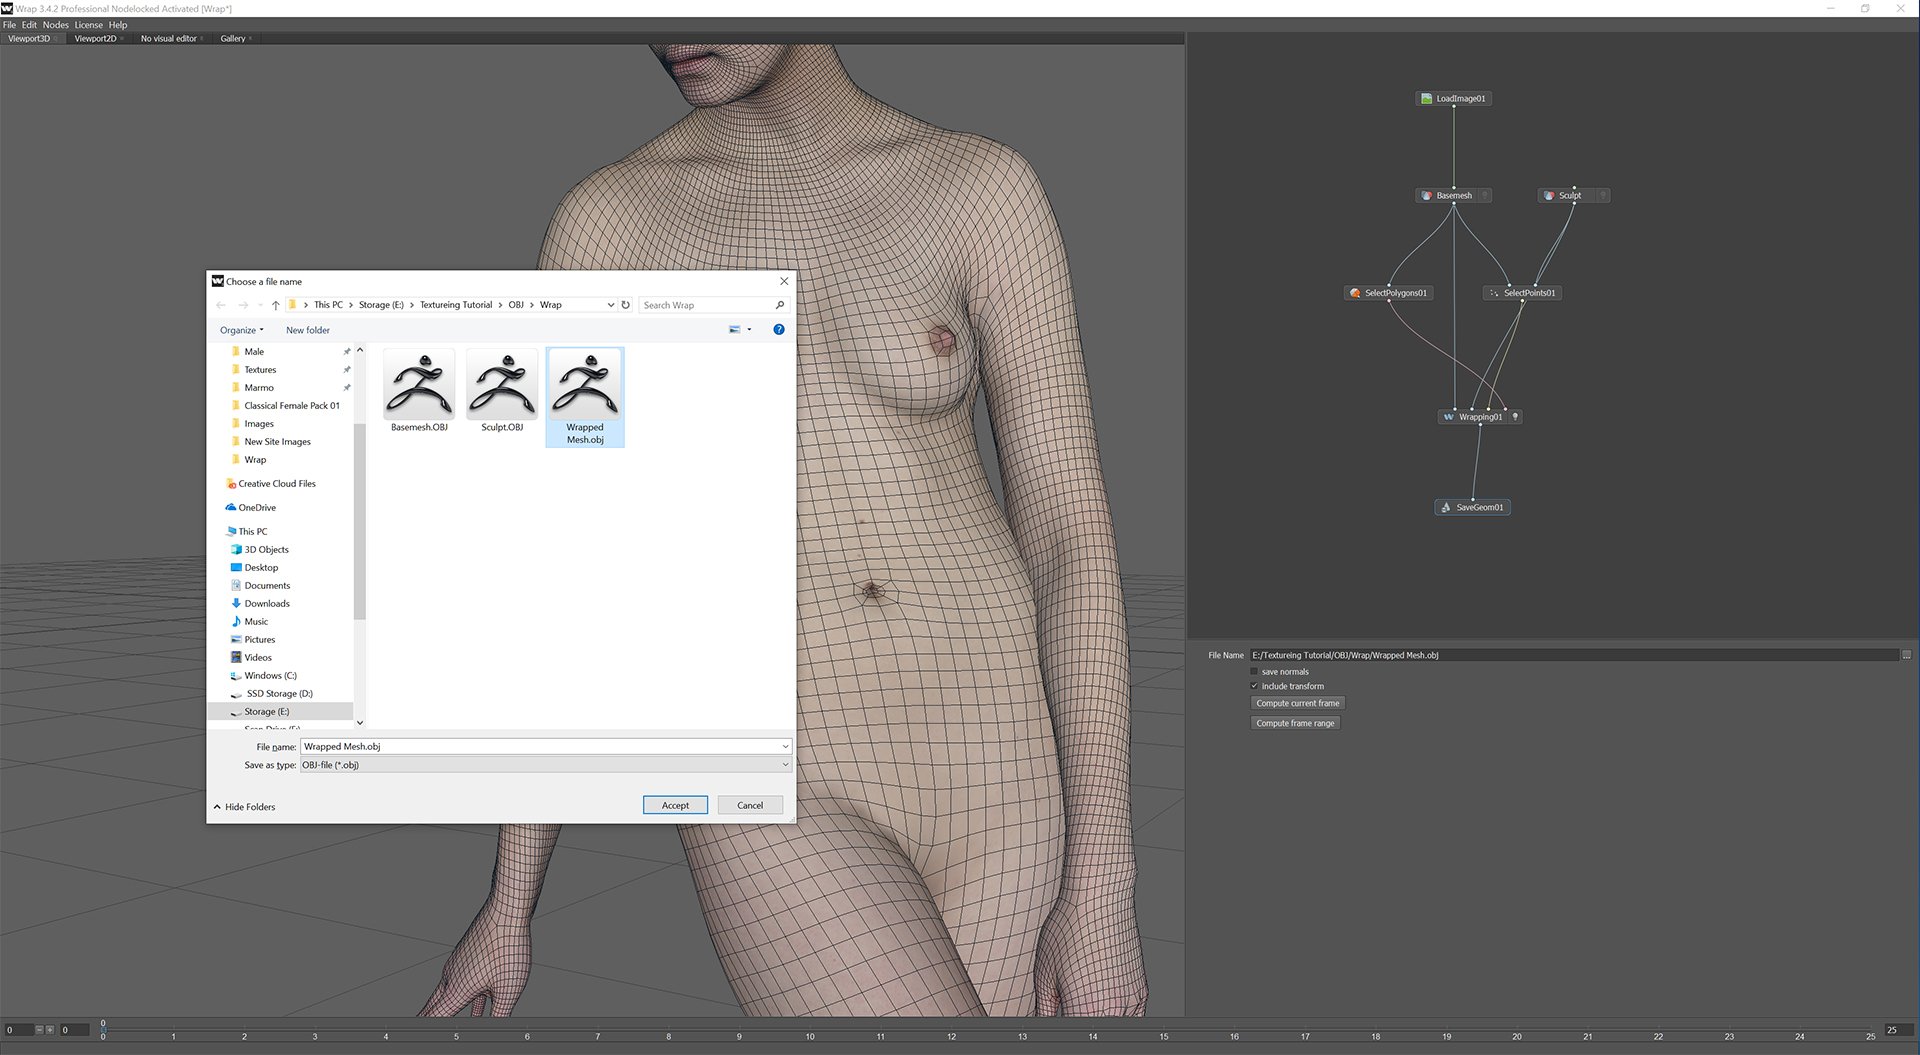
Create a "SaveGeom" node and export the base mesh model as "Wrapped Mesh.obj" or something to that effect. Don't forget to click the "Compute current frame" button.
Now its just a case of replacing the lowest subdivision level of the base mesh with the exported wrapped model. All we have to do is make sure the base mesh model is set to its lowest SubD level and the hit the "import" button and select our new model.
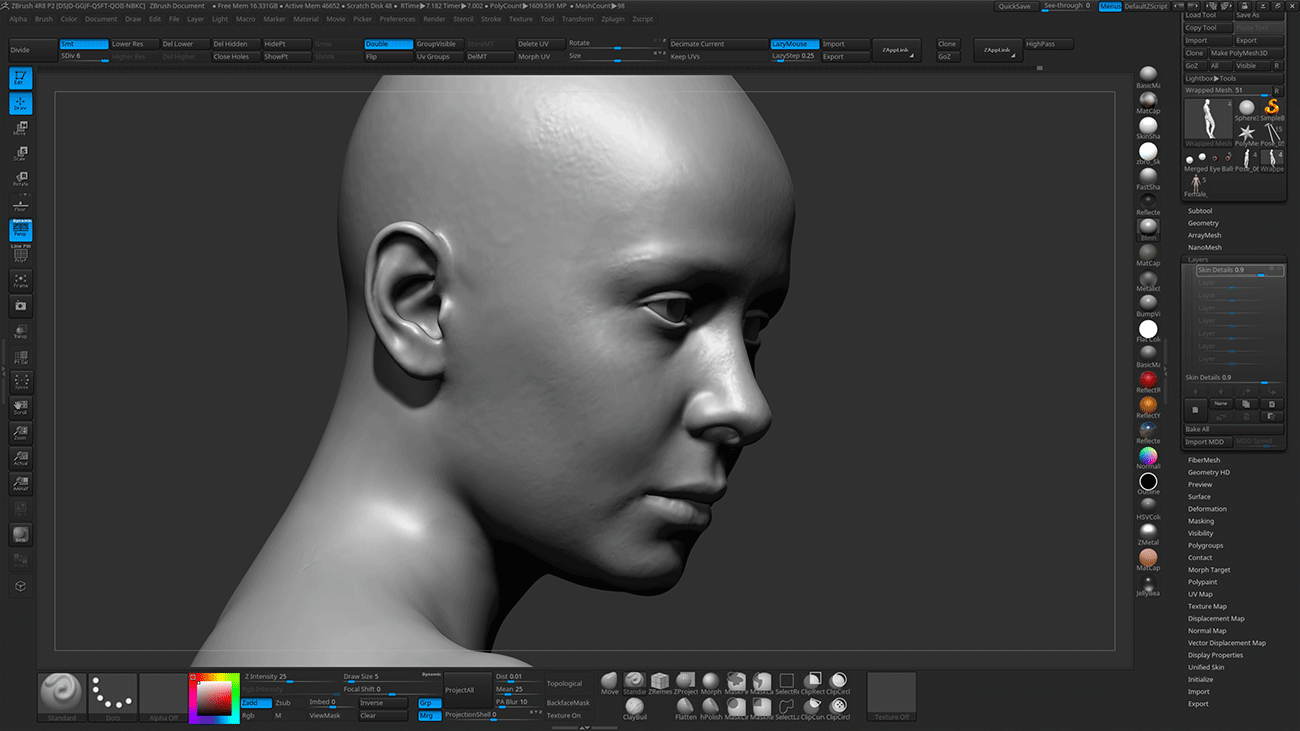
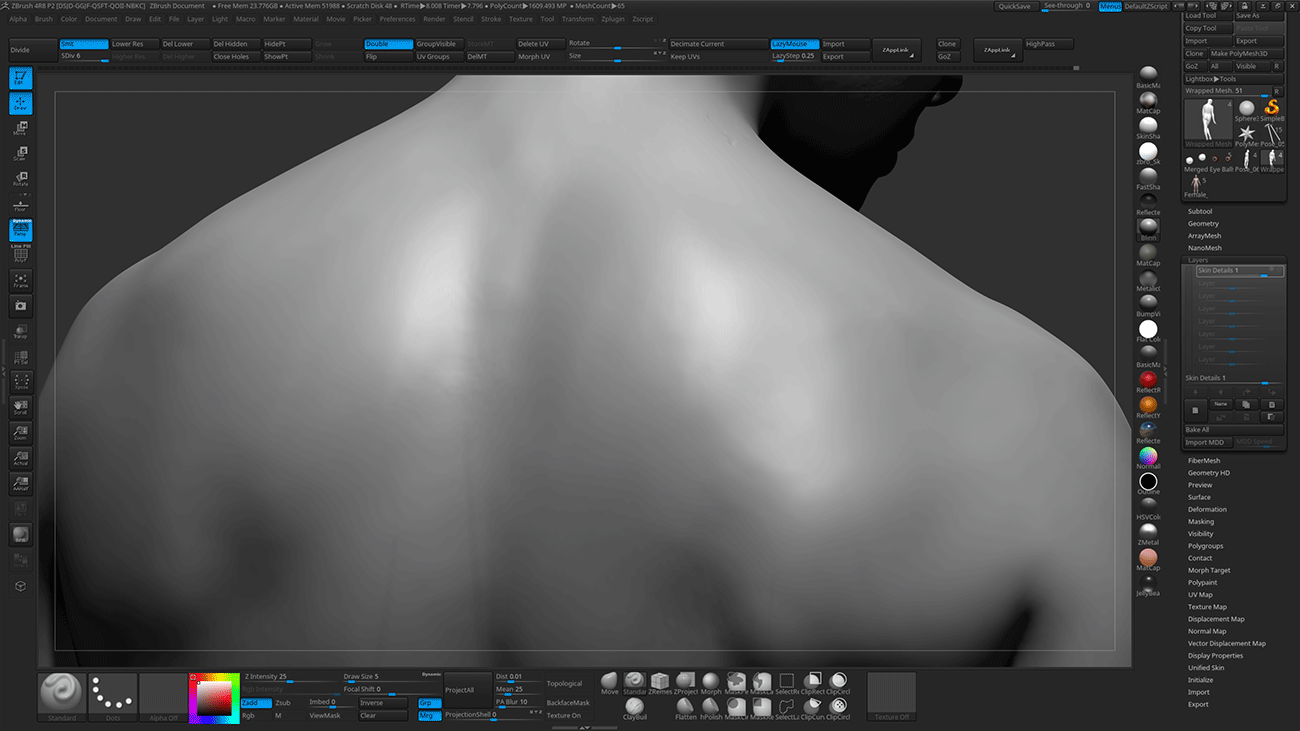
Because we only deformed the lowest subdivision level of the base mesh you will notice that when you move up the SubD levels that a lot of the detail from the previous base mesh model is still there. What we need to do now is transfer the higher resolution details from the sculpt onto the new base mesh by using the projection tools in Zbrush. Before we begin projecting its a good idea to save a morph target on the level that you intend to work on. In the case of the video above I'm doing most of the projection work on Level 4. The reason for the morph target is to quickly and easily clean up projection errors by using the morph brush to morph back to the original subdivided wrapped shape, which for areas such as under the arms and between the fingers is pretty accurate. So once the morph target is saved hit the "project all" button in the "Subtool > Project" pallet, I usually use the zbrush default distance setting of around 0.02 but you can mess around with this to get better results. Once the project is completed select the "morph brush" and use it to fix any projection errors in the areas as shown in the video above.
You might notice that for the toes I morph them back almost to their original wrapped state, this is because I thought the toes on the original base mesh were actually better than the ones on the scan / sculpt so decided to keep them rather than project the sculpt details.
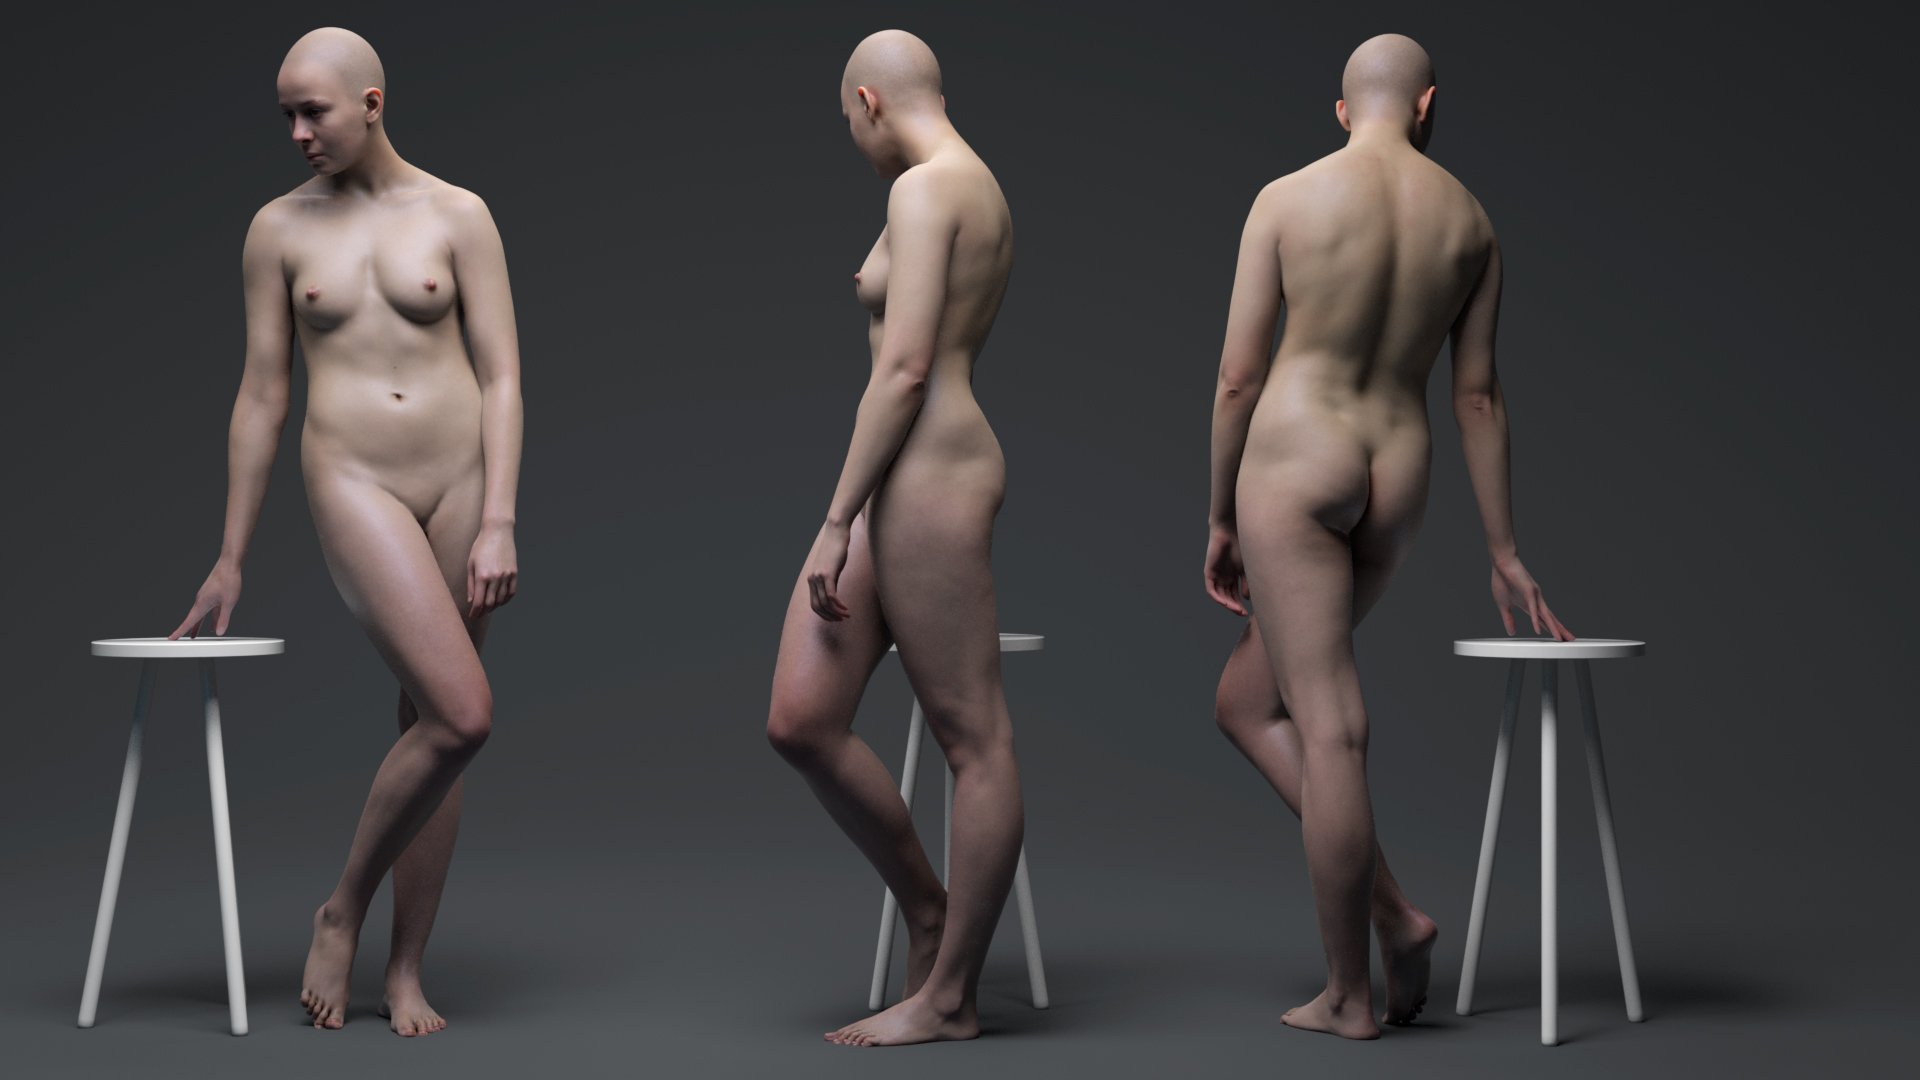
We are left with a fully textured, UV mapped version of our original sculpt.
Because our base mesh comes with a Layer containing all the high resolution skin and pore details, once the wrapping and project stage is complete we can simply switch it one, these details will match exactly to the texture and you can control the intensity via the layer slider. If you wanted to adjust the intensity with a little more accuracy you could use the same morph technique as before, saving a morph with the skin details turned on and another with them turned off then simply use the morph brush to define the intensity of the details.
I feel that I should point out that this is one of two ways in which this process could be done, the second way would be to UV map your own model and then go through the same wrapping process as described above after which you could then project the textures from the base mesh onto your own UV's. This would be a better workflow for people who needed to work with very specific topology and weren't interested in the base mesh topology or UV layout.
Final Render
Final Render created with Modo 10.1
I hope you have found this tutorial useful and if you have any questions please leave them in the comments section below