Introduction
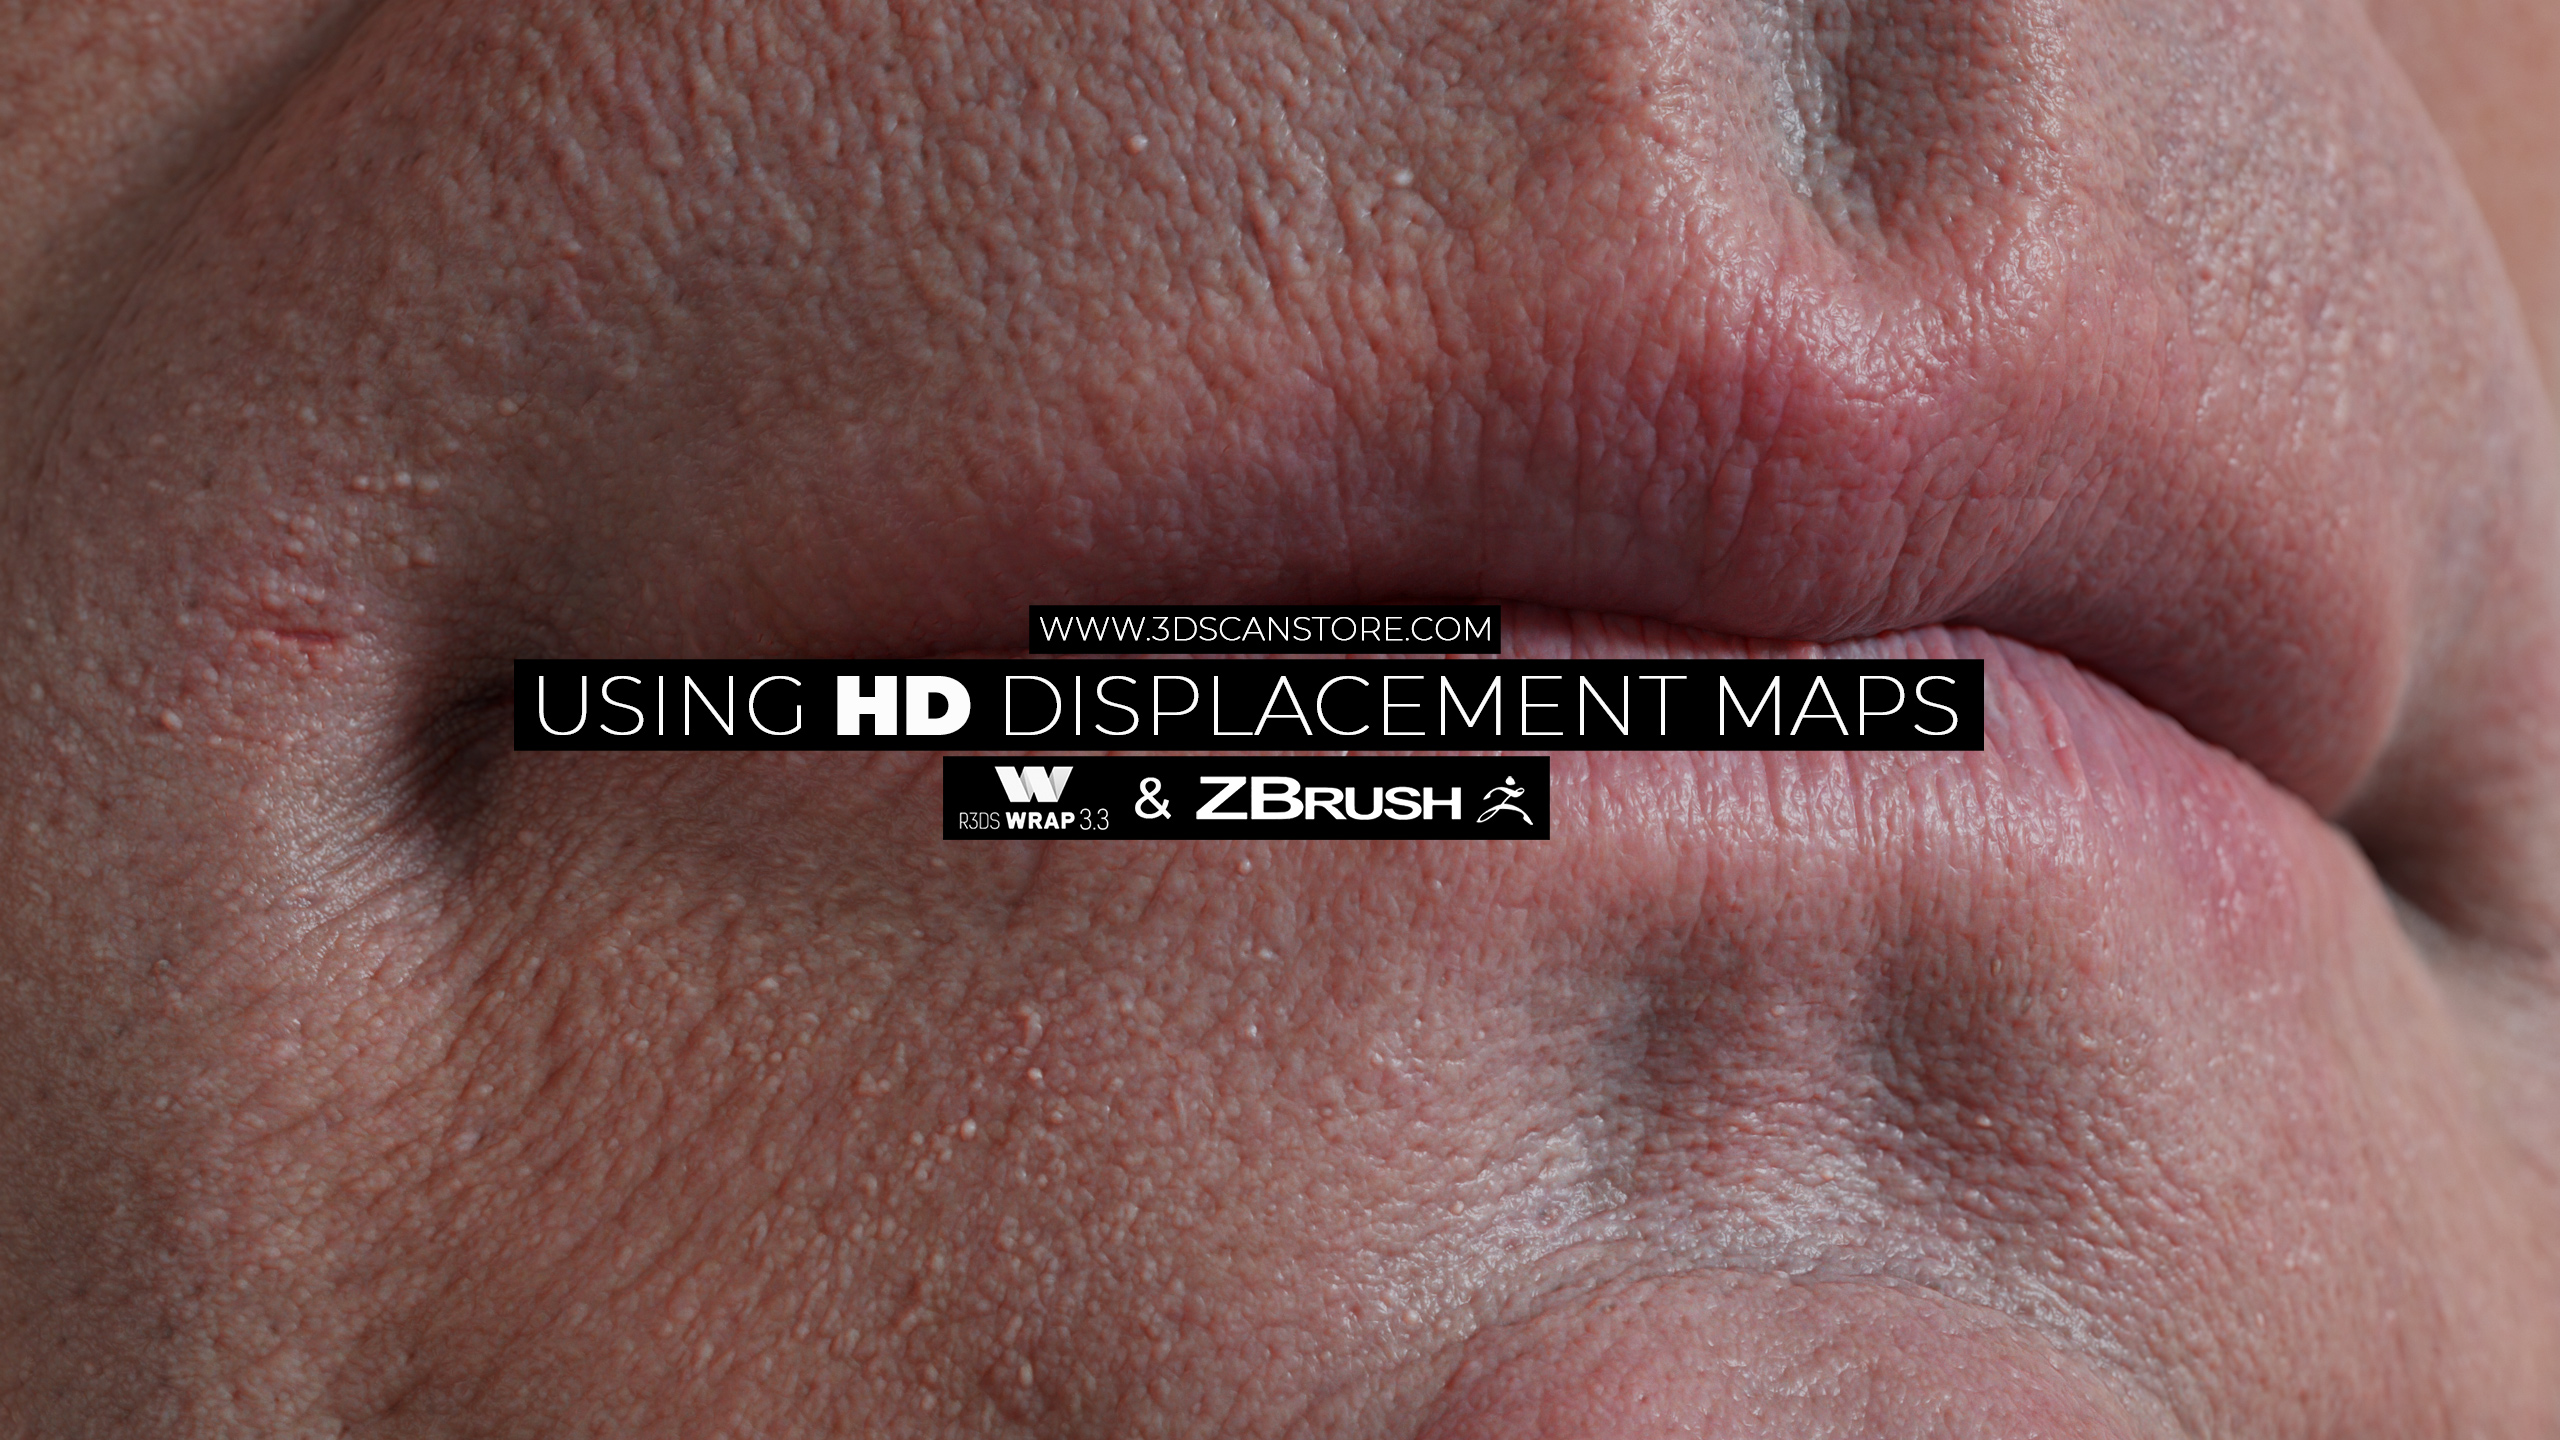
In this tutorial I want to show you how to use our new HD Displacement maps. First I want to give you a little bit of information about the maps themselves. They have been extracted from our HD head scans as 16bit displacements, we had to use a combination of Zbursh and Xnormal to do this as Zbrush's default displacement exporter doesn't support any kind of inflated mesh and therefore isn't suitable for exporting directly. As a result we had to chop the 50 million polygon HD heads into small chunks and import those into Xnormal where we were able to generate a 16bit height map from the raw geometry. All of the maps work directly with he supplied base mesh and will also work on any of our retopologised head or HD heads as they all use the same mesh and UV maps. There are two ways to apply our displacement maps to your mesh I have outlined them below and also created some tutorial videos to help you get the most out of them.
Special thanks to Erick Sosa for providing the example model used in these tutorials :: https://www.artstation.com/zkulptor
Typical displacement map data set includes
- 1 x 16K PSD 16bit PSD Displacement Map
- 1 x 16K PSD Albedo Map
- 1 x Base mesh set
- 1 x Secondary and Tertiary details Photoshop action.
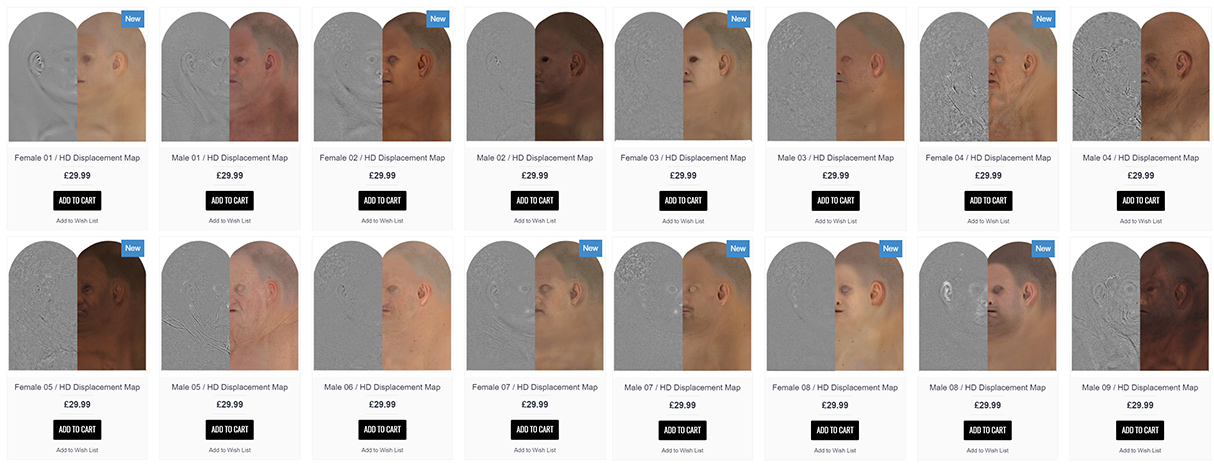
Browse our range of HD displacement maps here
1. Wrap our base mesh to your sculpt.
This method is slightly more time consuming but gives you the freedom to sculpt your head as you see fit and then apply the displacement map afterward by using Wrap 3 to wrap our base mesh onto you existing model.
Workflow outline
- Wrap supplied base mesh to your sculpt or scan using Wrap 3
- Project wrapped mesh onto your sculpt in Zbrush
- Apply displacement map
2. Sculpt using our base mesh
This is by far the simplest method, sculpting your head using our base mesh means that you can apply any of our displacement maps to your sculpt at any point during the process. This is probably the best way to work as it means you can reference details on the displacements as you sculpt taking into account wrinkles and lines that already exist in the displacement and can be fleshed out in your sculpt.
Workflow outline
- Sculpt your model using the supplied base mesh
- Apply displacement map
Blending displacement maps in Zbrush
Because all of our maps have been created using the same UV's and mesh its possible to apply multiple displacements to the same mesh and then blend between them using the morph brush to create unique skin displacements.
Workflow outline
- Apply first displacement on a layer
- Disable first displacement layer
- Apply second displacement on new layer
- Store morph target
- Disable second displacement map layer
- Enable first displacement layer
- Use morph brush to morph between displacements
Secondary and tertiary maps
Rather than include gigabytes of extra files in the download each displacement map comes with a Photoshop action that you can run on the map which will create secondary and tertiary maps, these are great either displacing you mesh without as much of the heigh information or for using to create a specular or reflection map.

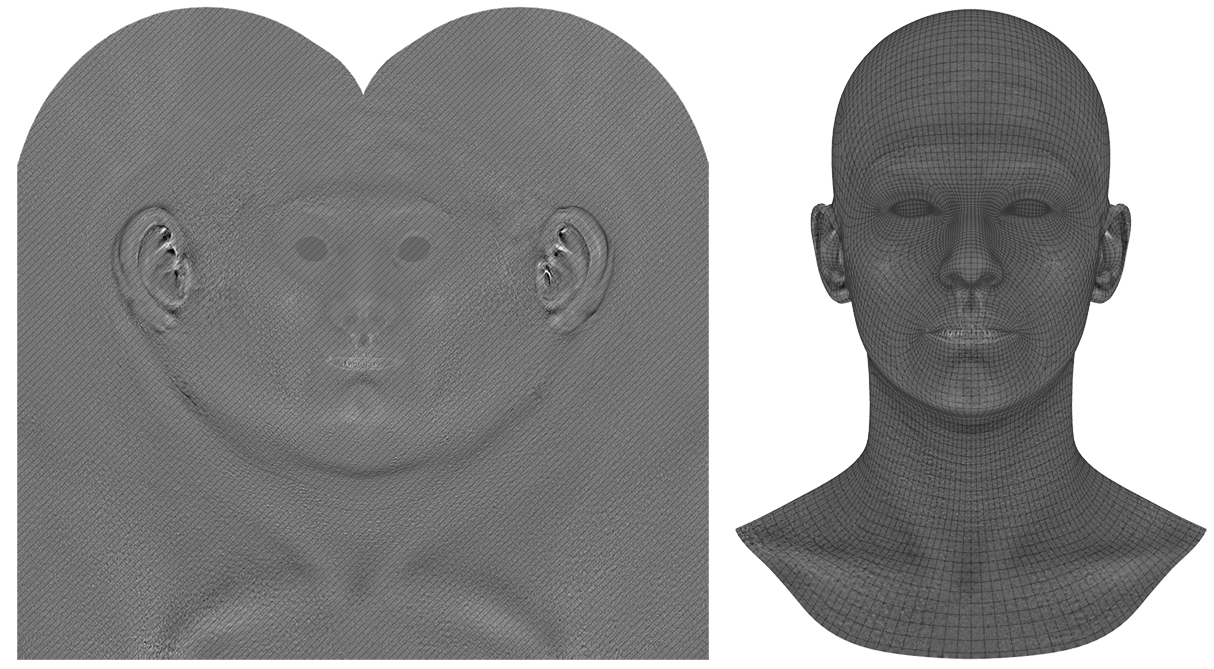
Base Mesh
All of our displacement maps conform to the same basemesh for easy wrapping and sculpting.
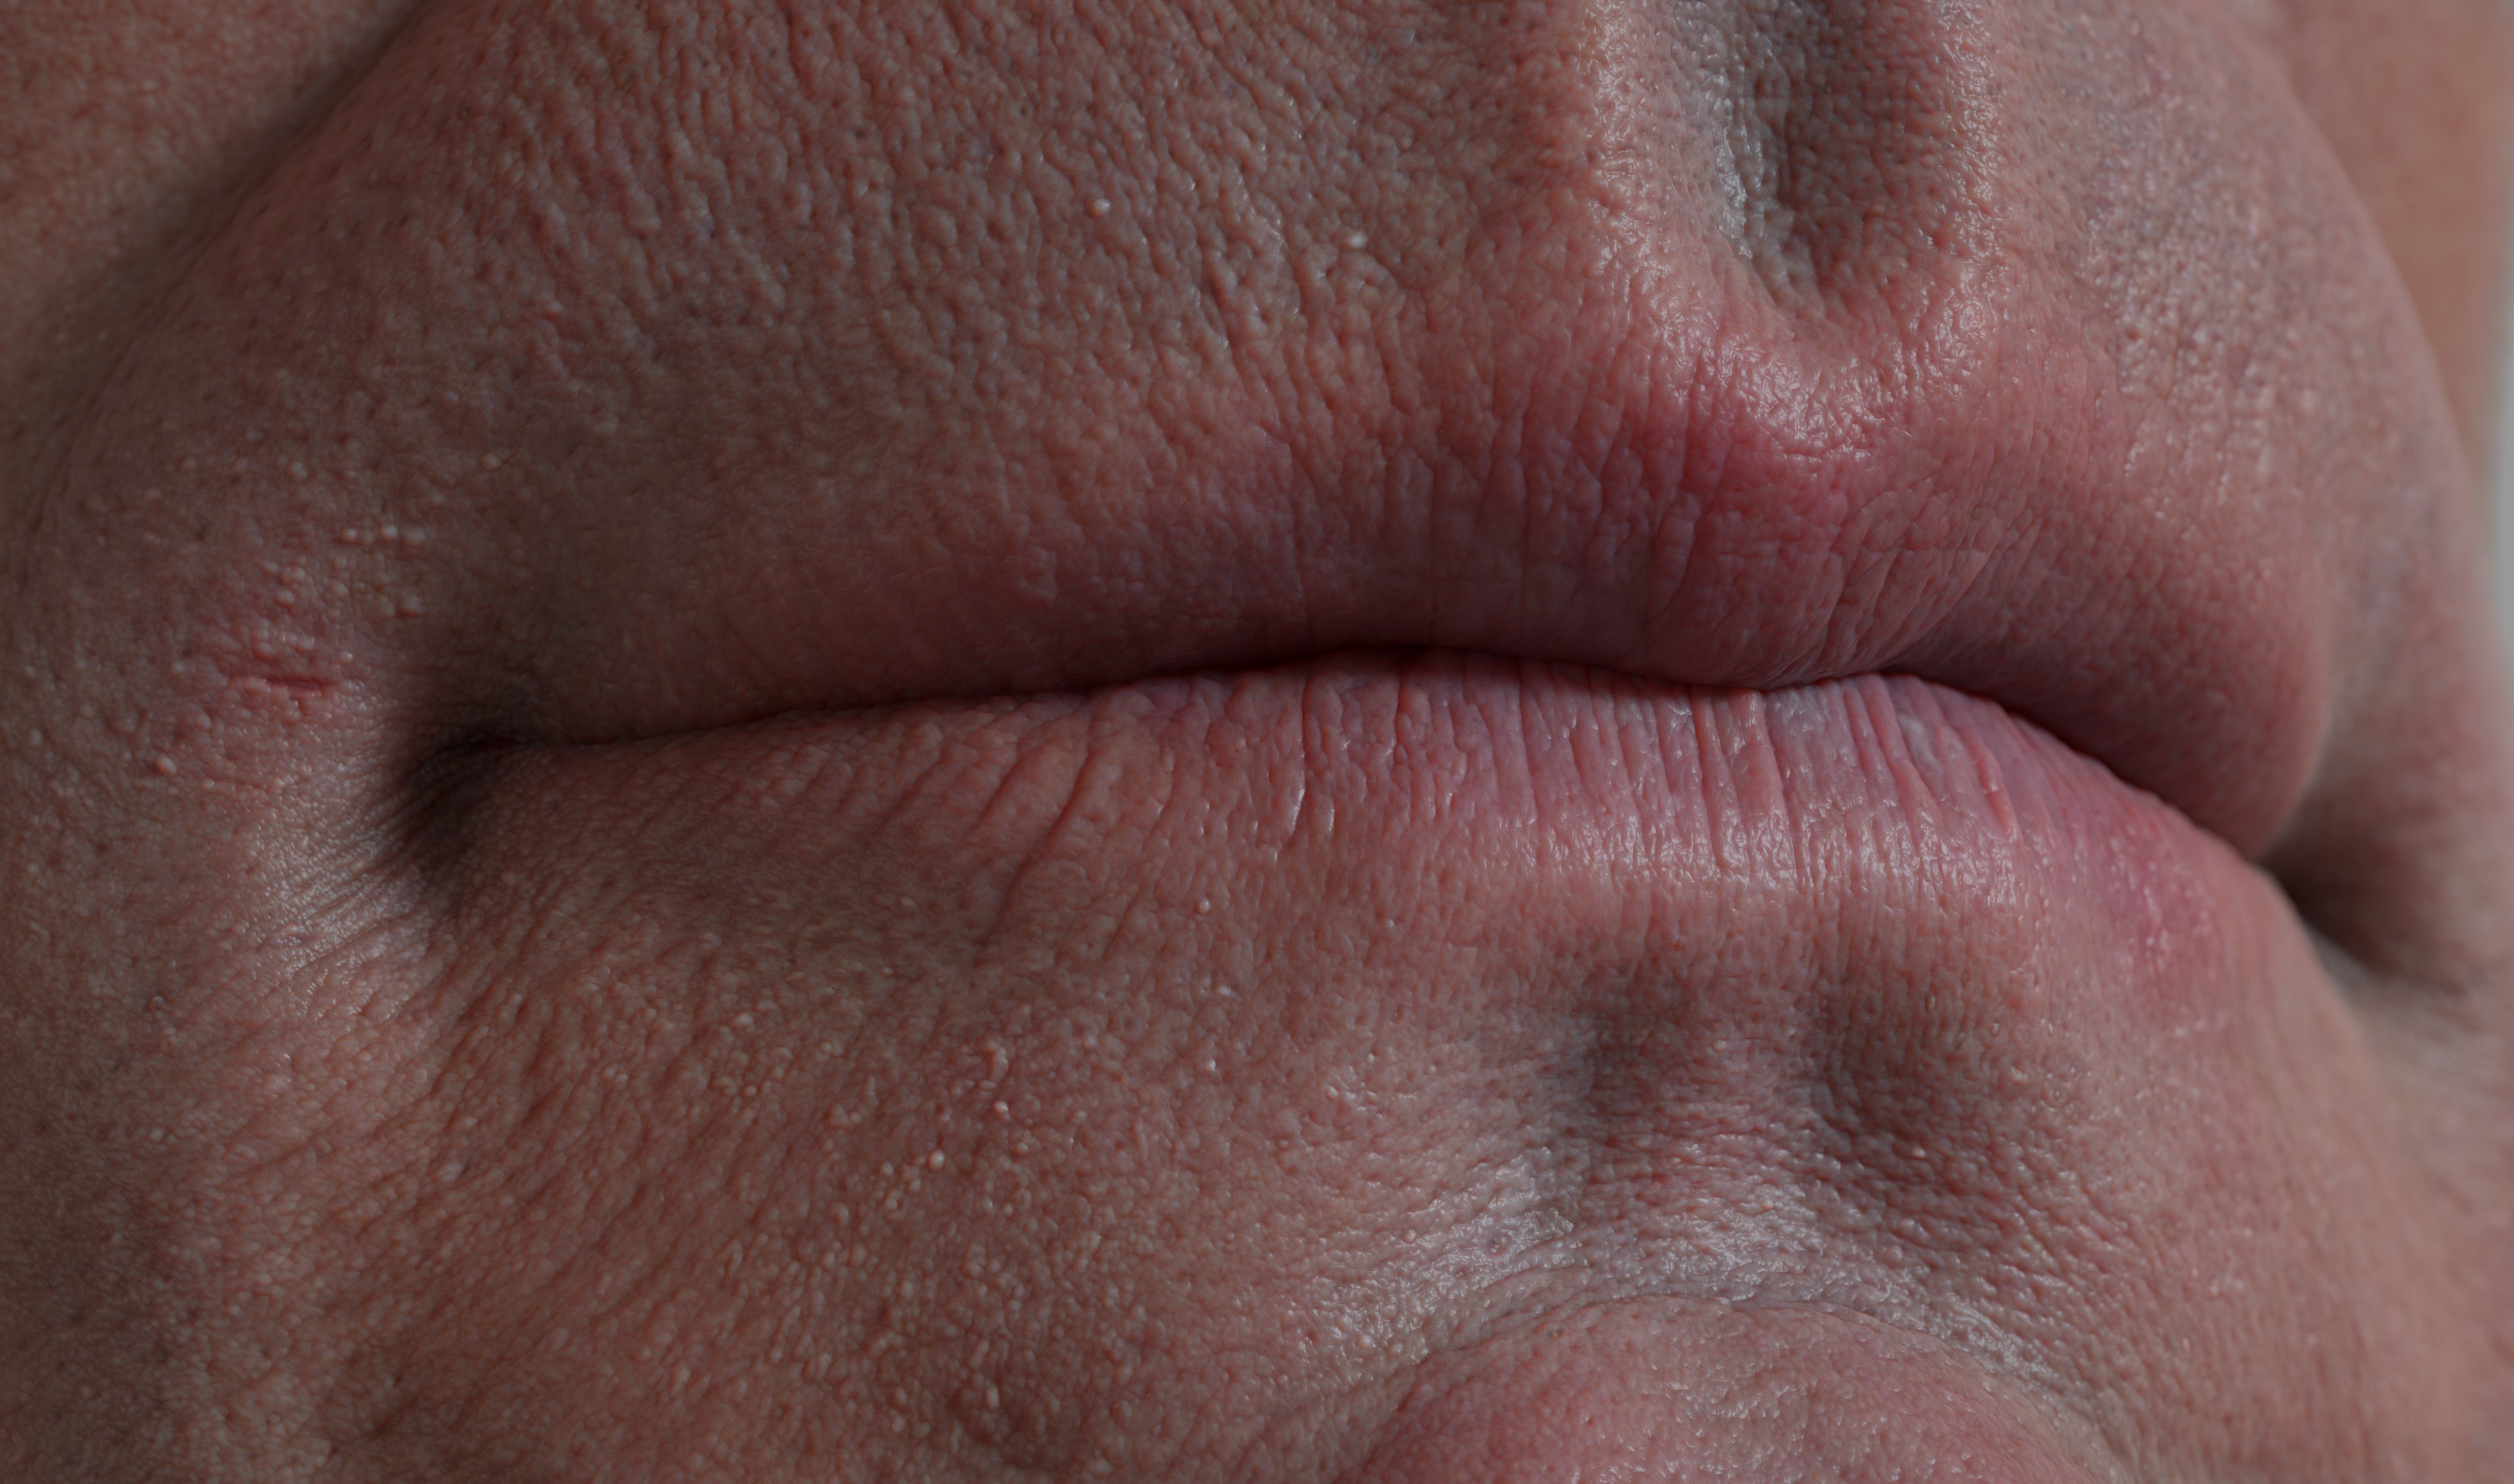
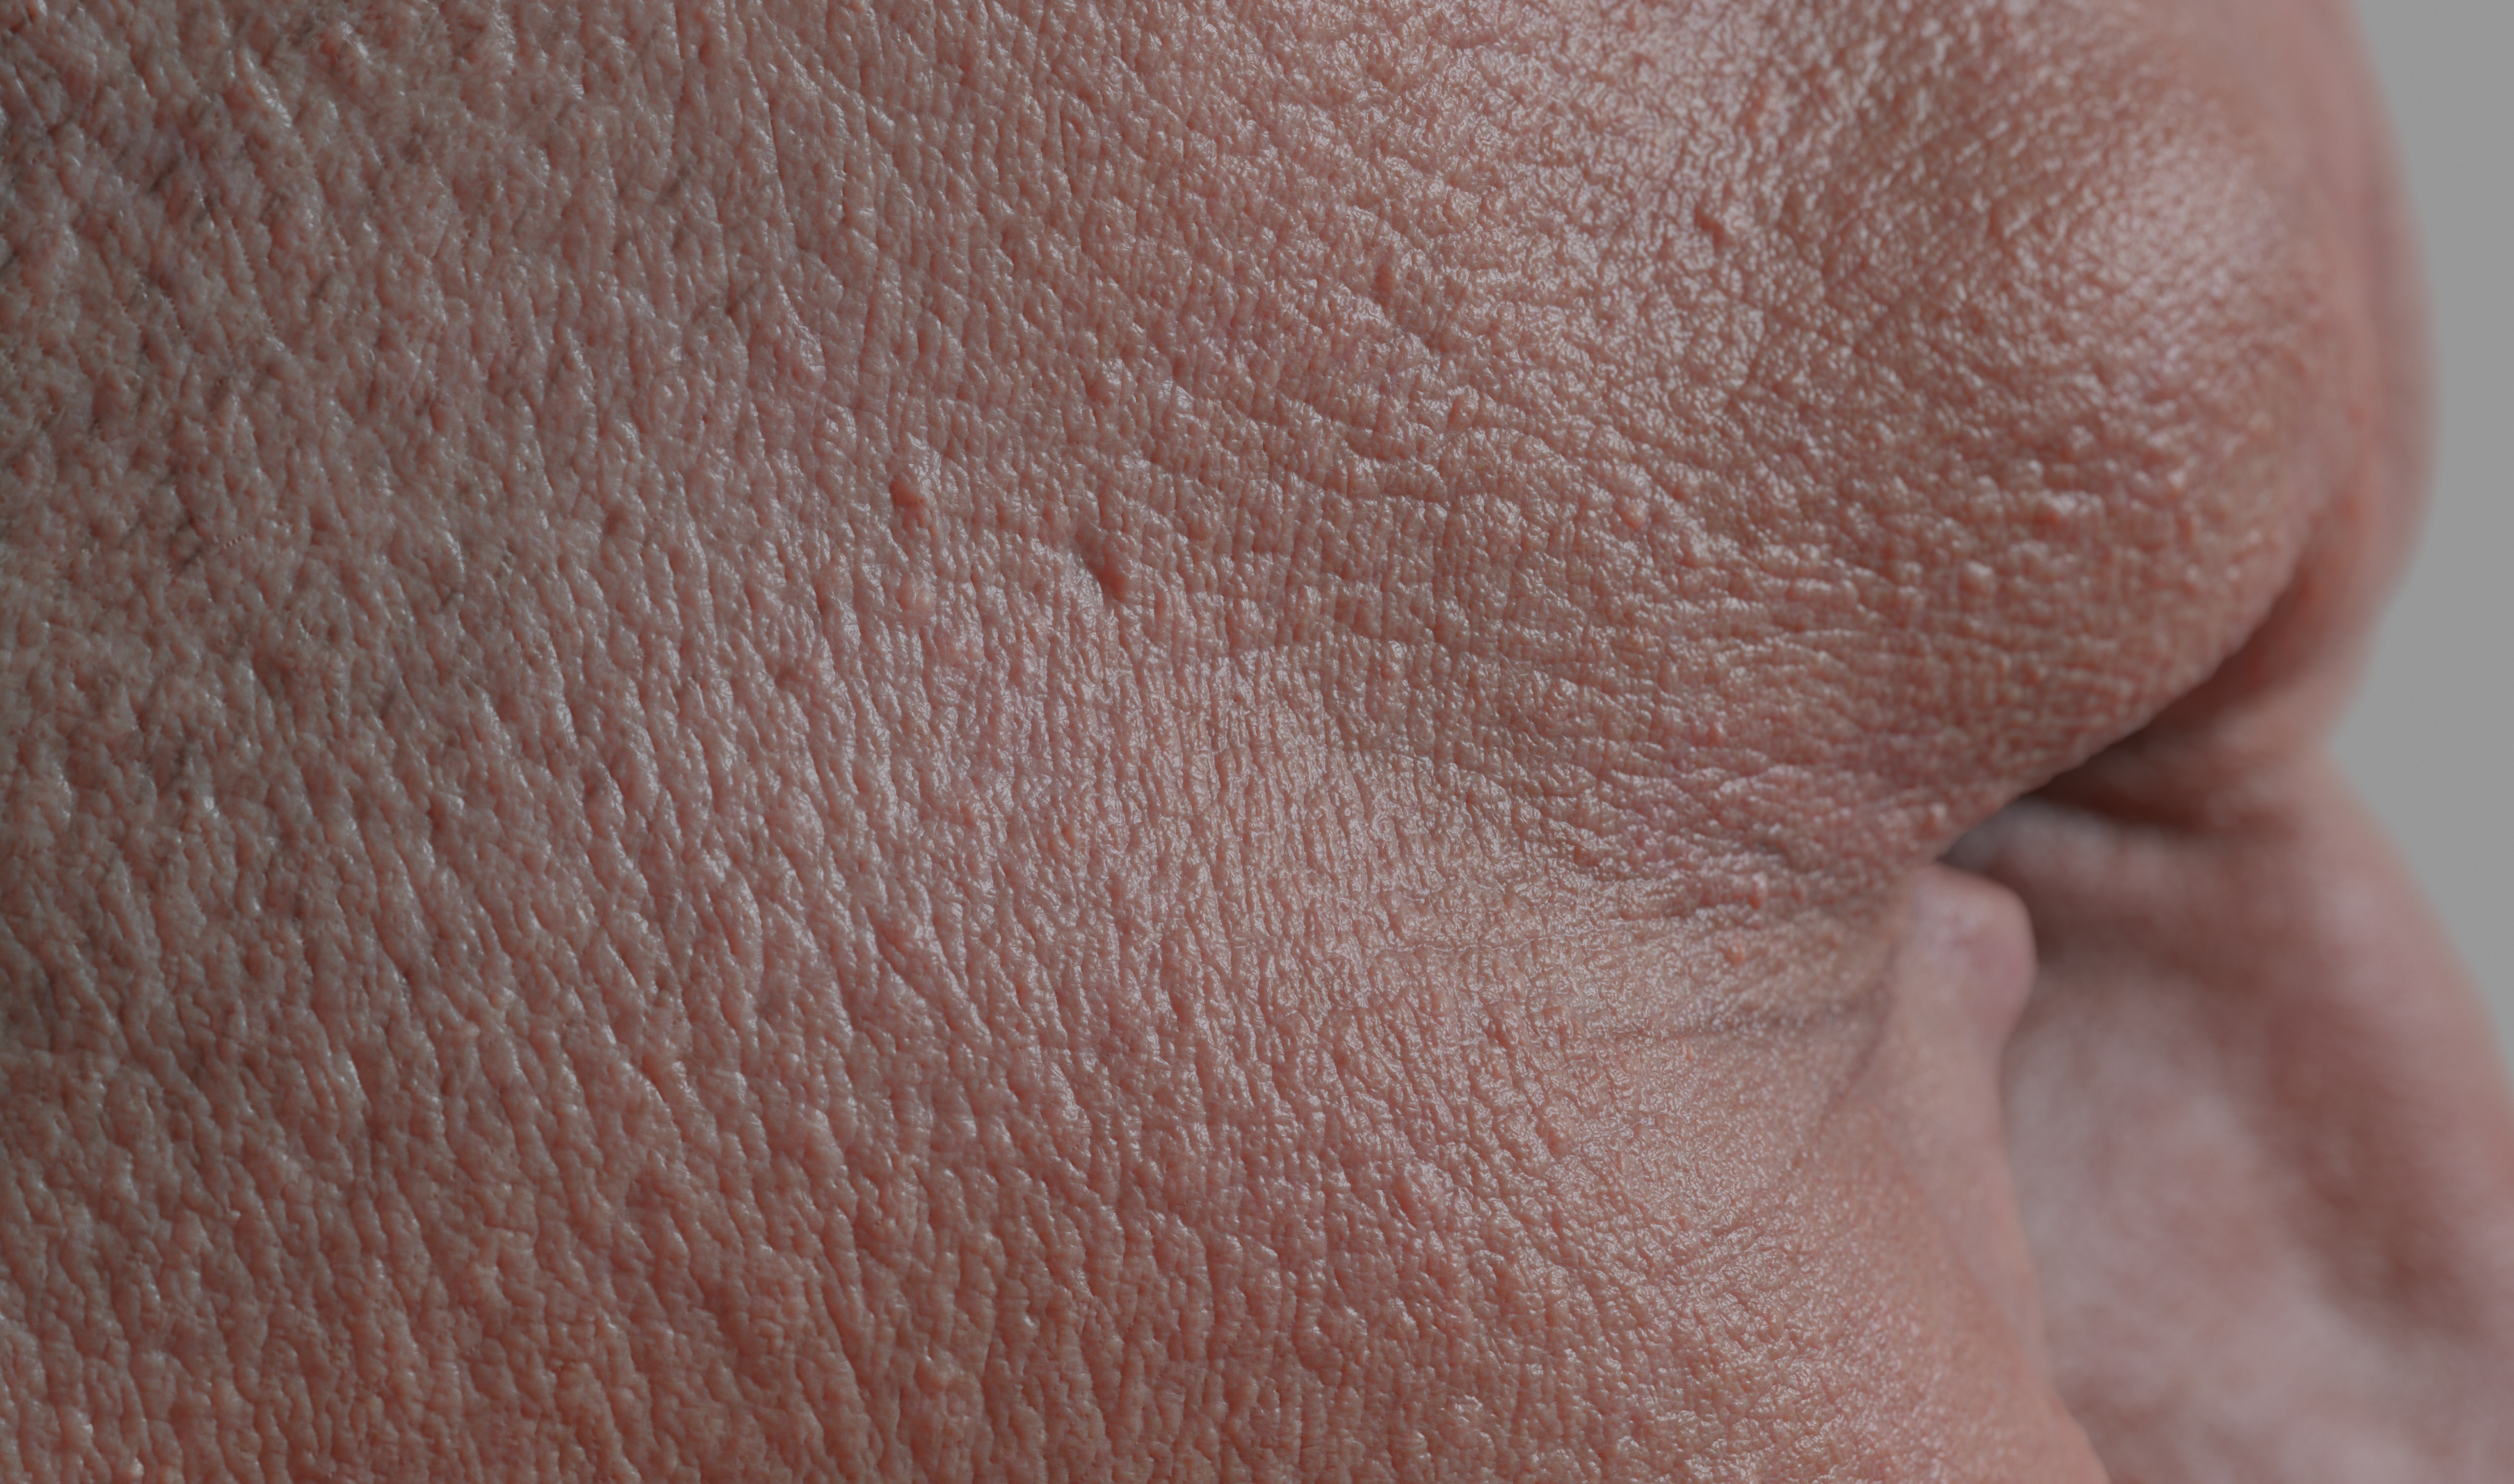
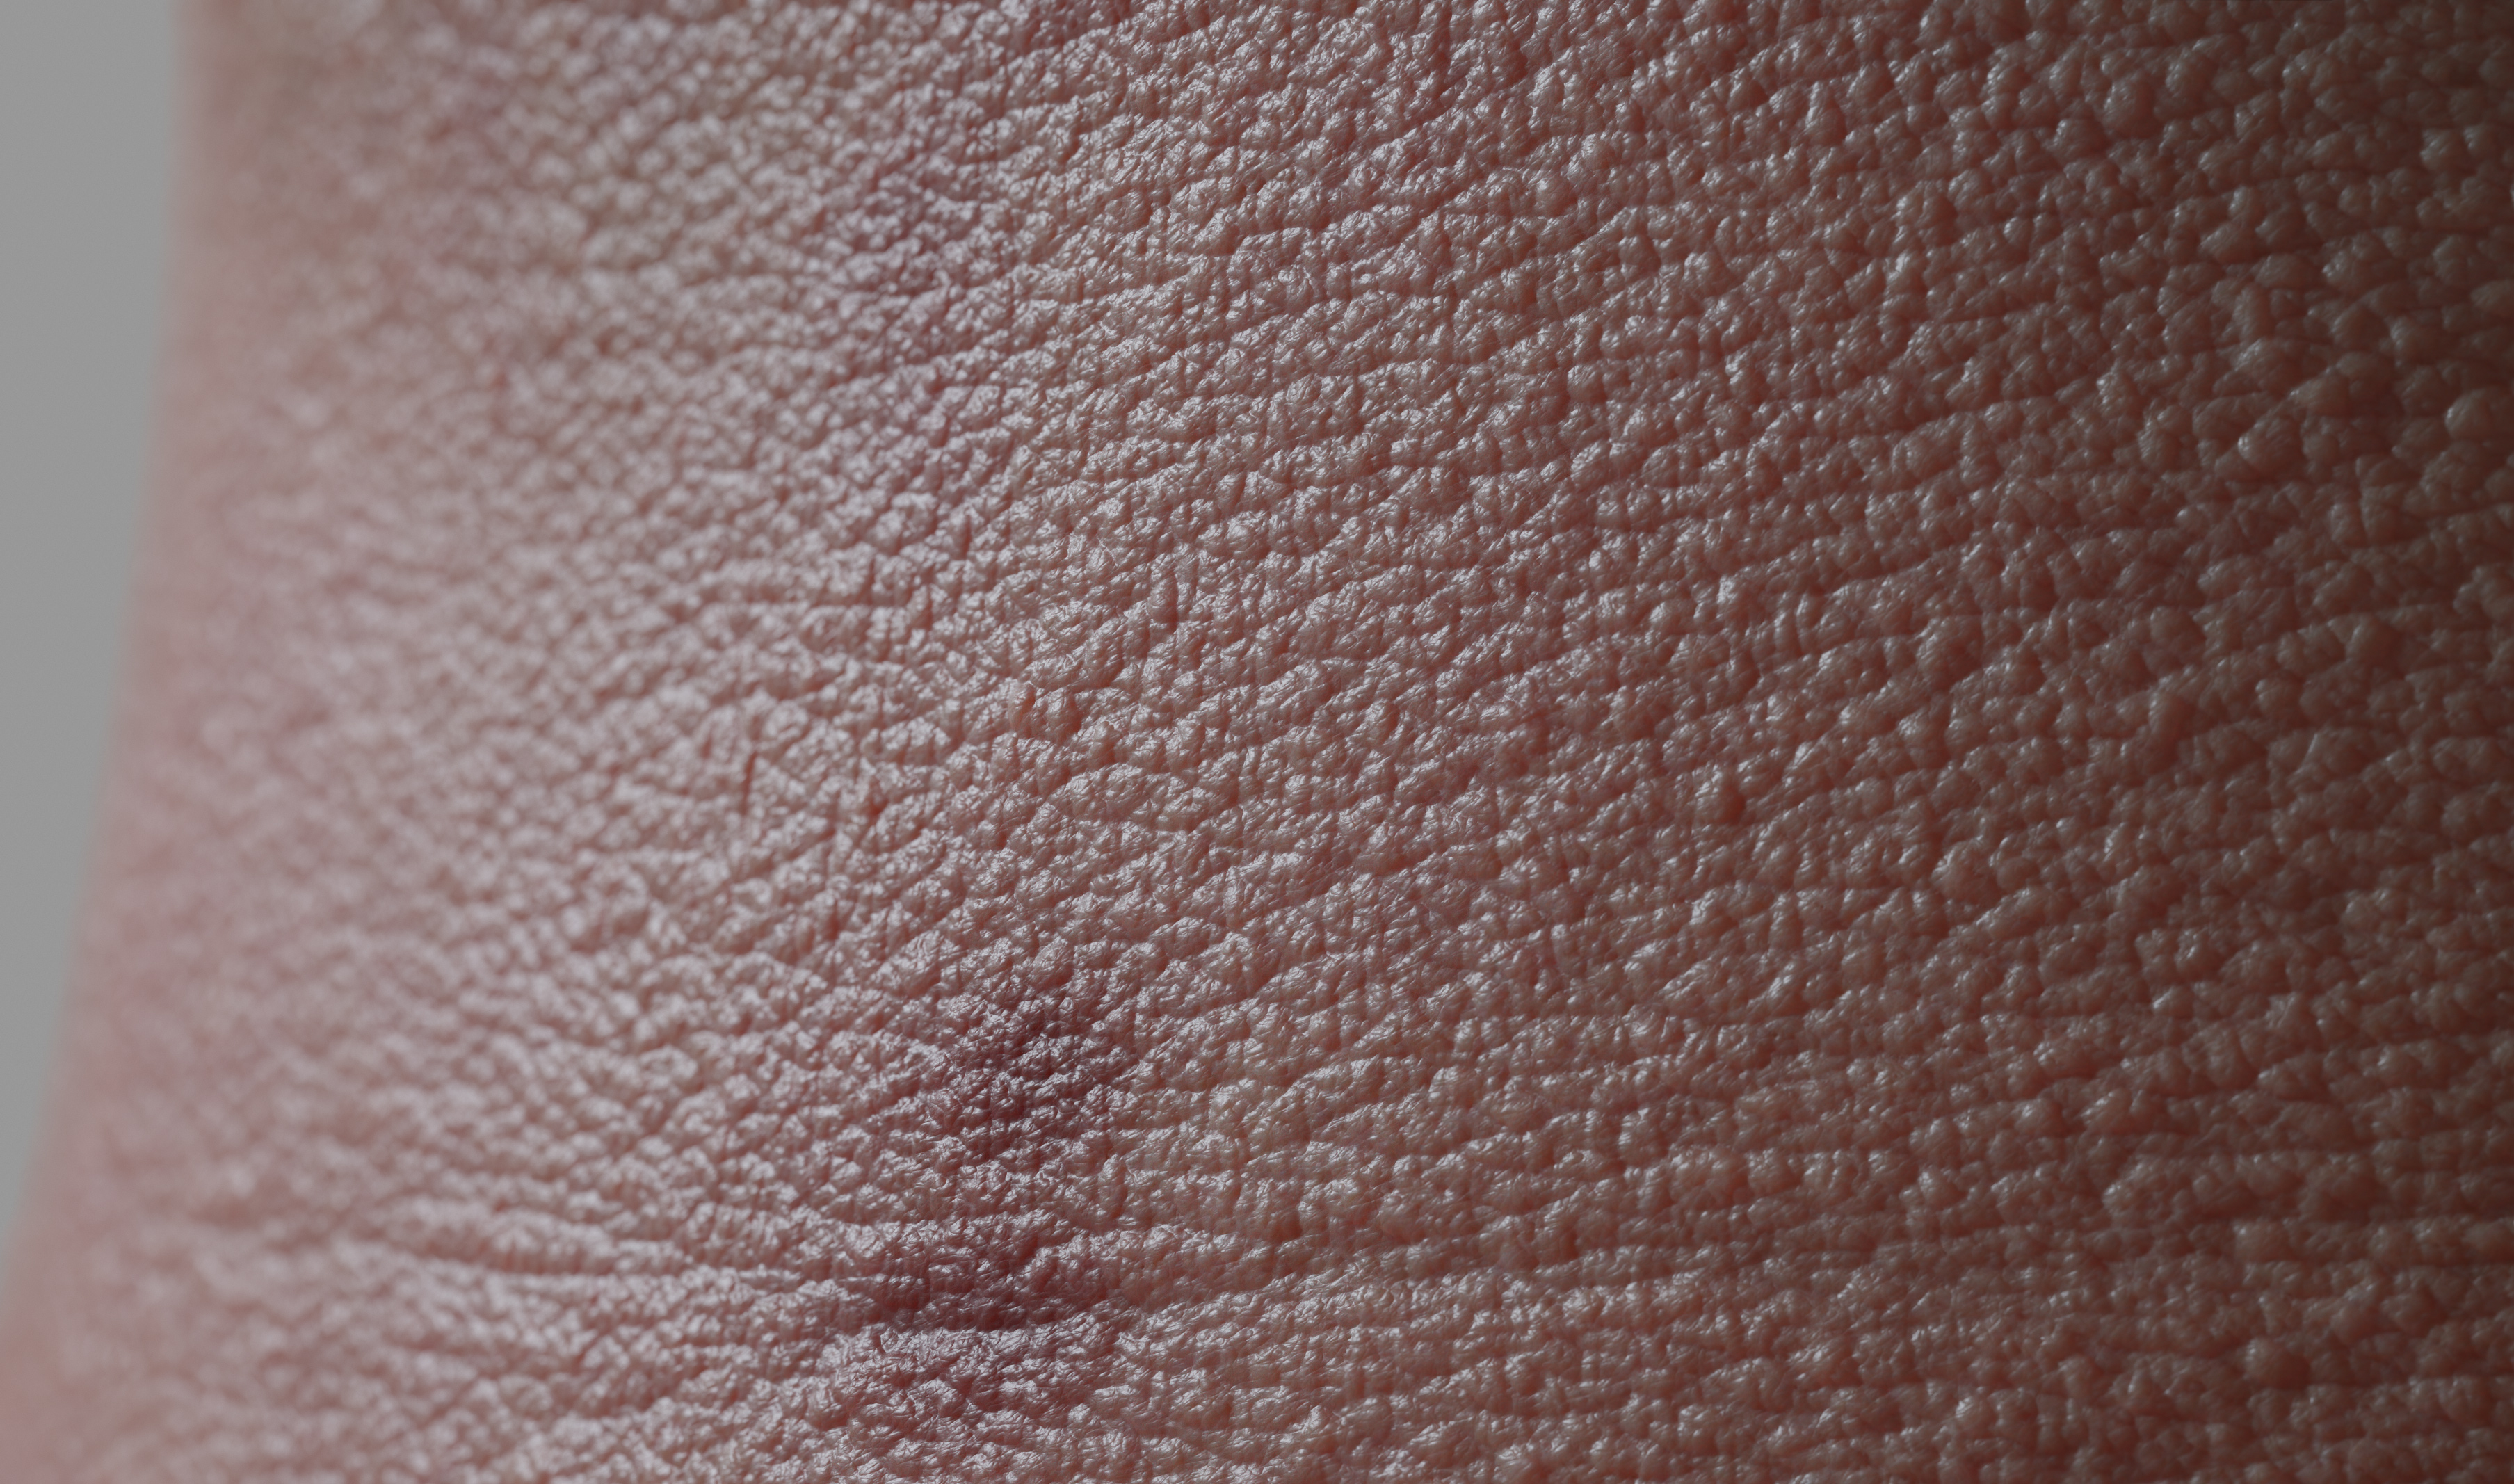
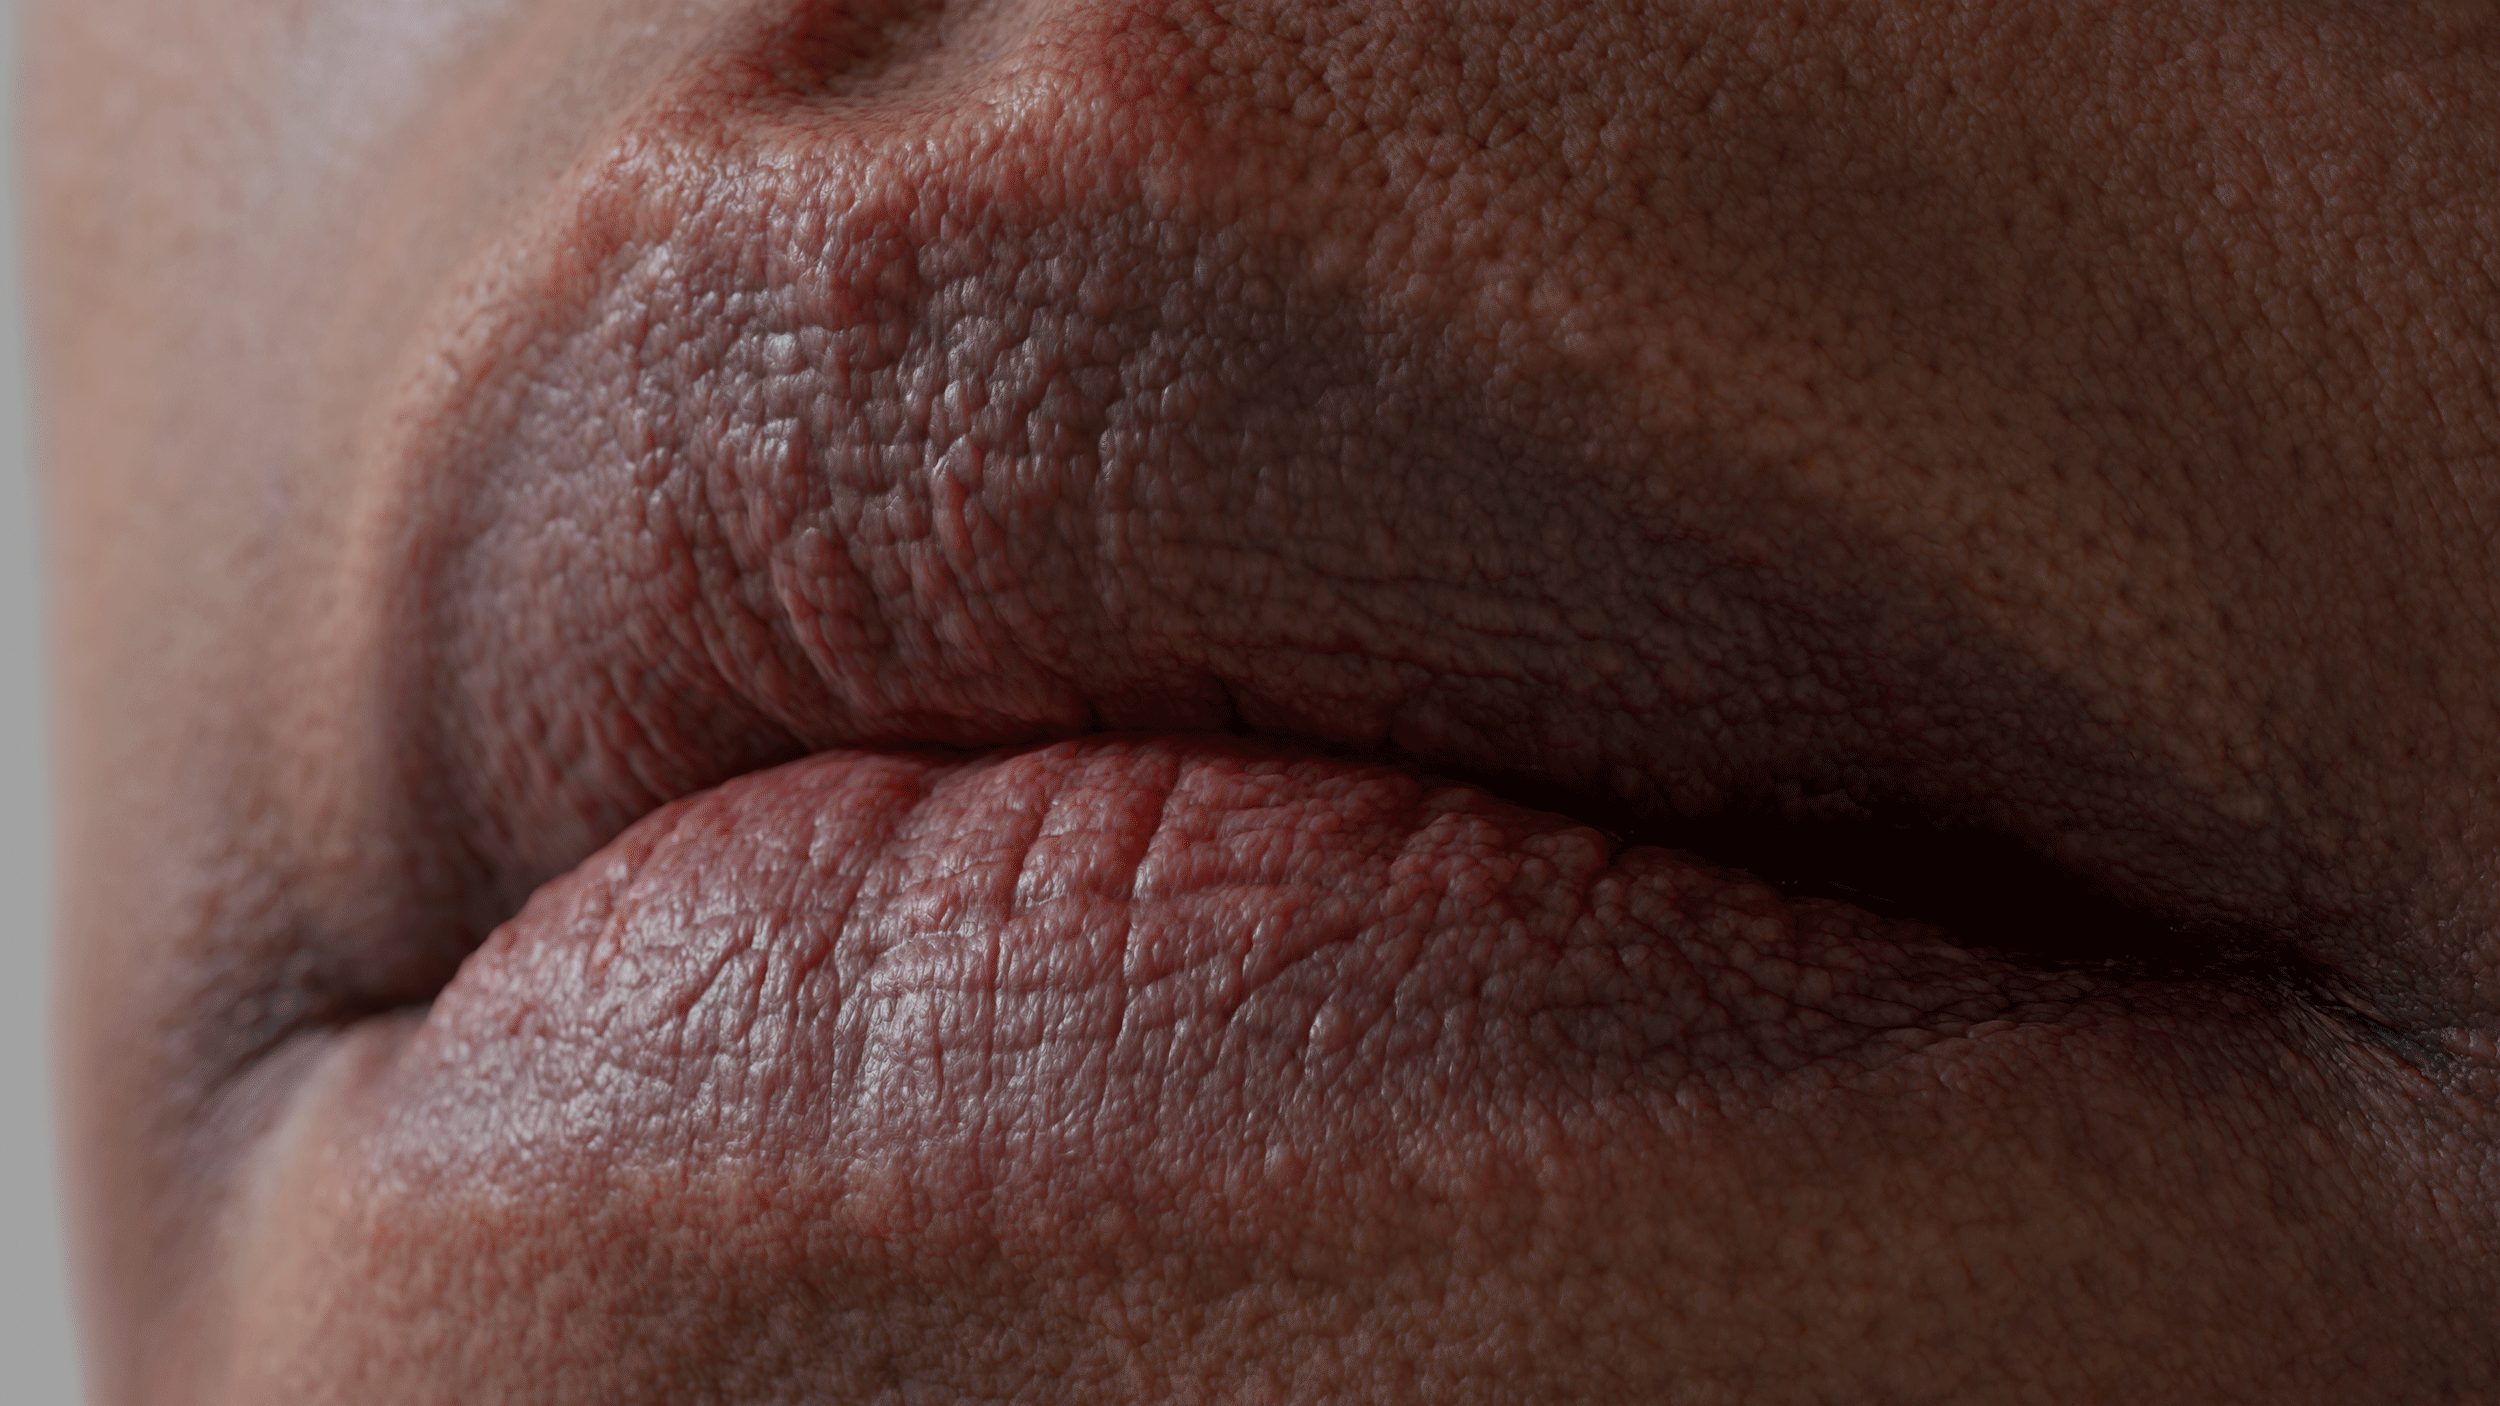
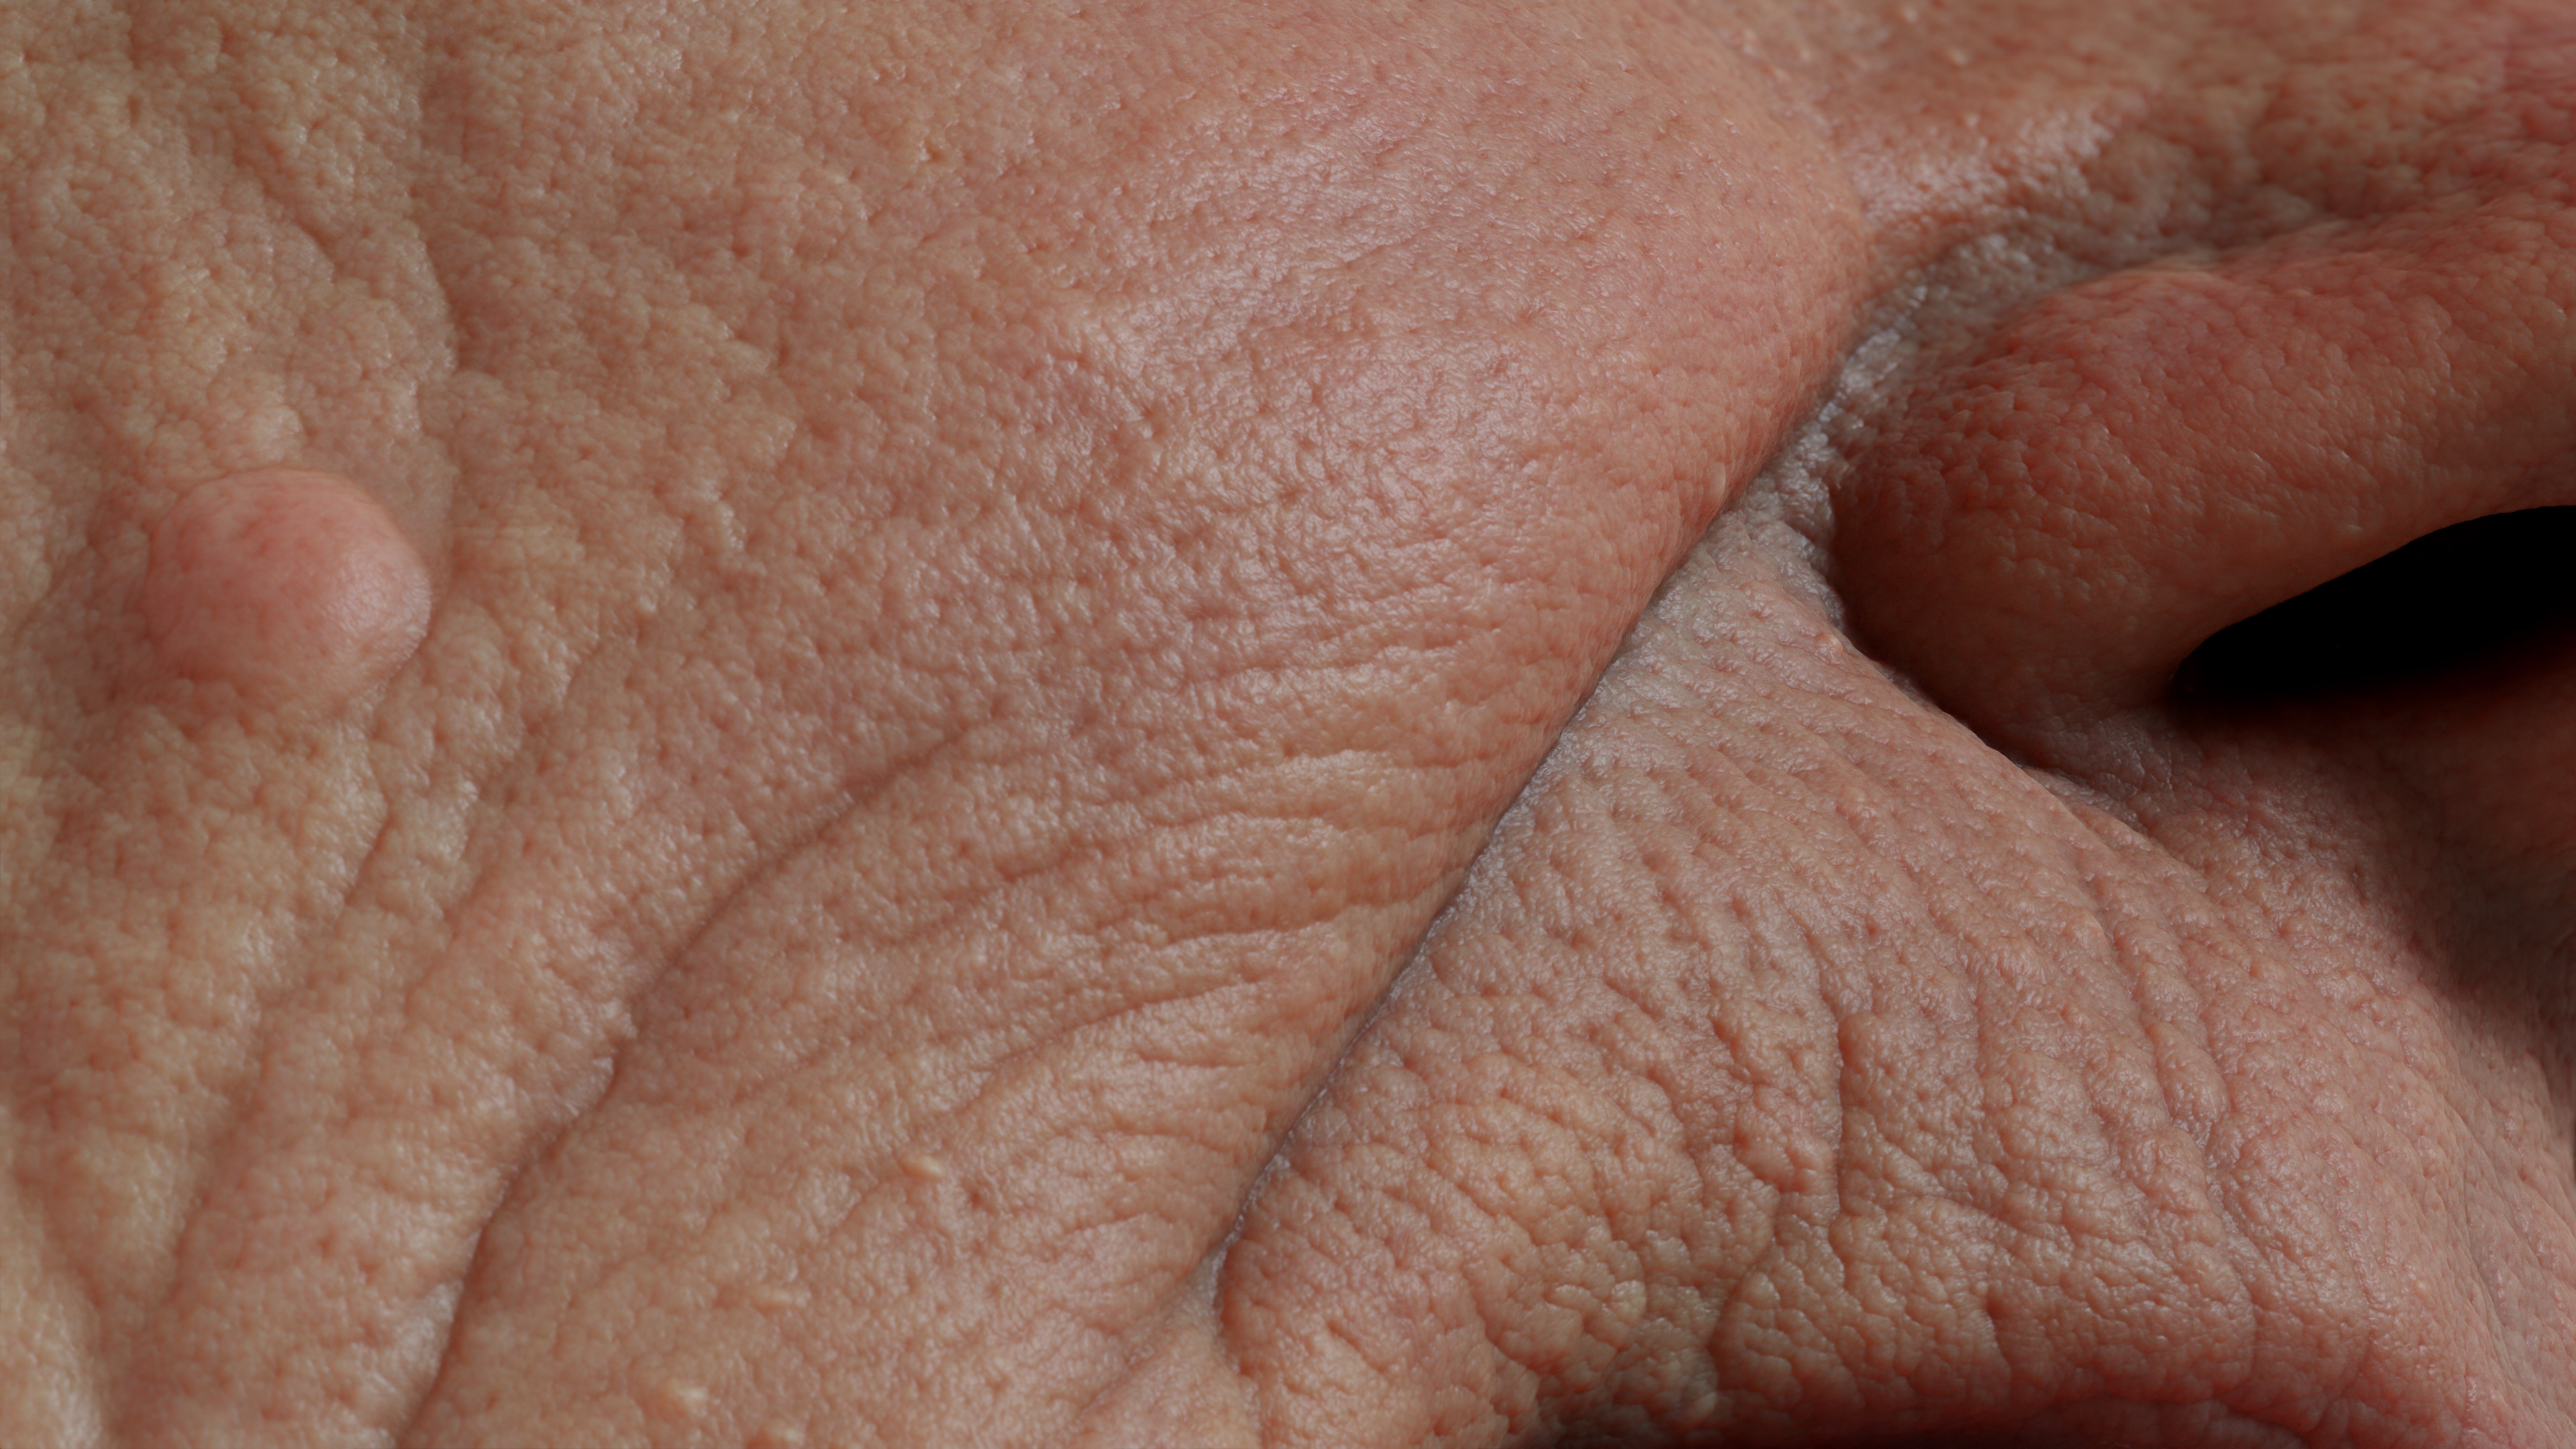
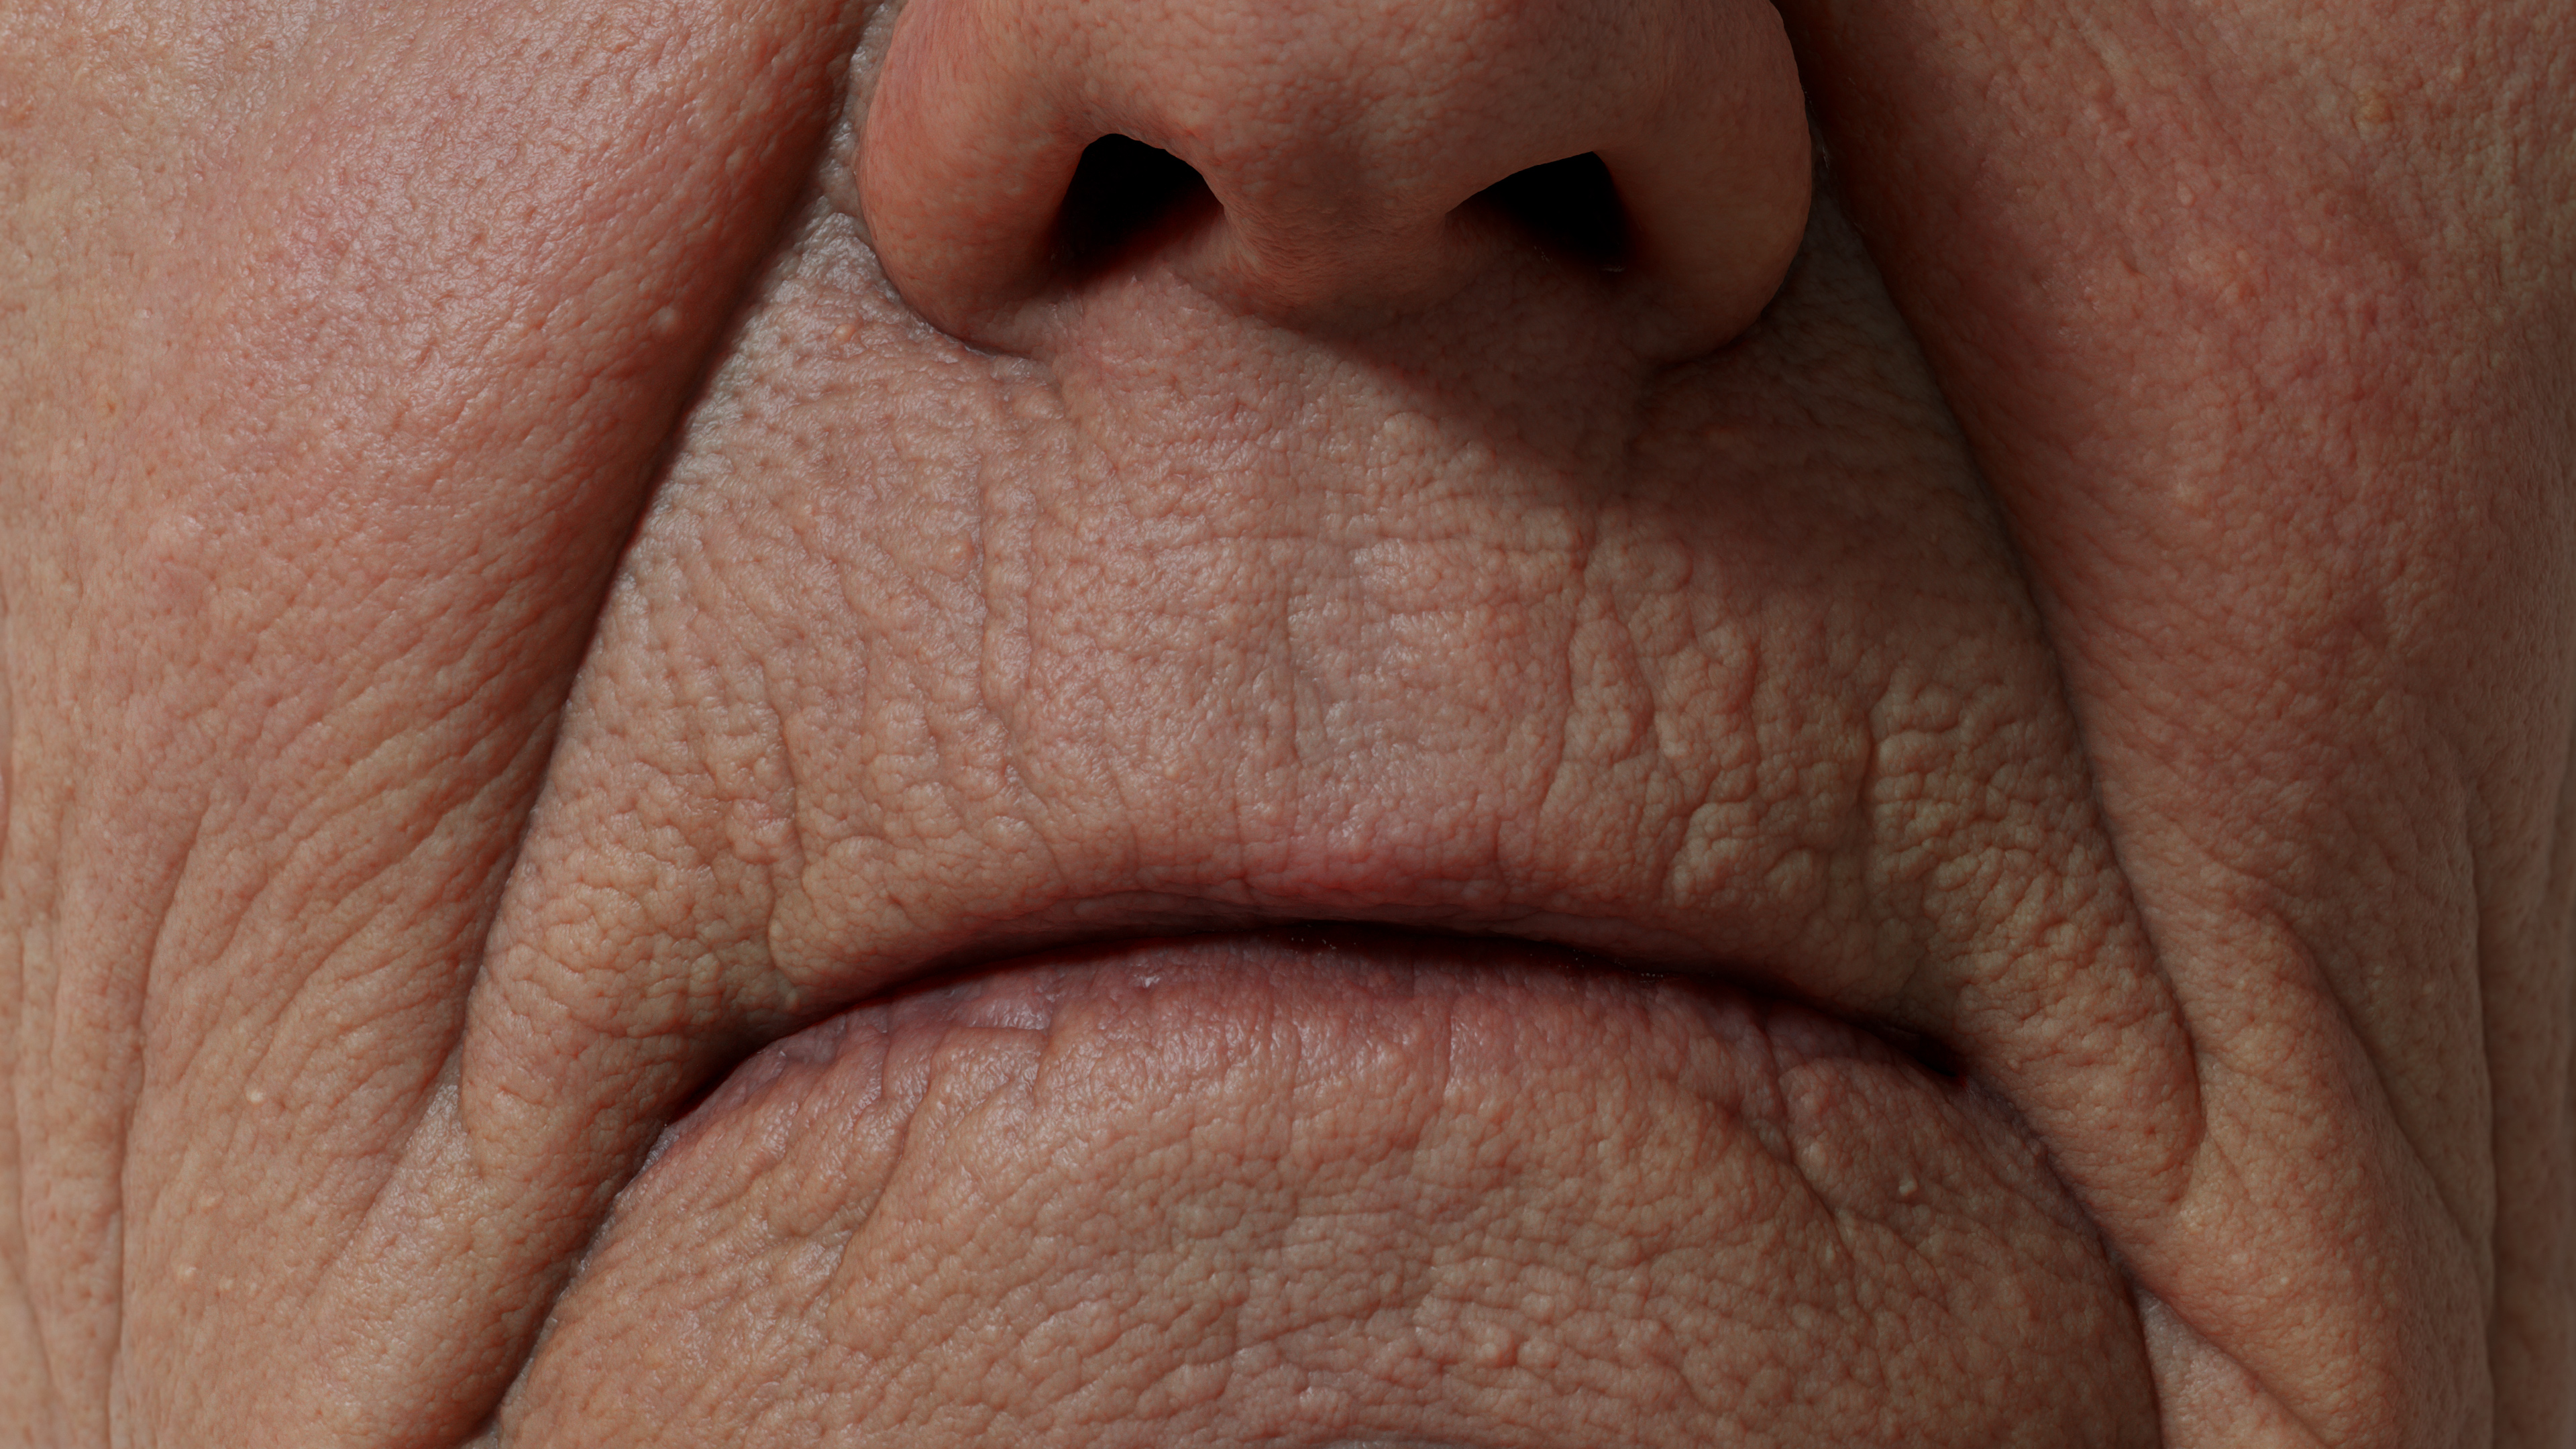
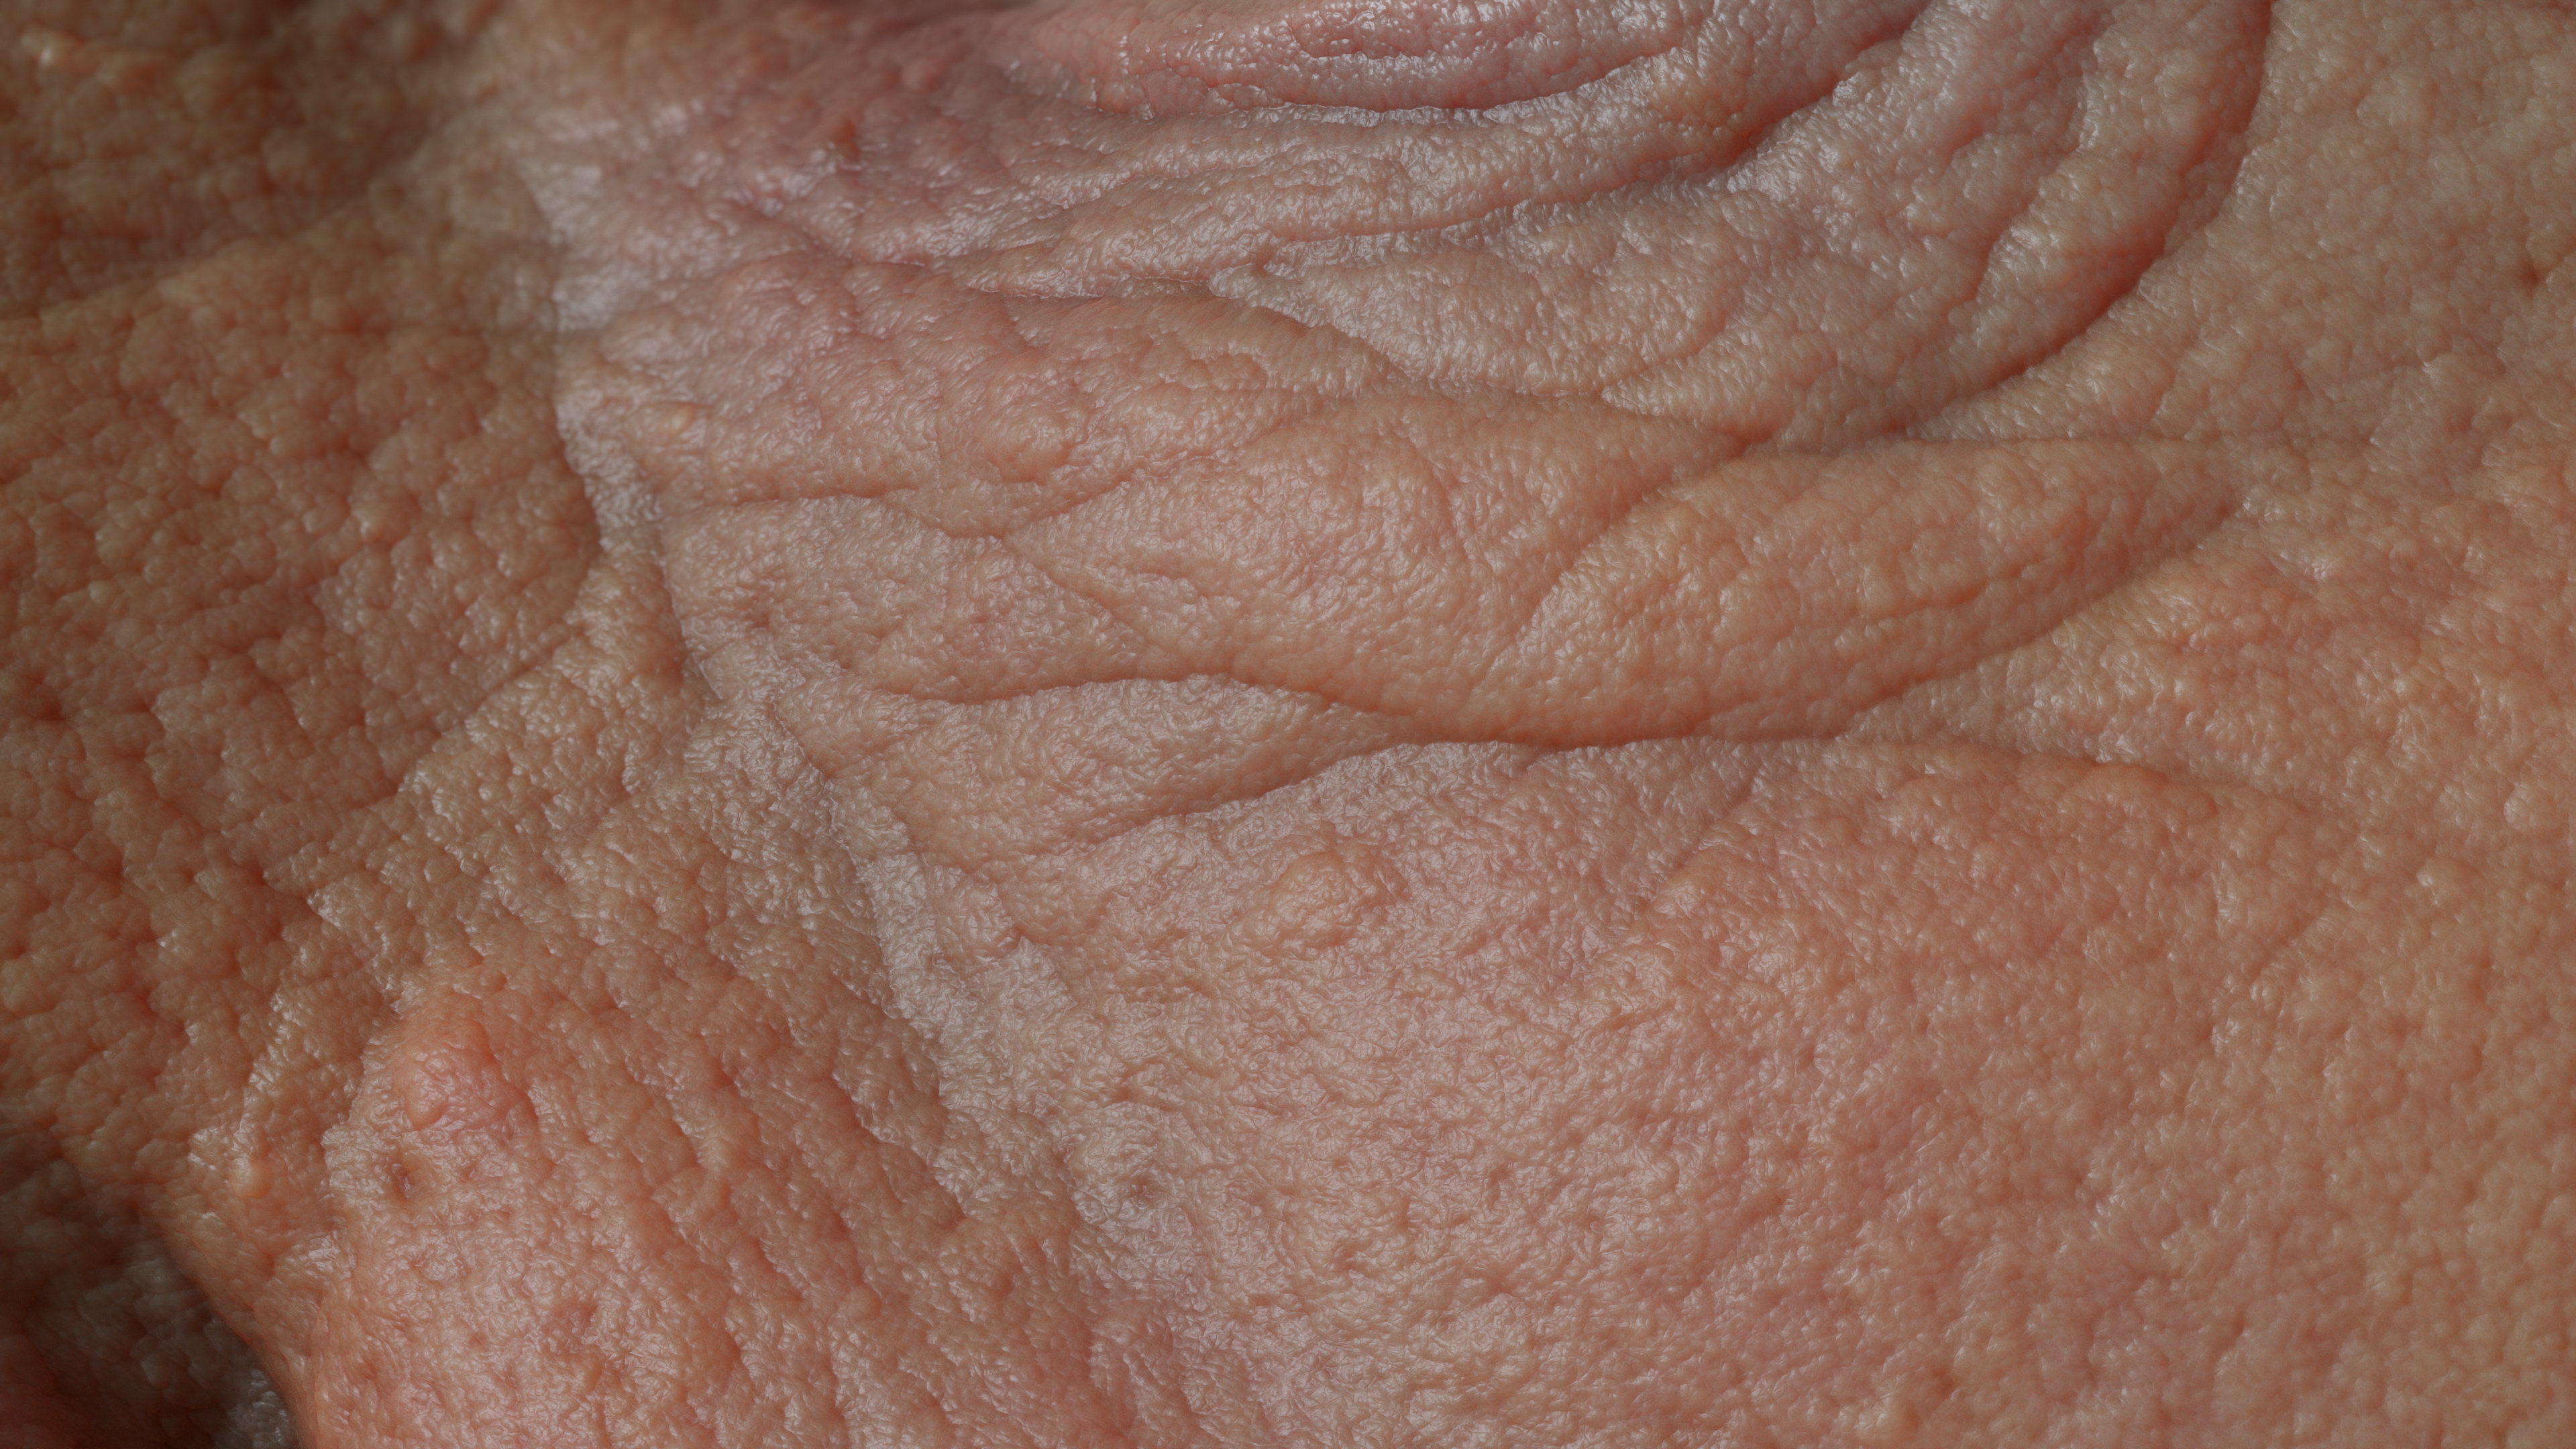
Renders
Here are some Marmoset Toolbag 4 renders of the applied displacement map. We have not done any post processing or inflate on the mesh this is displaced geometry exported directly from Zbursh into Marmoset Toolbag