

3D Scan Shading with Sketchfab
By James Busby
I'm sure almost everyone has heard of or played with Sketchfab by now but recently they have added some nice new subsurface scattering and screen space ambient occlusion features which has turned it into a pretty powerful real-time viewer, especially for characters. In this article, I'm going to show you how I set up the scene above using our Male 40 head scan and a few quick and easy maps to control things like SSS, Specular and Gloss.
Male 40 Head Scan Available here
Exporting Geometry
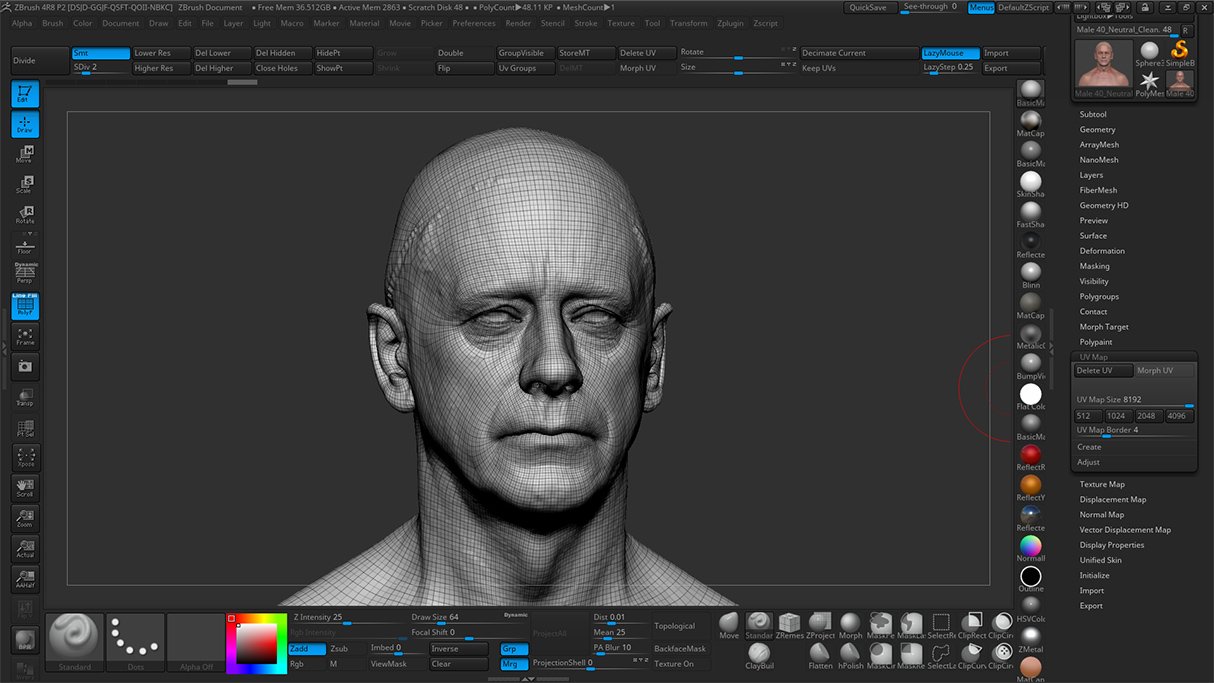
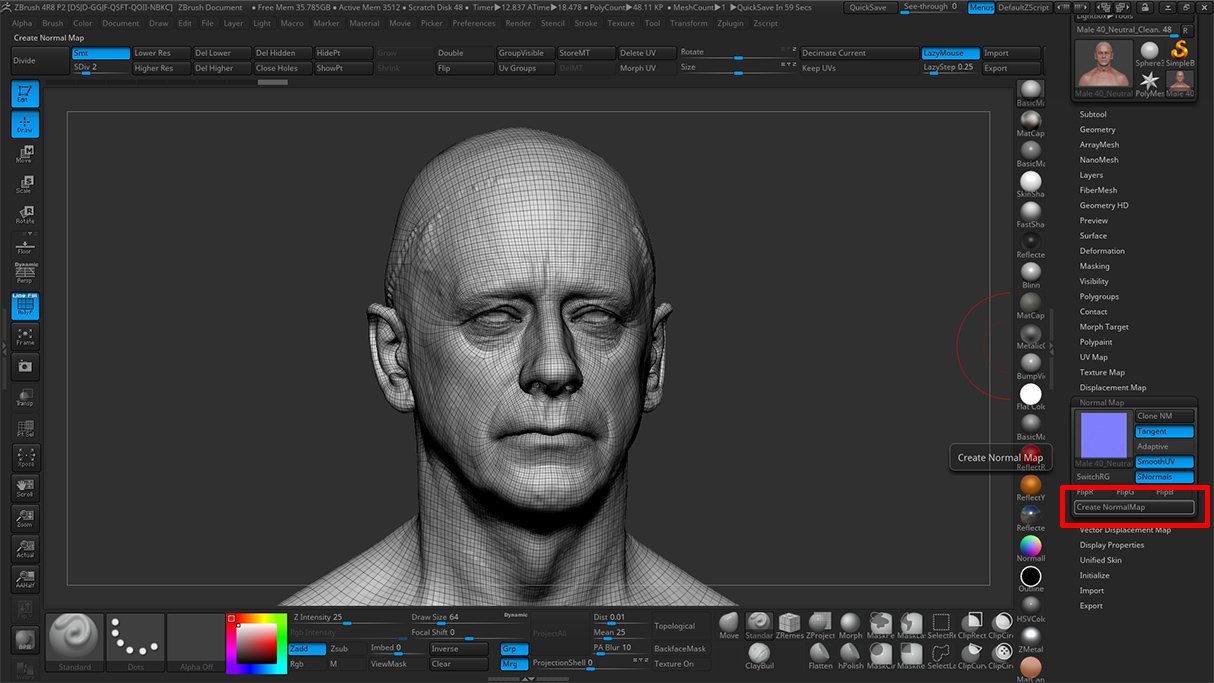
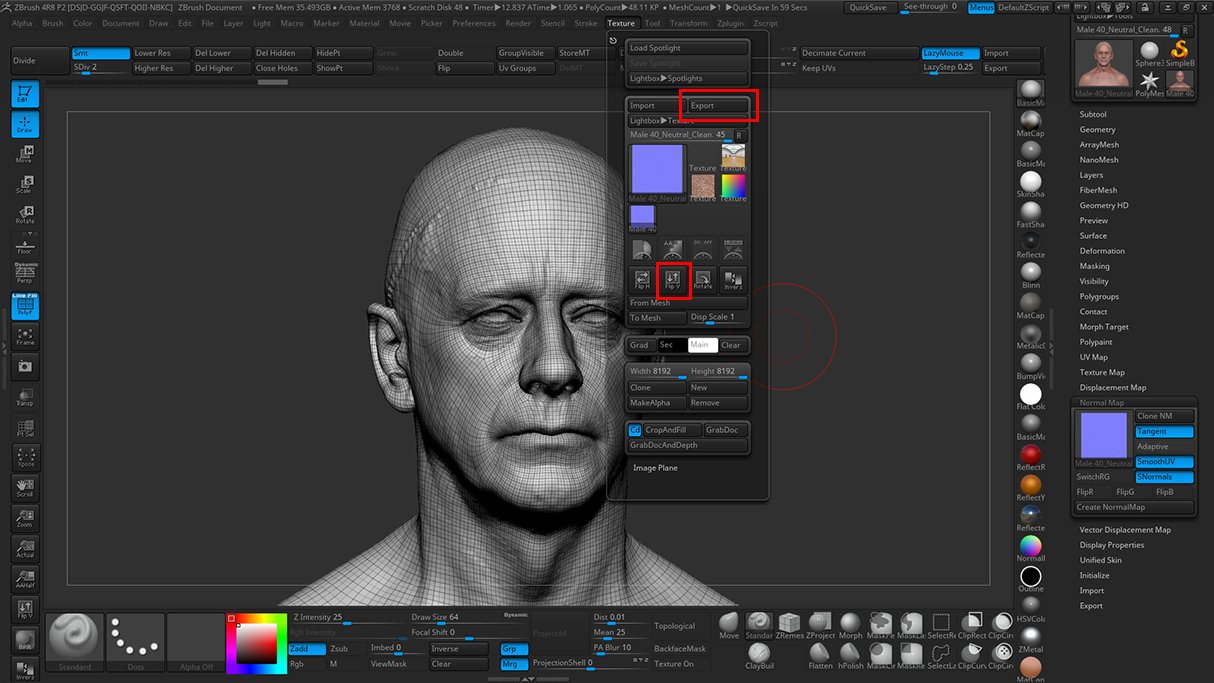
The scan I'musing in this example has 6 subdivision levels, obviously, this is going to be rendered in real time so we don't want a massive 15 Zillion polygon model clogging up the internet. So we're going to drop down to SubD level 2 and generate our normal map from that. Firstly check that your UV texture size is set to 8196 x 8196 next click the normal map tab and then CreateNormalMap with Tangent, Smooth UV and SNormals all ticked as in the image below. Once the normal map has been generated click the clone normal map button to transfer the map to the textures pallet. Open up the textures tab and click the flip V button. This is important as Zbrush likes to do everything upside down for some unknown reason. Now simply hit the Export button and save your nice new normal map.
Next, we need to export the model. You'll notice that there is some reflective lens geometry in the sketch fab scene. All I did to create this was make two spheres in Zbrush and place them in the eye sockets. Obviously, you could go to town on the eyes but that's a whole other tutorial.
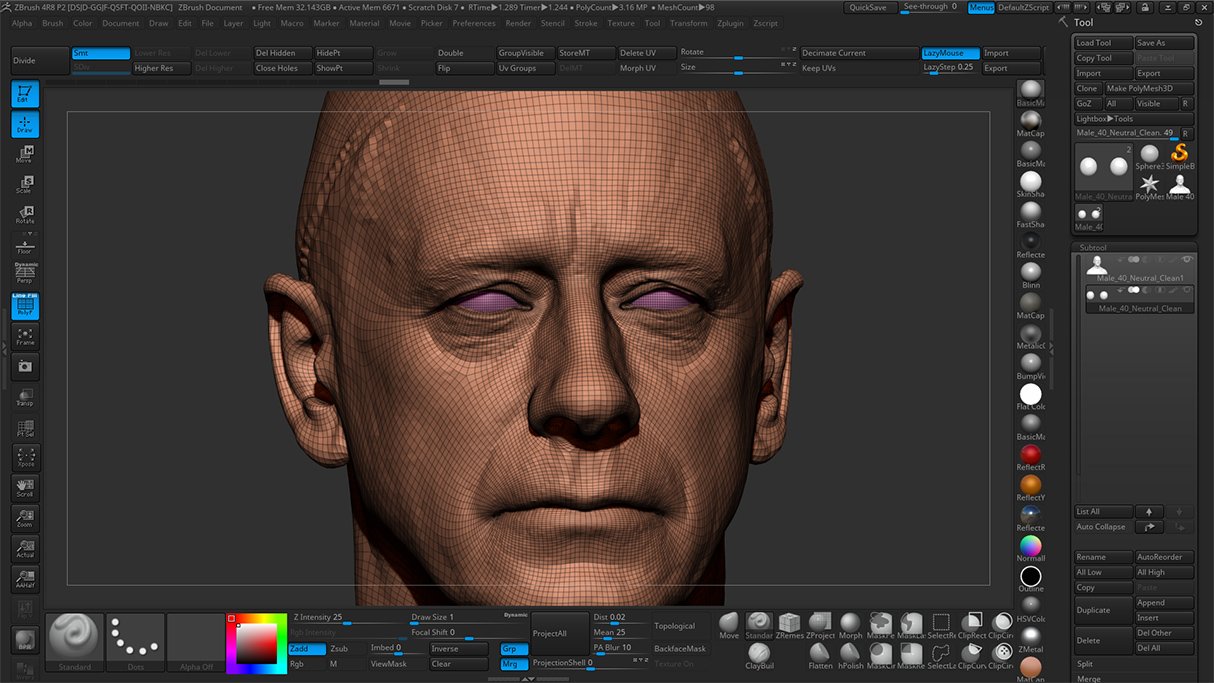
Because we have two objects, the eyes and the head and because Sketchfab only allows you to load one file into any given scene we can't export as OBJ so we're going to have to use FBX. Open the Zplugins Tab and click the FBX ExportImport button. Make sure both your eyes and head are visible and select the visible tools button to tell the exporter to save both. Now just press the export button and you're ready to move onto Sketchfab.
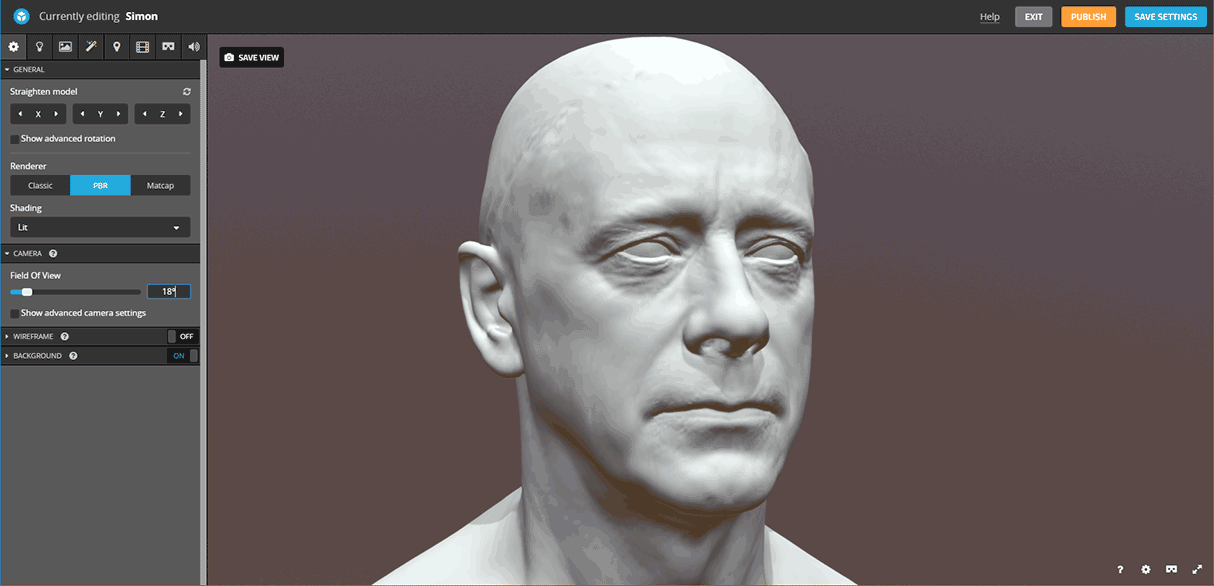
The very first thing we do after uploading the model to Sketchfab is to change the field of view, no one wants to see wide angle horse face models so knock it back to about 18 degrees, you can see the difference this makes in the GIF below
Material Setup
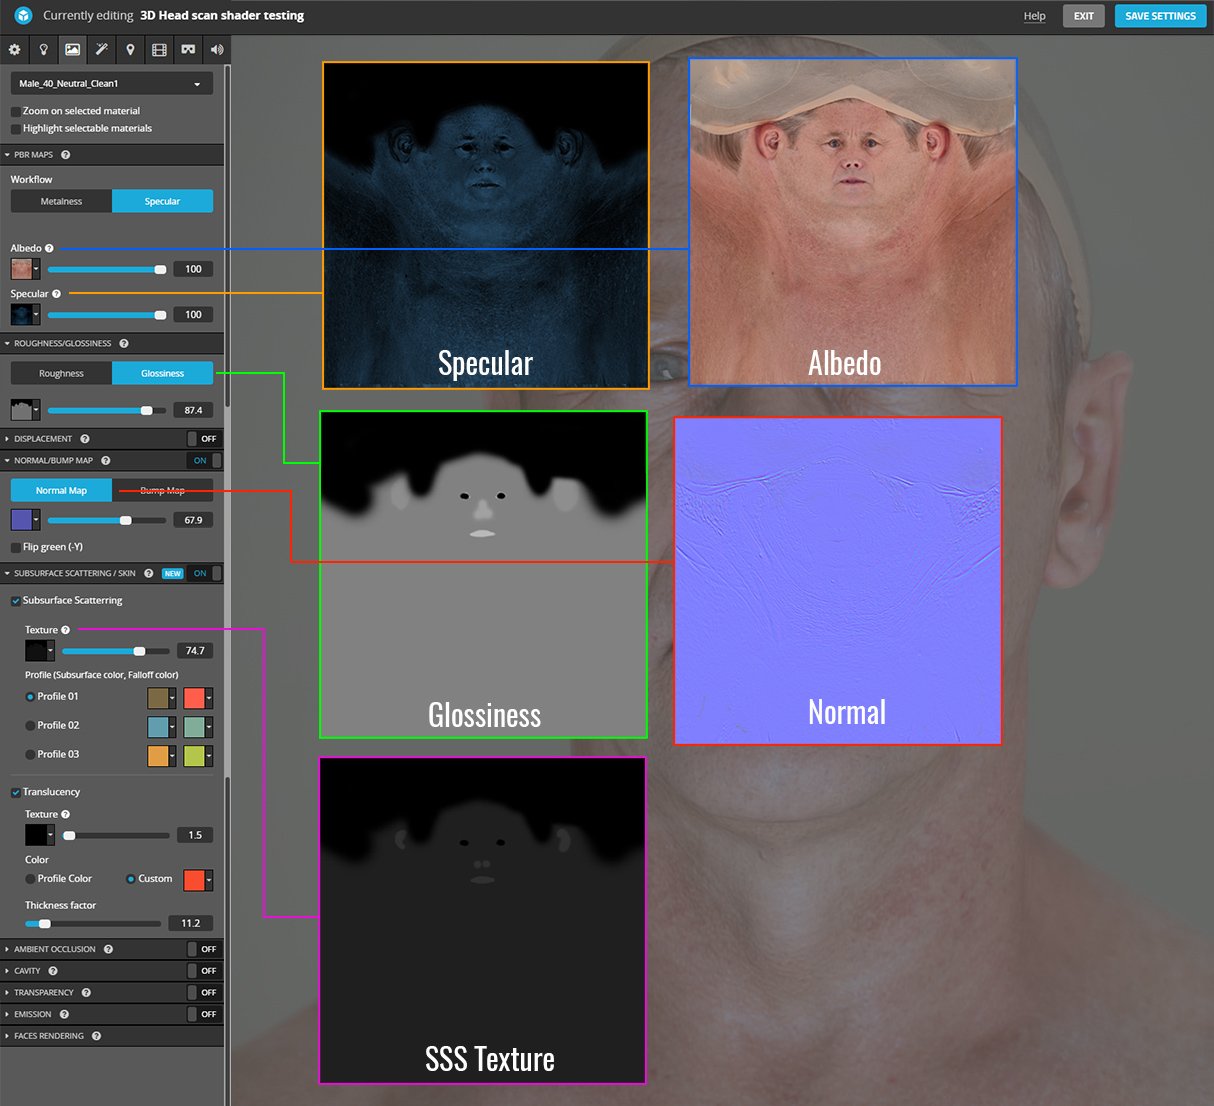
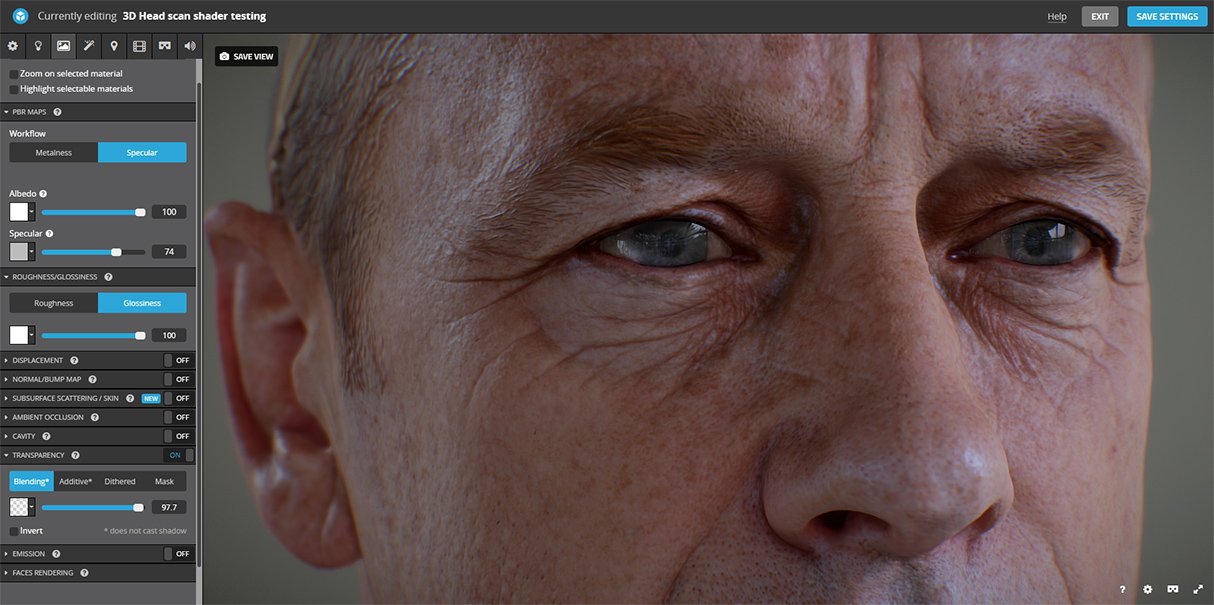
Instead of trying to explain in great detail what goes where in the materials panel it makes more sense just to show you with an image. I'm pretty sure 99% of you already know all this but I find it always helps to see other peoples shader setups no matter how simple they might be.
It's all well and good showing you how the shader is setup bit without understanding how I made the maps it's all pretty self-indulgent so here goes.
Specular Map
The head scan that I'm using in this example is actually from our store and he comes with two diffuse colour maps, one normal and one specular reduced version. A quick way of getting the specular using these two maps is to layer them on top of each other in Photoshop and set the top layer to Difference. This gives us the difference between the specular and non-specular layers which if we have removed the spec properly should be the reflective areas of the map. However, as our spec removal process is essentially a cheat it's not 100% accurate. The only way to achieve this is with a Cross polarised / Unpolarised setup which we are currently working on.
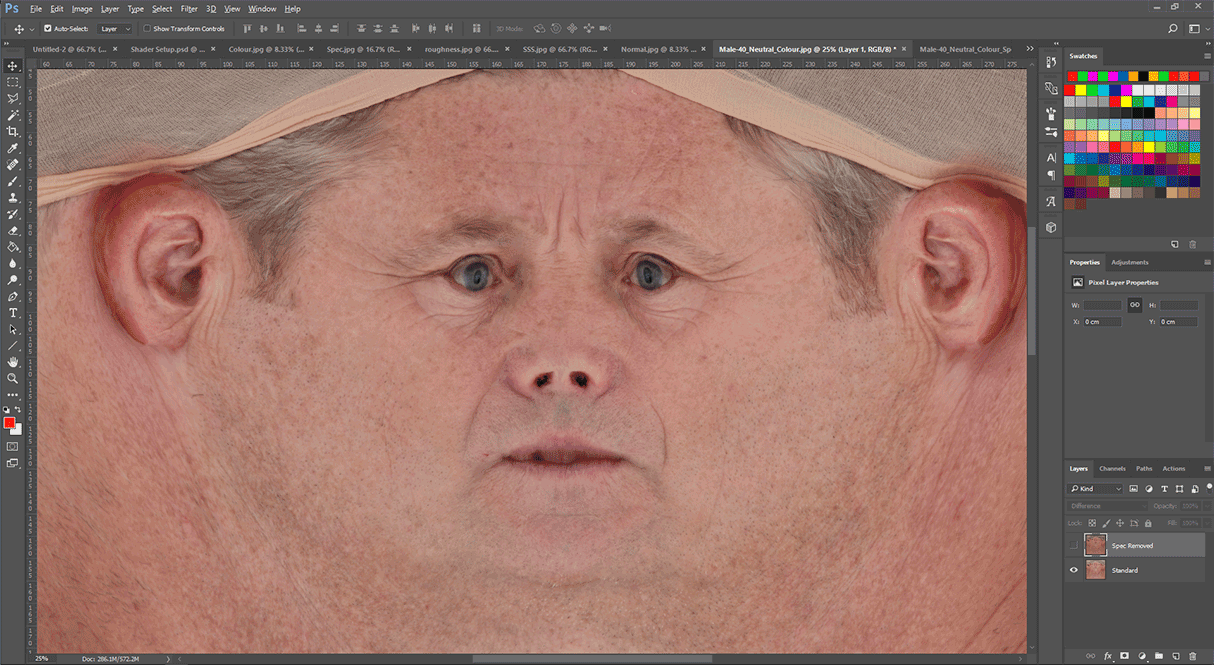
Once I had the base for the spec I then used the Dodge tool in Photoshop to brighten areas such as the lips, end of the nose and inner eyes.
For those of you who don't have this model, Here's a quick and easy way to make a basic spec map from a photogrammetry texture. Obviously, Im doing this very very quickly and you could go into a lot more detail painting out eyebrows, removing skin pocks and beard hairs but this is just intended to show you how to do something that will look fairly decent in Sketchfab.
Glossiness and SSS Maps
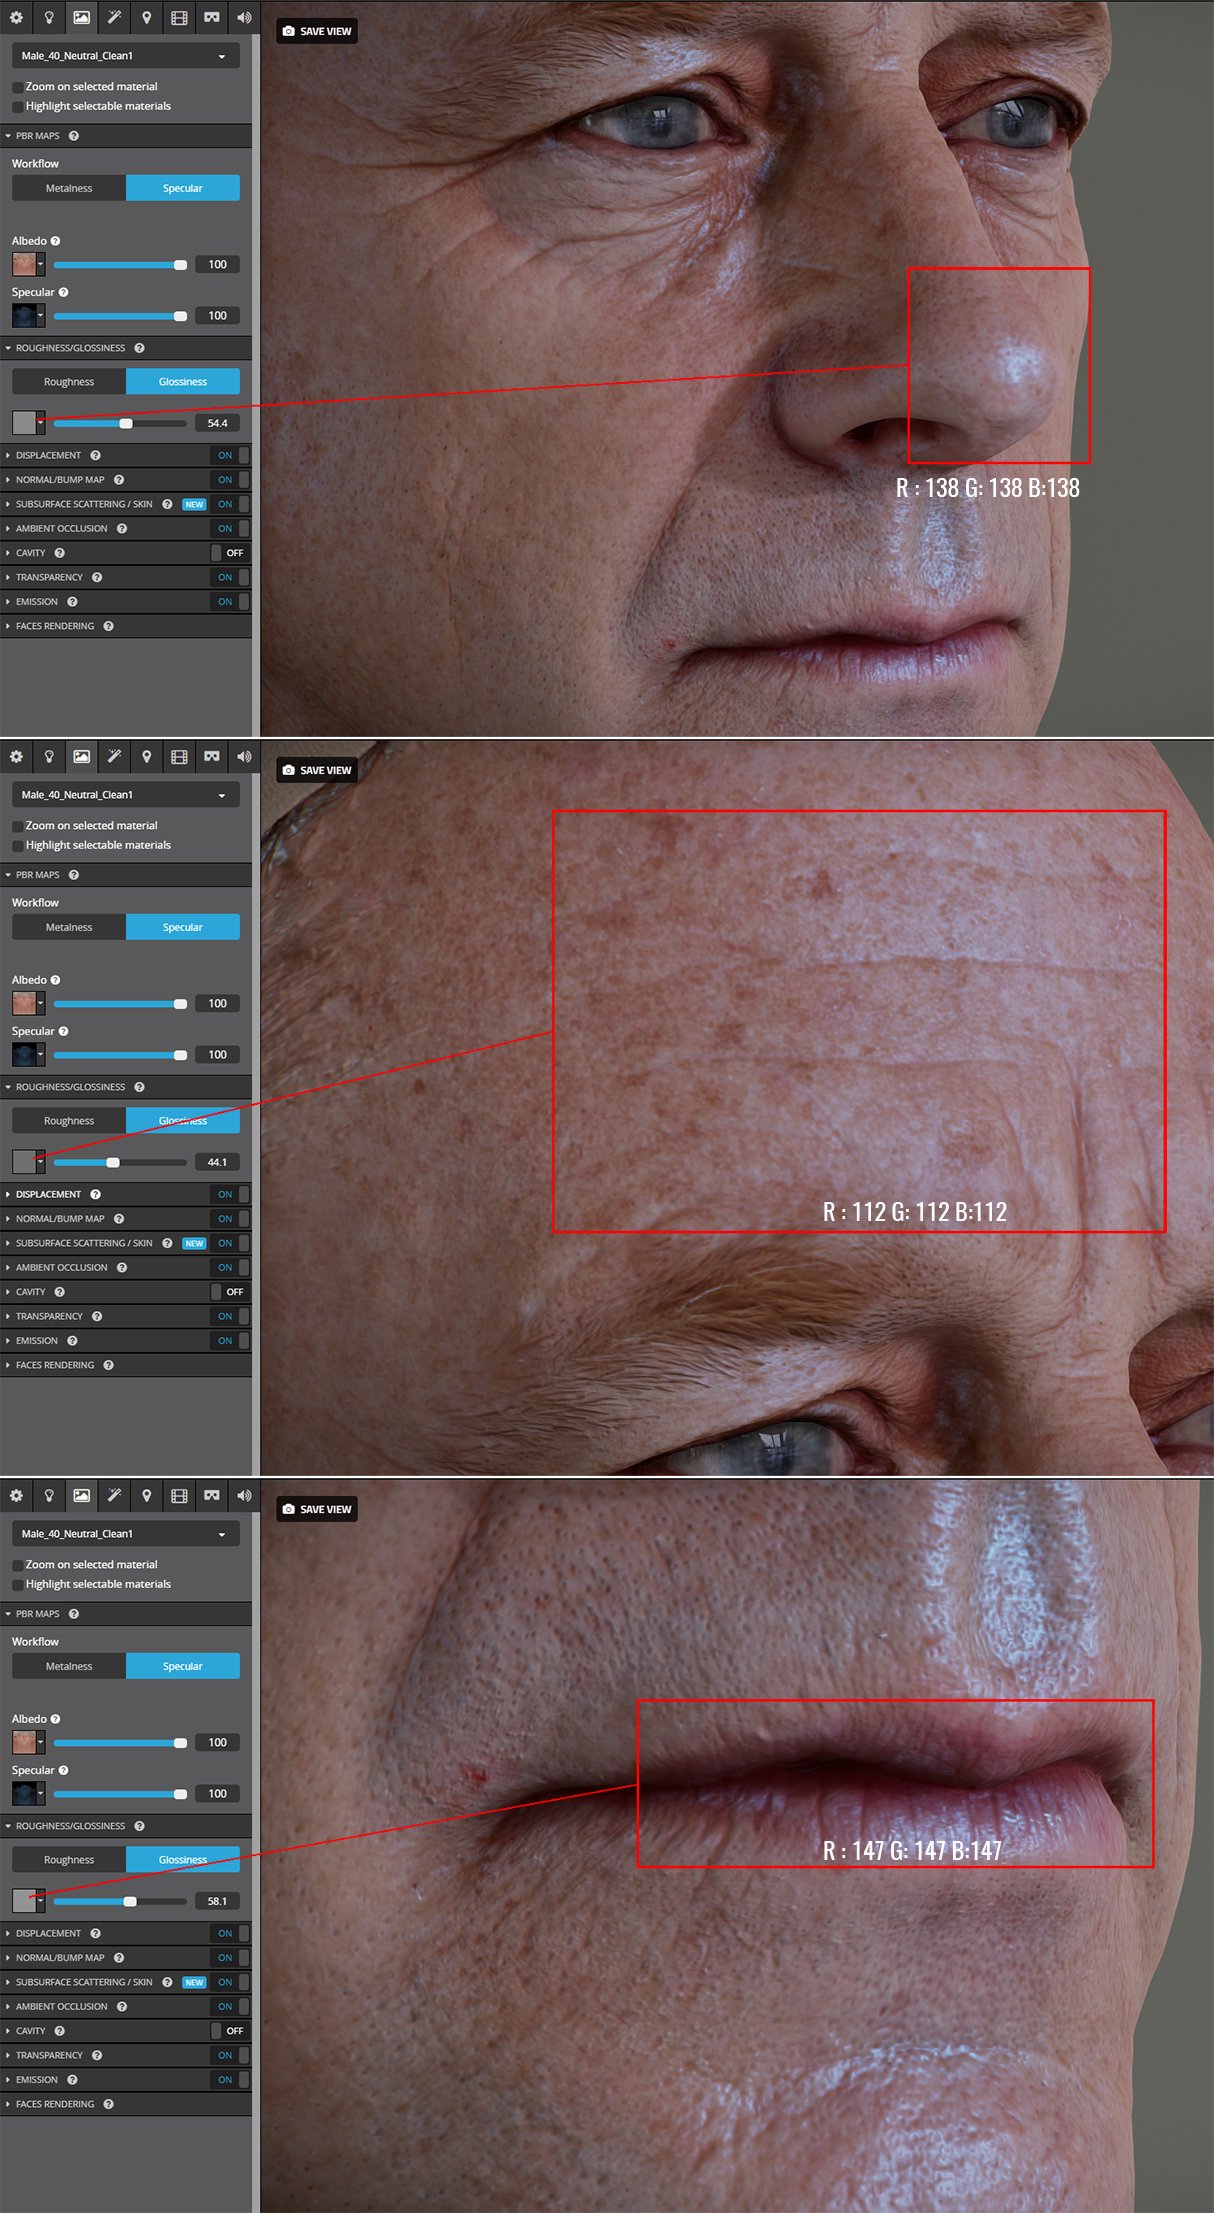
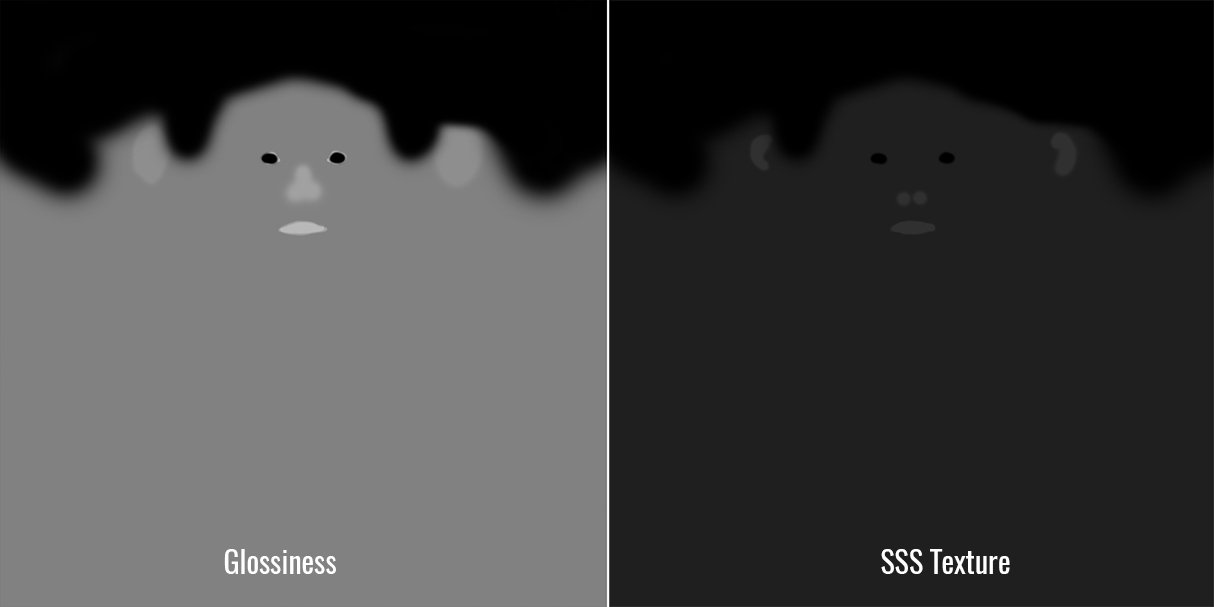
This one was easy because Sketchfab provides you with real-time feedback the best and easiest way to get the glossiness to look correct is to use the shader without maps to find the correct values for any given area of the face. For example, the image below shows the RGB values for the nose, lips and forehead, Im simple sliding the Glossiness slider until it looks right on the screen using the RGB Value displayed in the box next to the slider to paint that area of the face in the gloss map.
Here are the final maps, not much to look at, but they really dont need to be, all they are doing is defining areas of the face that are more or less oily than others. You don't need to add super skin pore details to these maps to get something looking good. I used exactly the same technique for the SSS map as I did for the Gloss map. You will notice that I have also painted the hair black so it has have very low Gloss value and no SSS value at all. In reality hair is actually very glossy but for the sake of this tutorial Im going to ignore that fact for the time being.
The Shader for the eyes is very straight forward, high specular value and high transparency value, (note, 100% transparency will make the object completely hidden without any reflections)
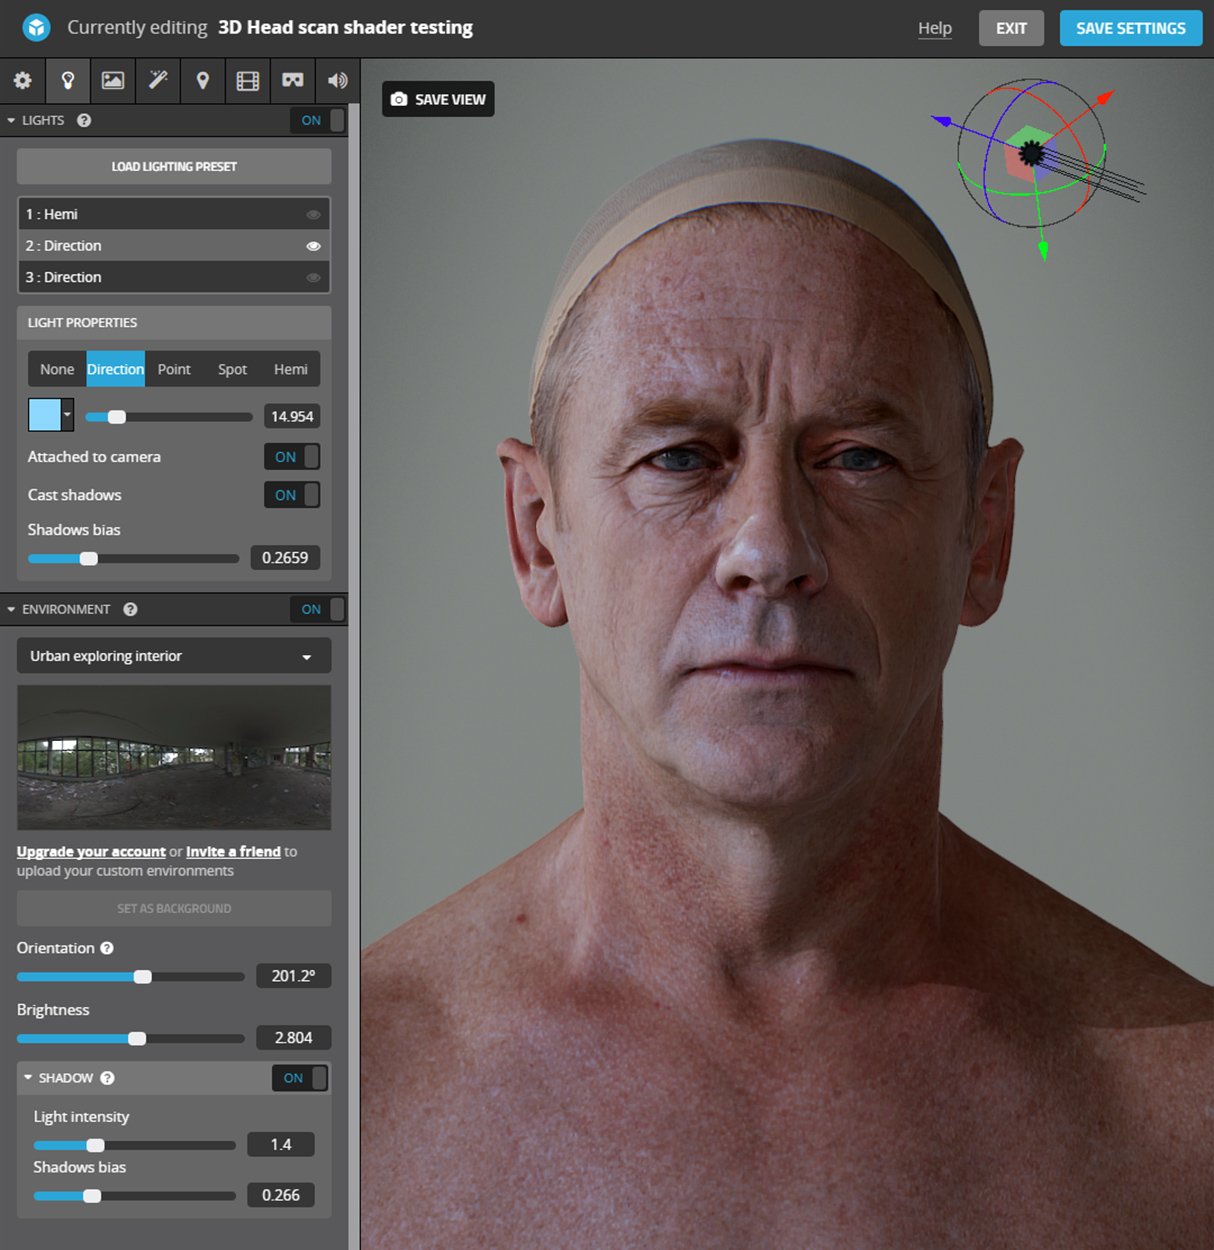
Lighting
The lighting setup for this scene is very simple. I'm using the Urban exploring interior HDR which is free with the non-pro version along with a single directional light set to a nice cool blue colour. If you wan to copy this setup all the settings are shown below.
Post Processing
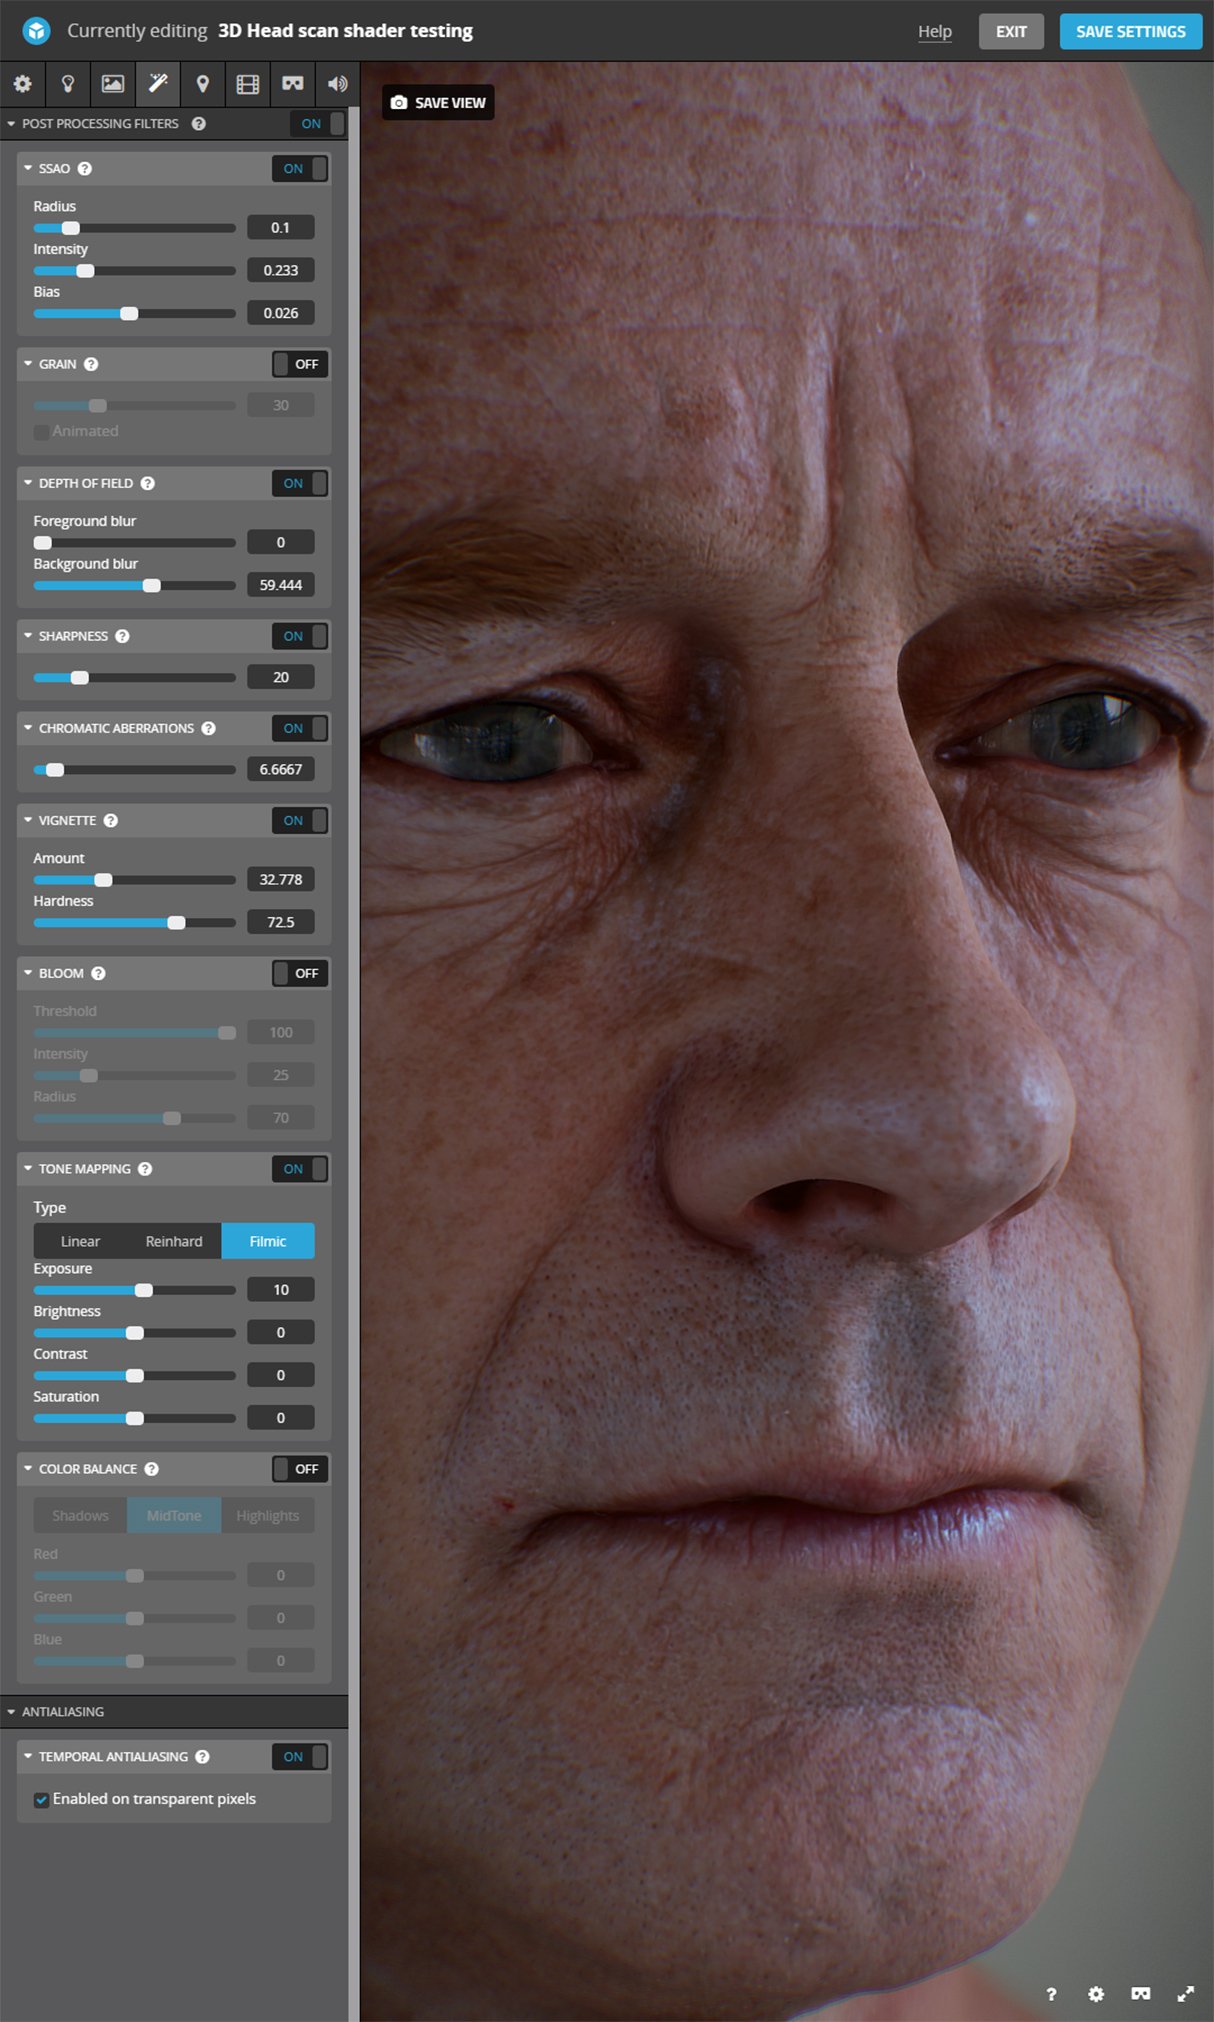
Everyone loves a bit of post-processing, it's the fun bit at the end of every project where you get to mess around with lots of graphs and sliders all the time hoping for a happy accident. I've played it fairly safe with this guy, a bit of DOF because it's the law. The smallest amount of chromatic aberration possible, a nice vignette and finally some filmic tone mapping to crush the blacks down a bit and give it a slightly more dynamic colour range.
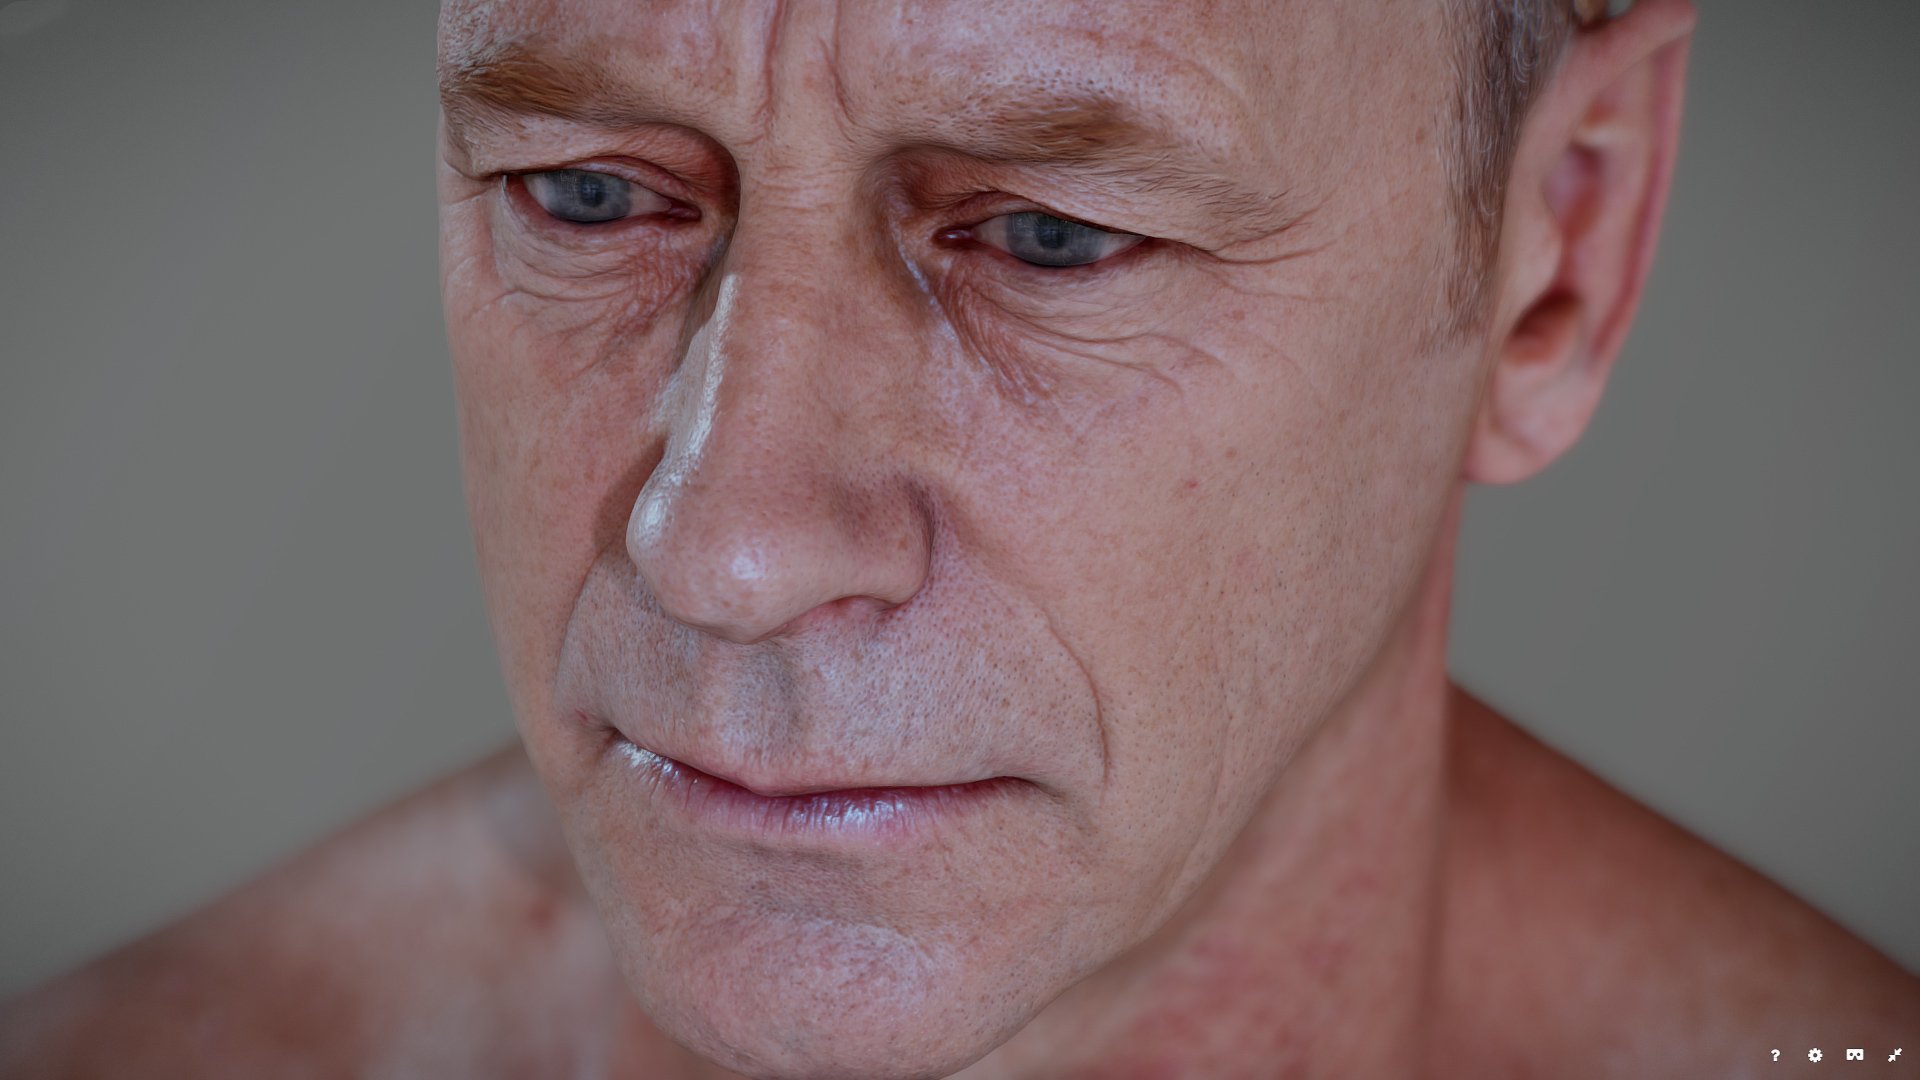
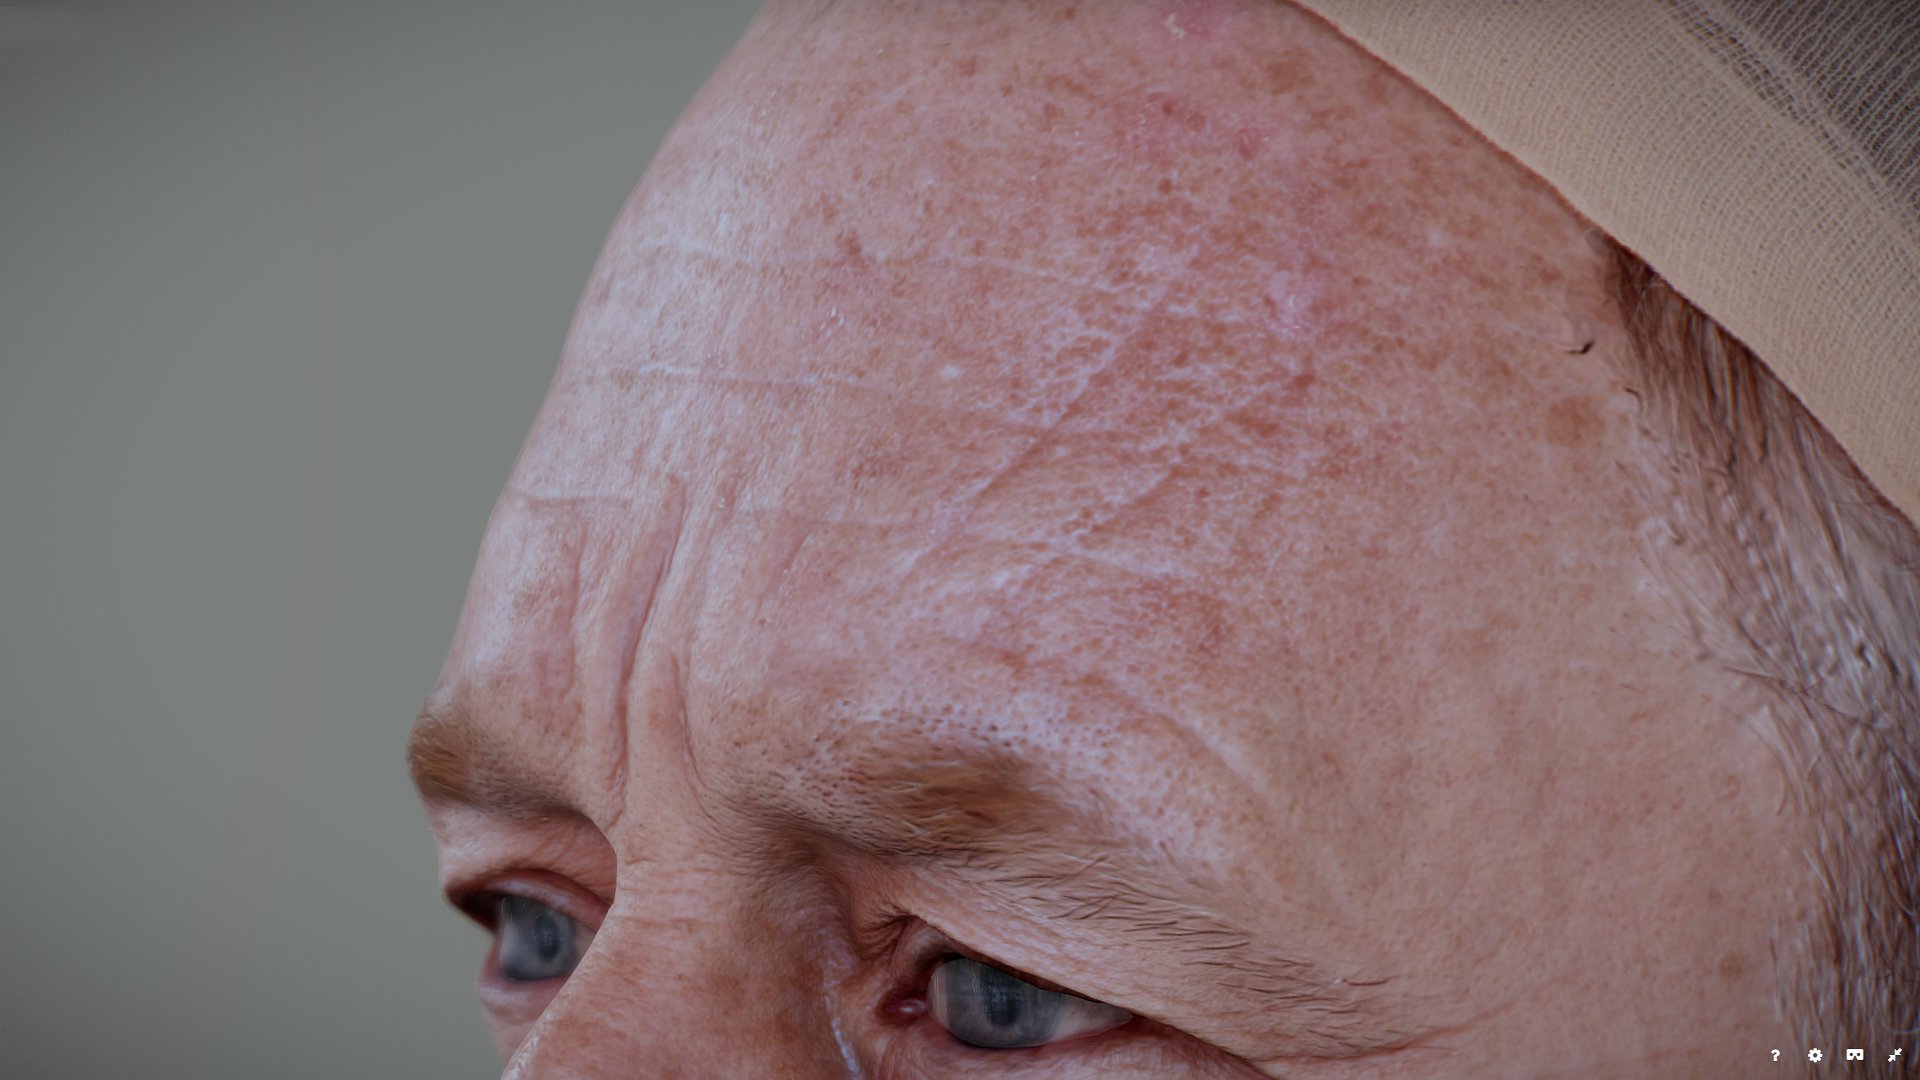
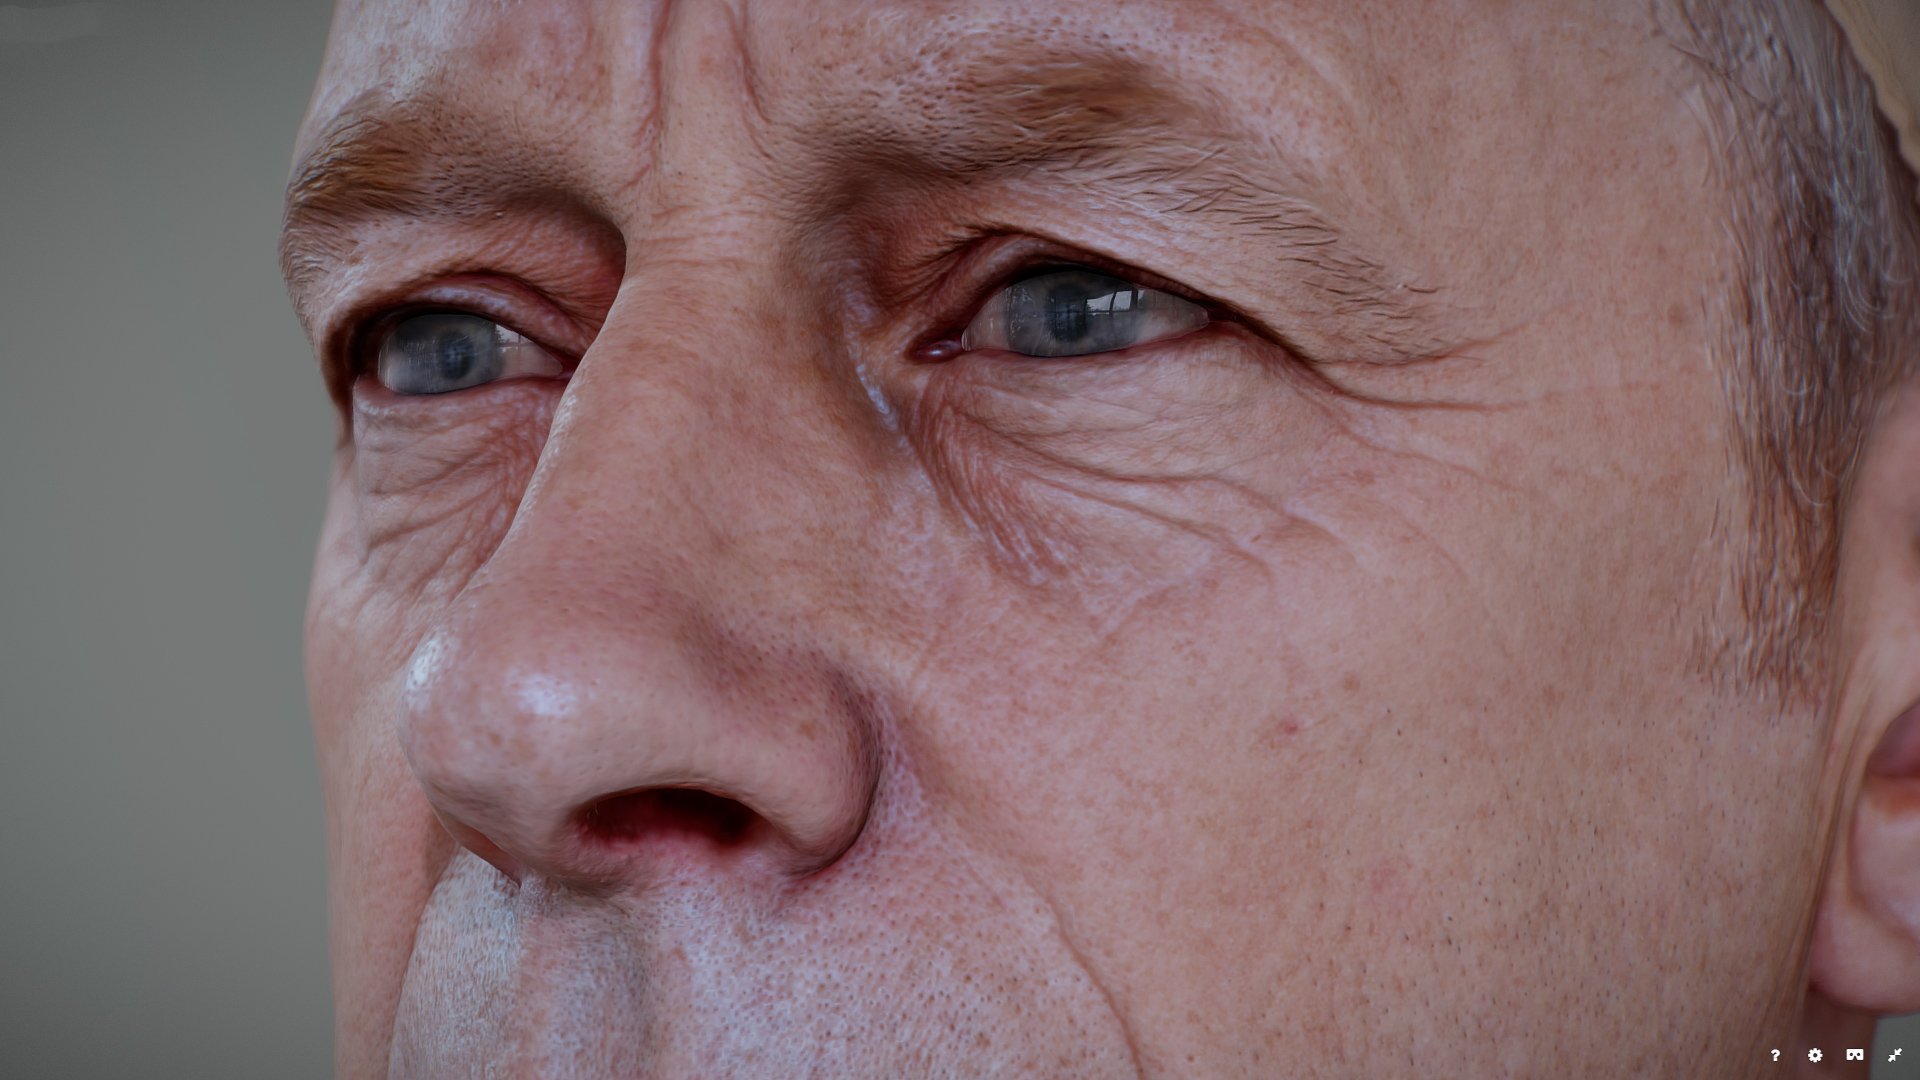
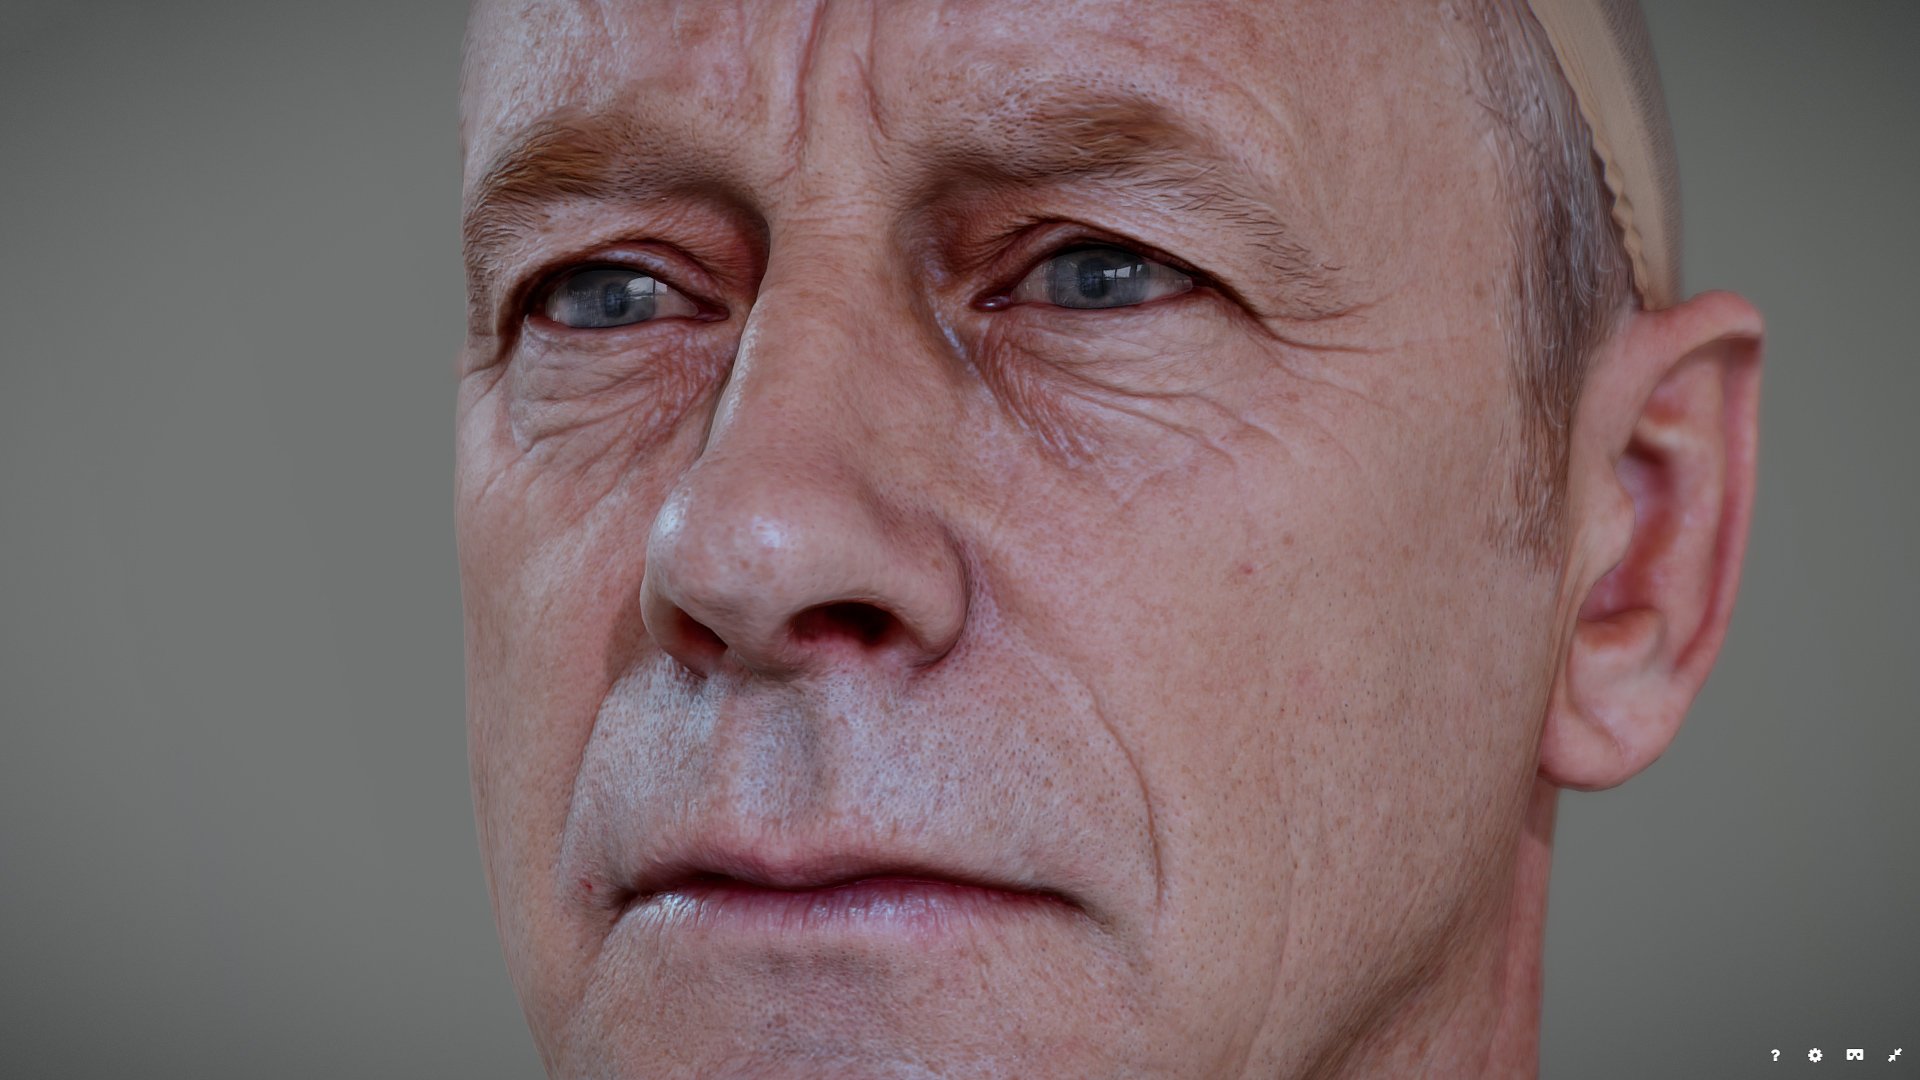
Sketchfab Renders
Conclusion
Sketchfab is awesome, much better than it was the last time I tried it about 2 years ago. The addition of SSS and SSAO has really brought it up to speed with similar packages such as marmoset. I'm not sure real-time rendering is about to replace offline raytraced render engines just yet but it won't be long. If you have any questions or comments about this article feel free to comment below.