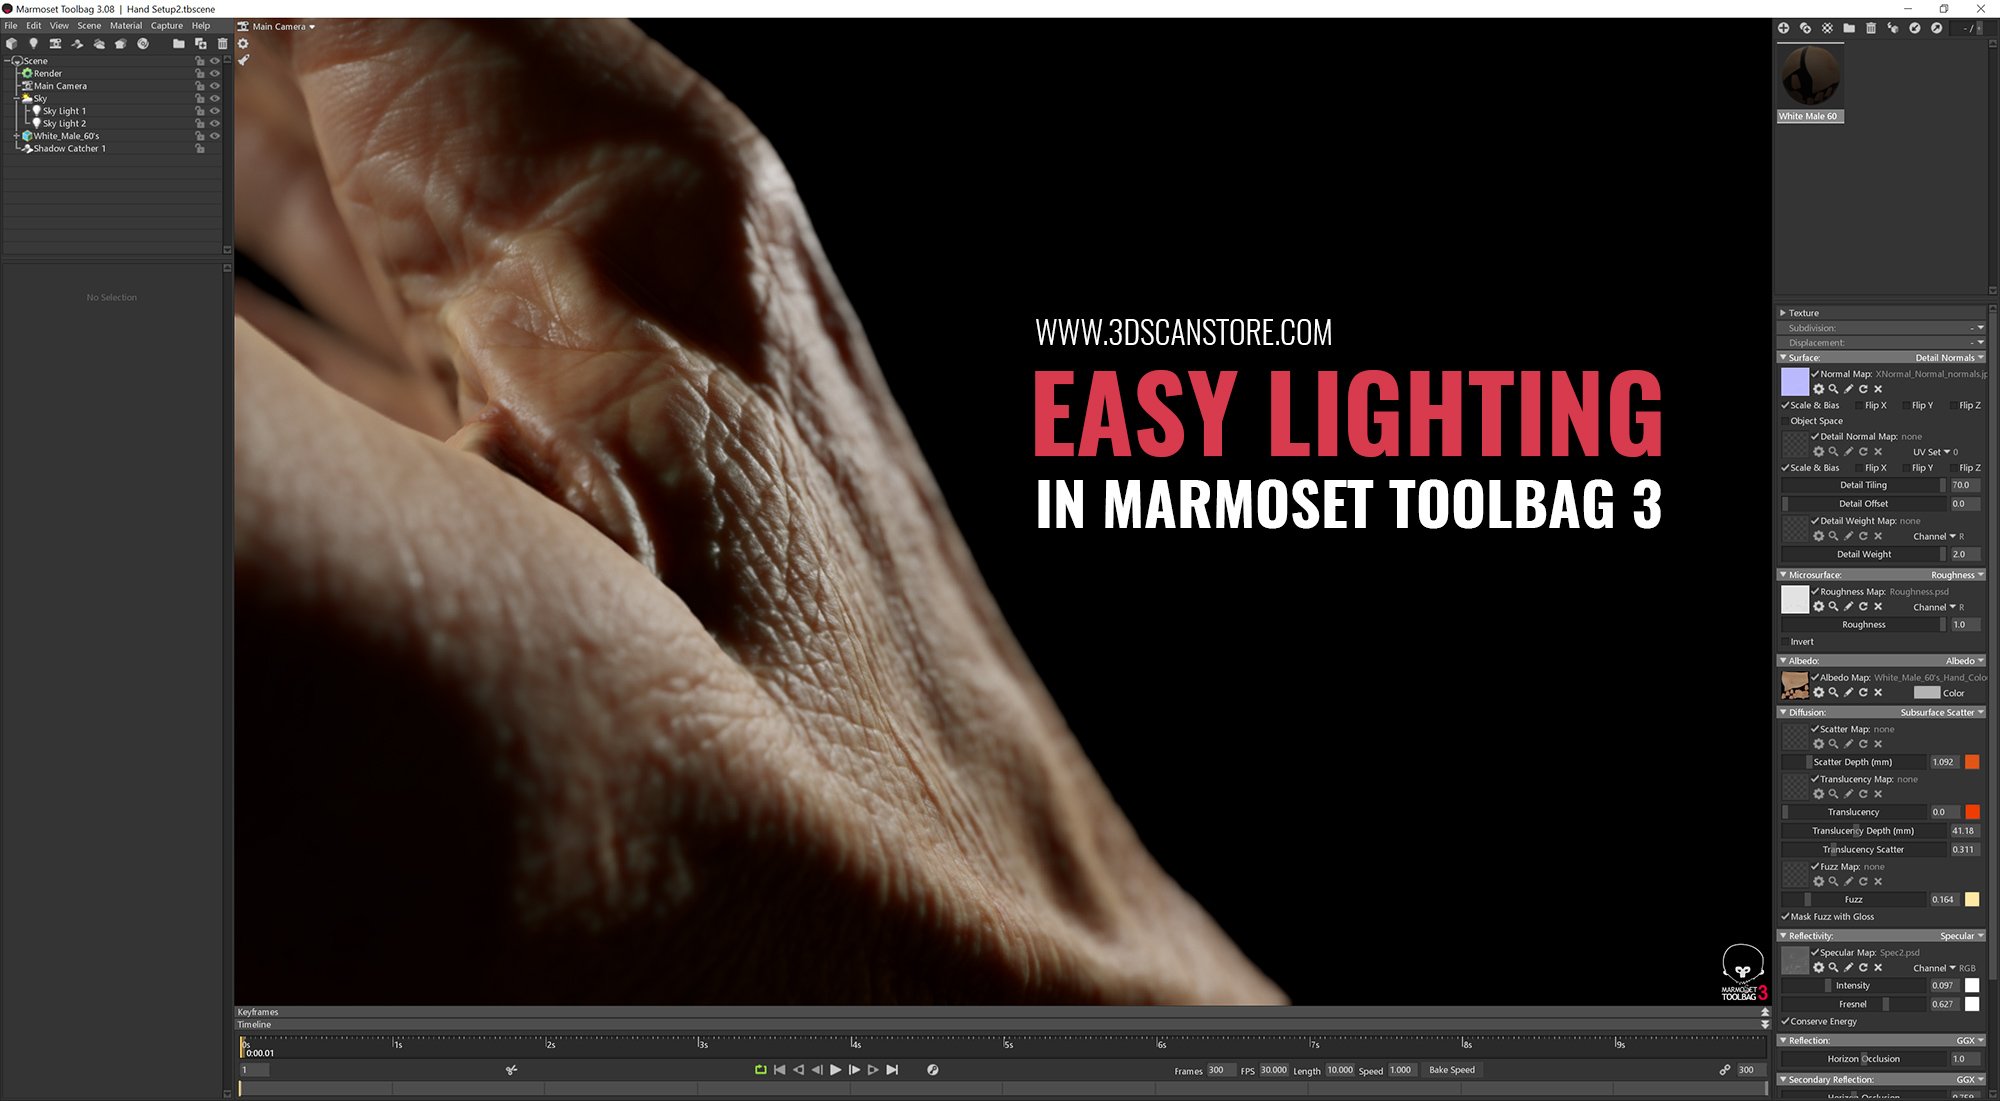
Introduction
A lot of people asked me about the lighting setup I used to render our real time hands in Marmoset, so in this short article I want to show you a super quick and easy way to get nice close up detail renders. This technique is more about fast easy manipulation of the light souce rather than building a complicated lighting rig
Assets and software used
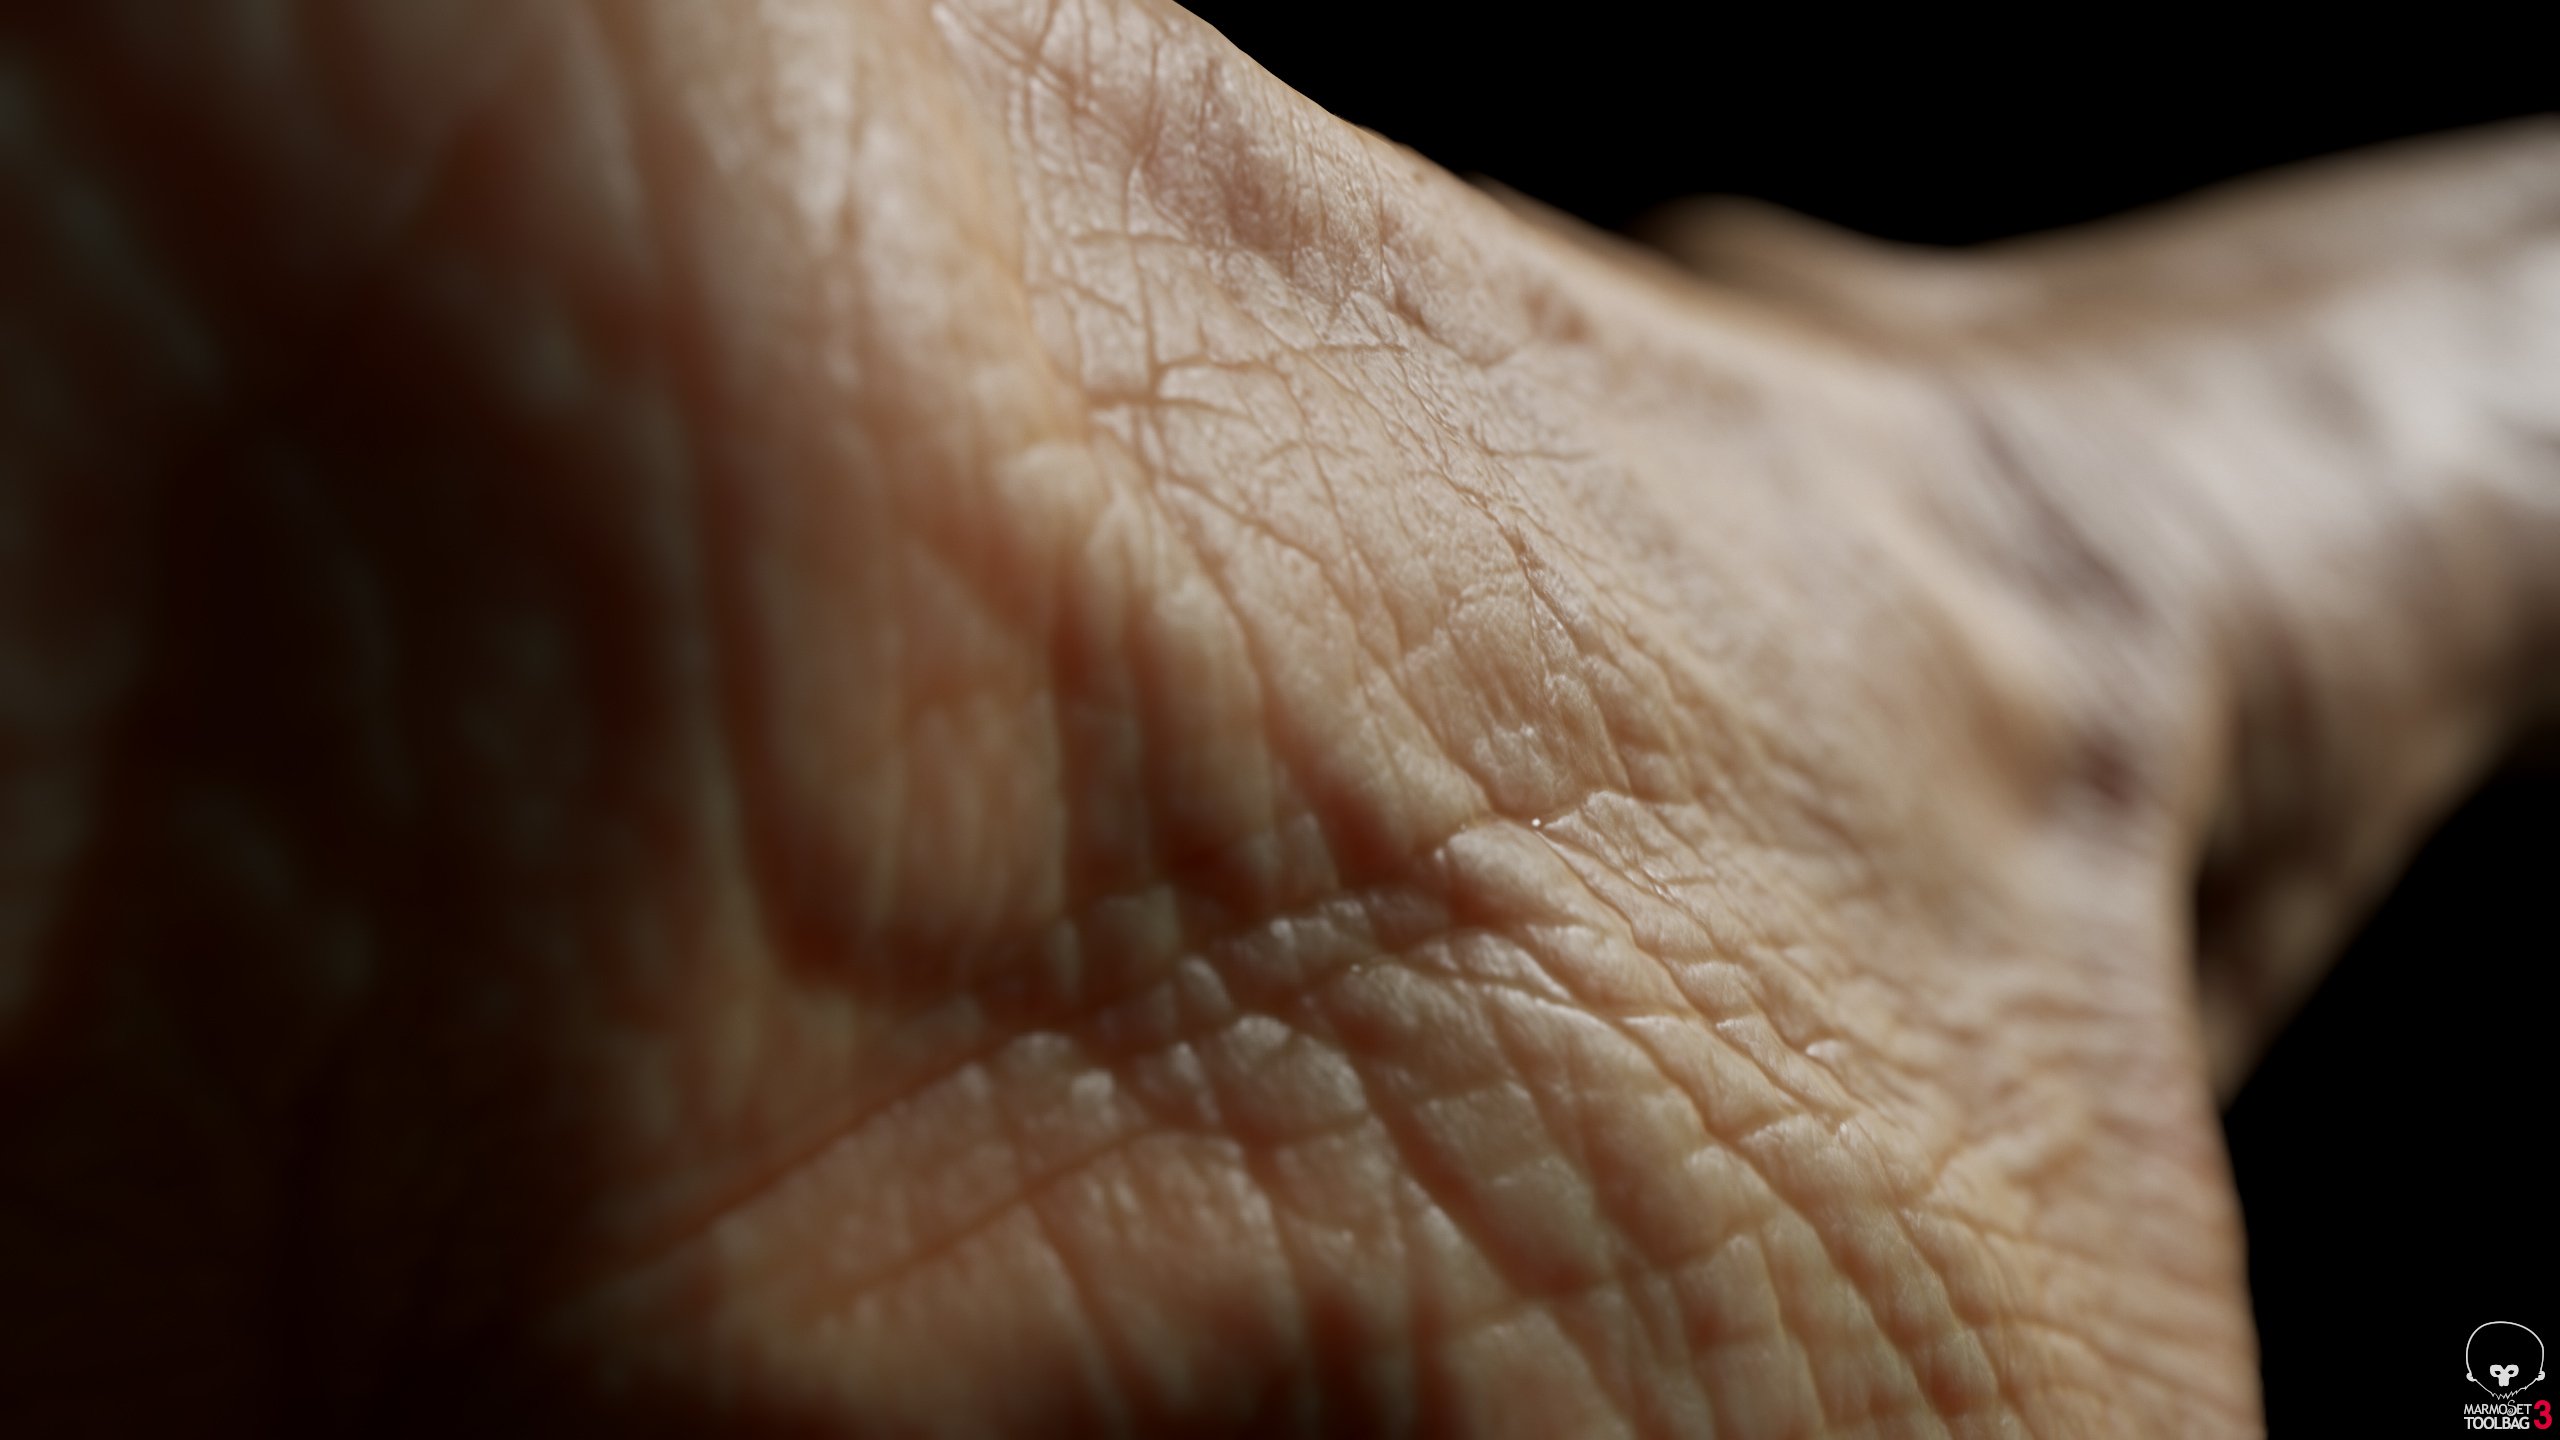
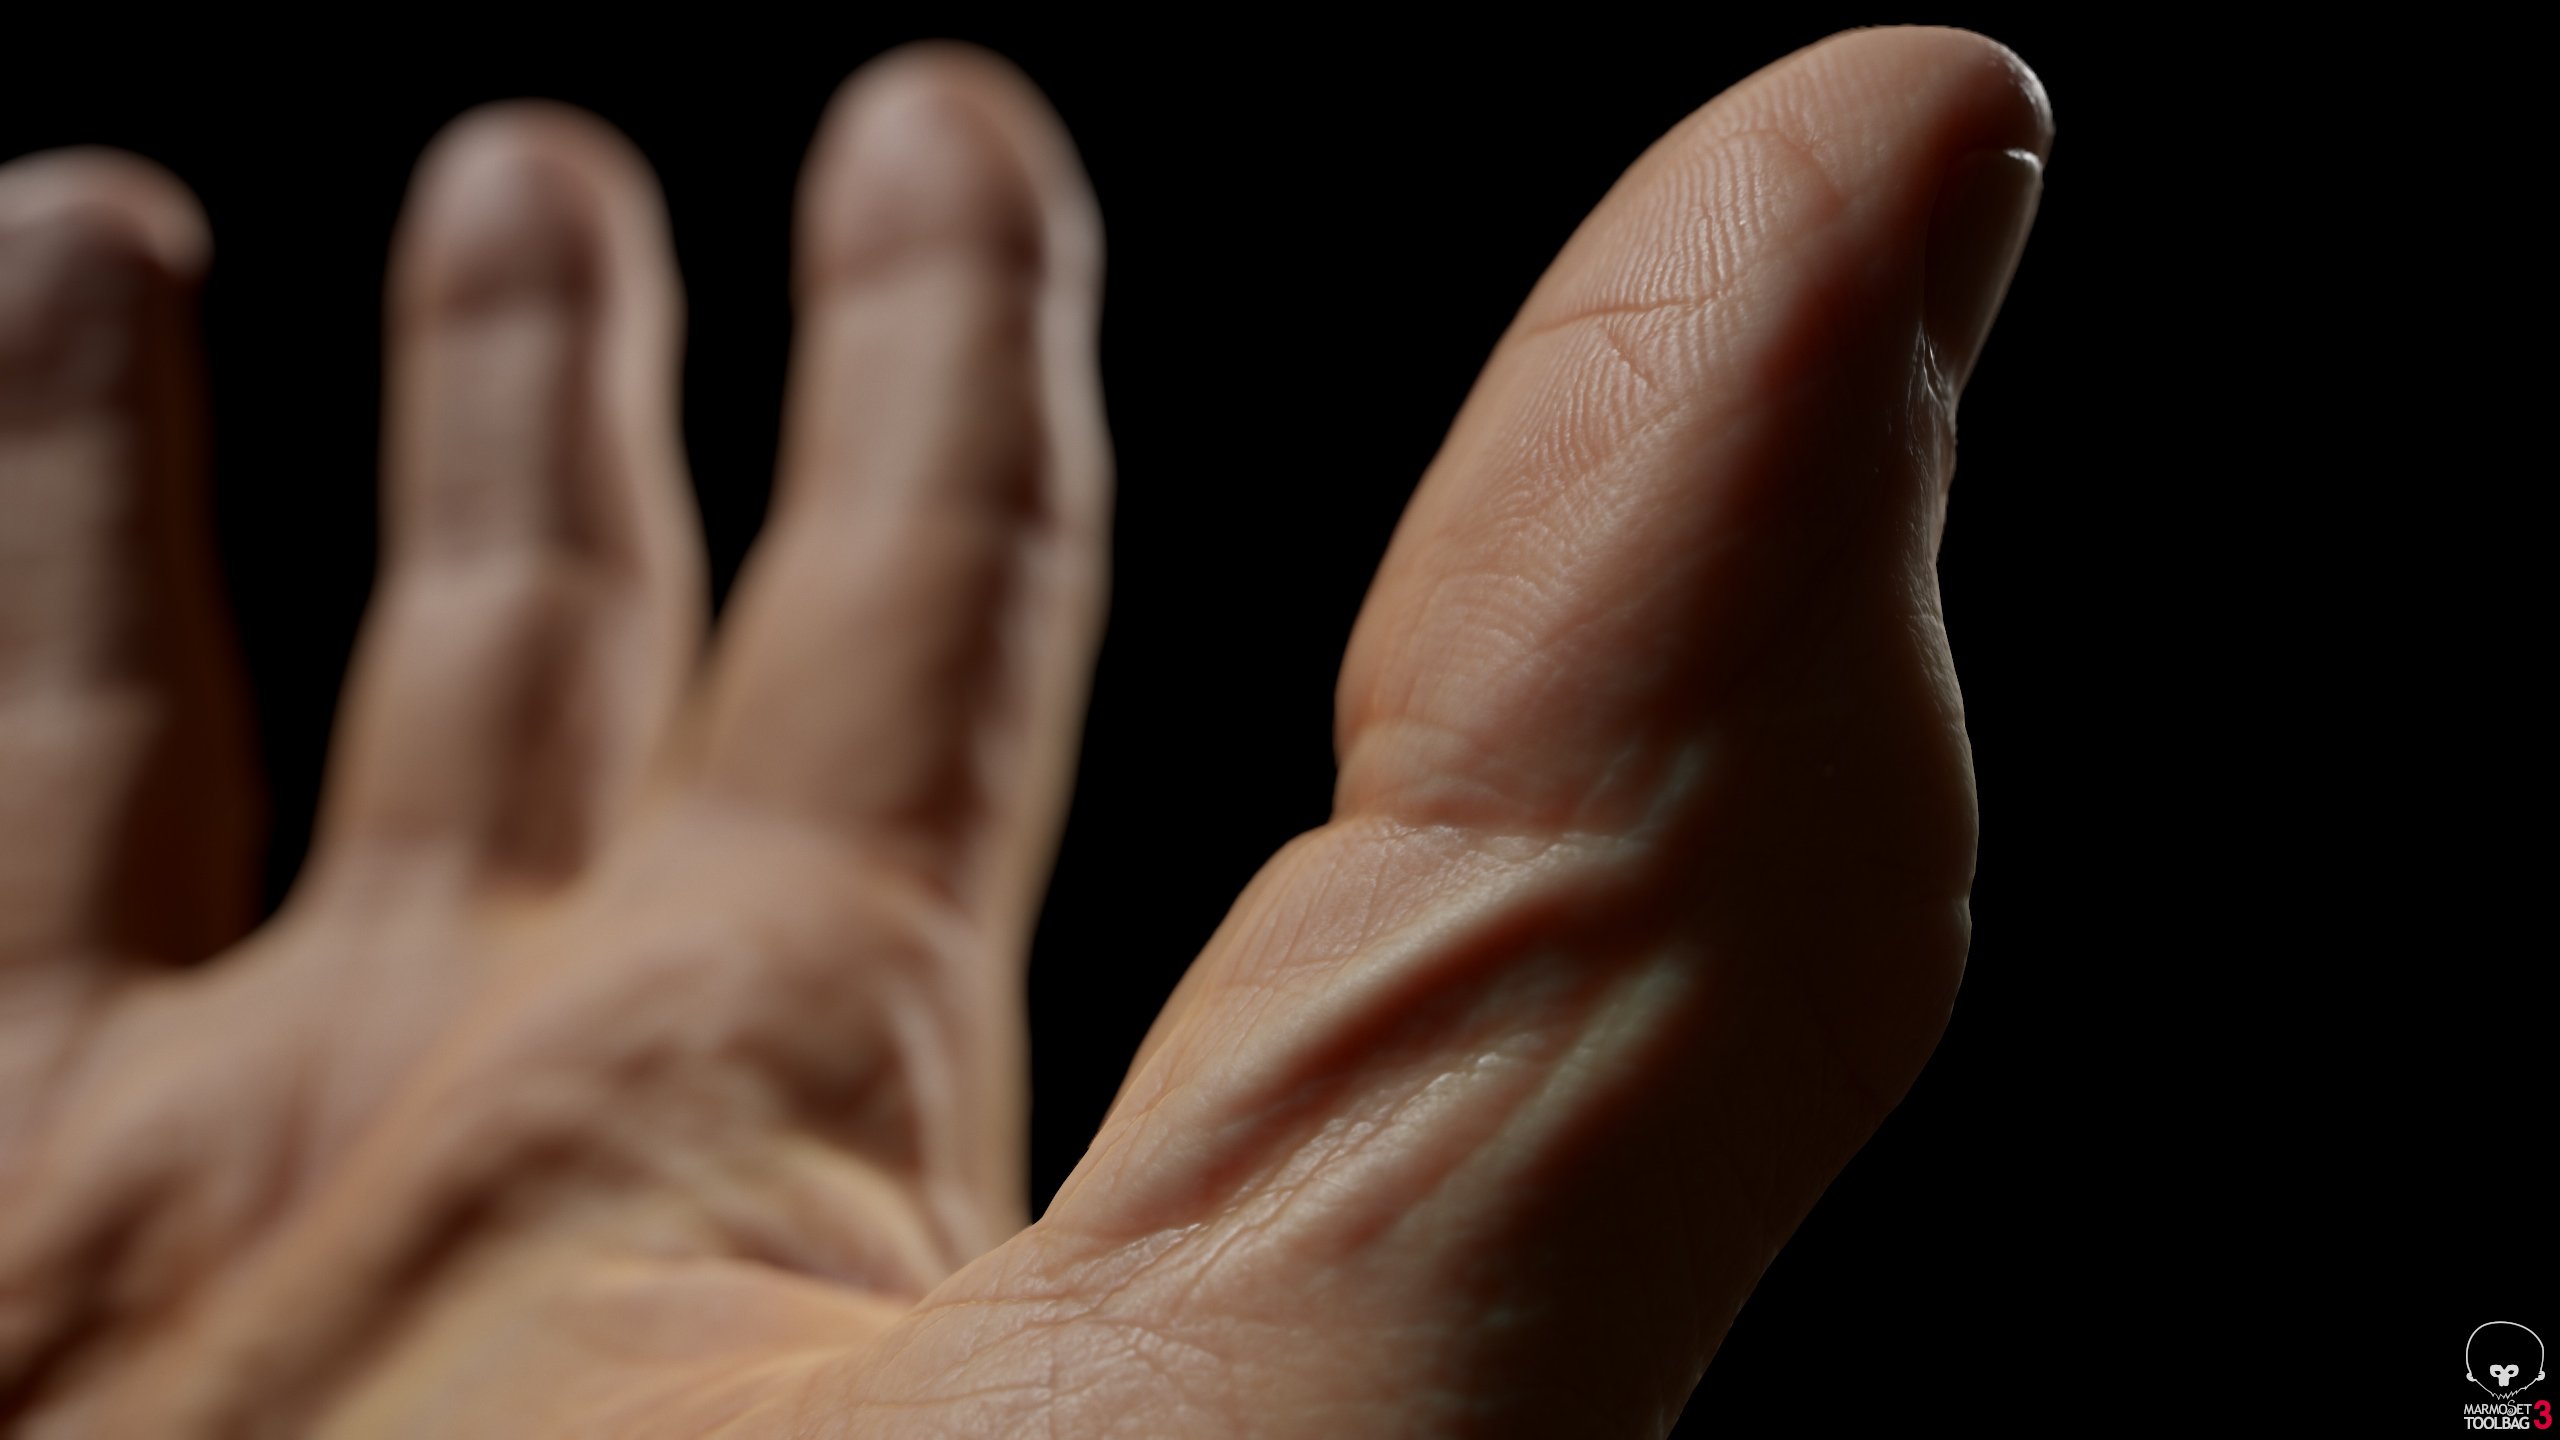
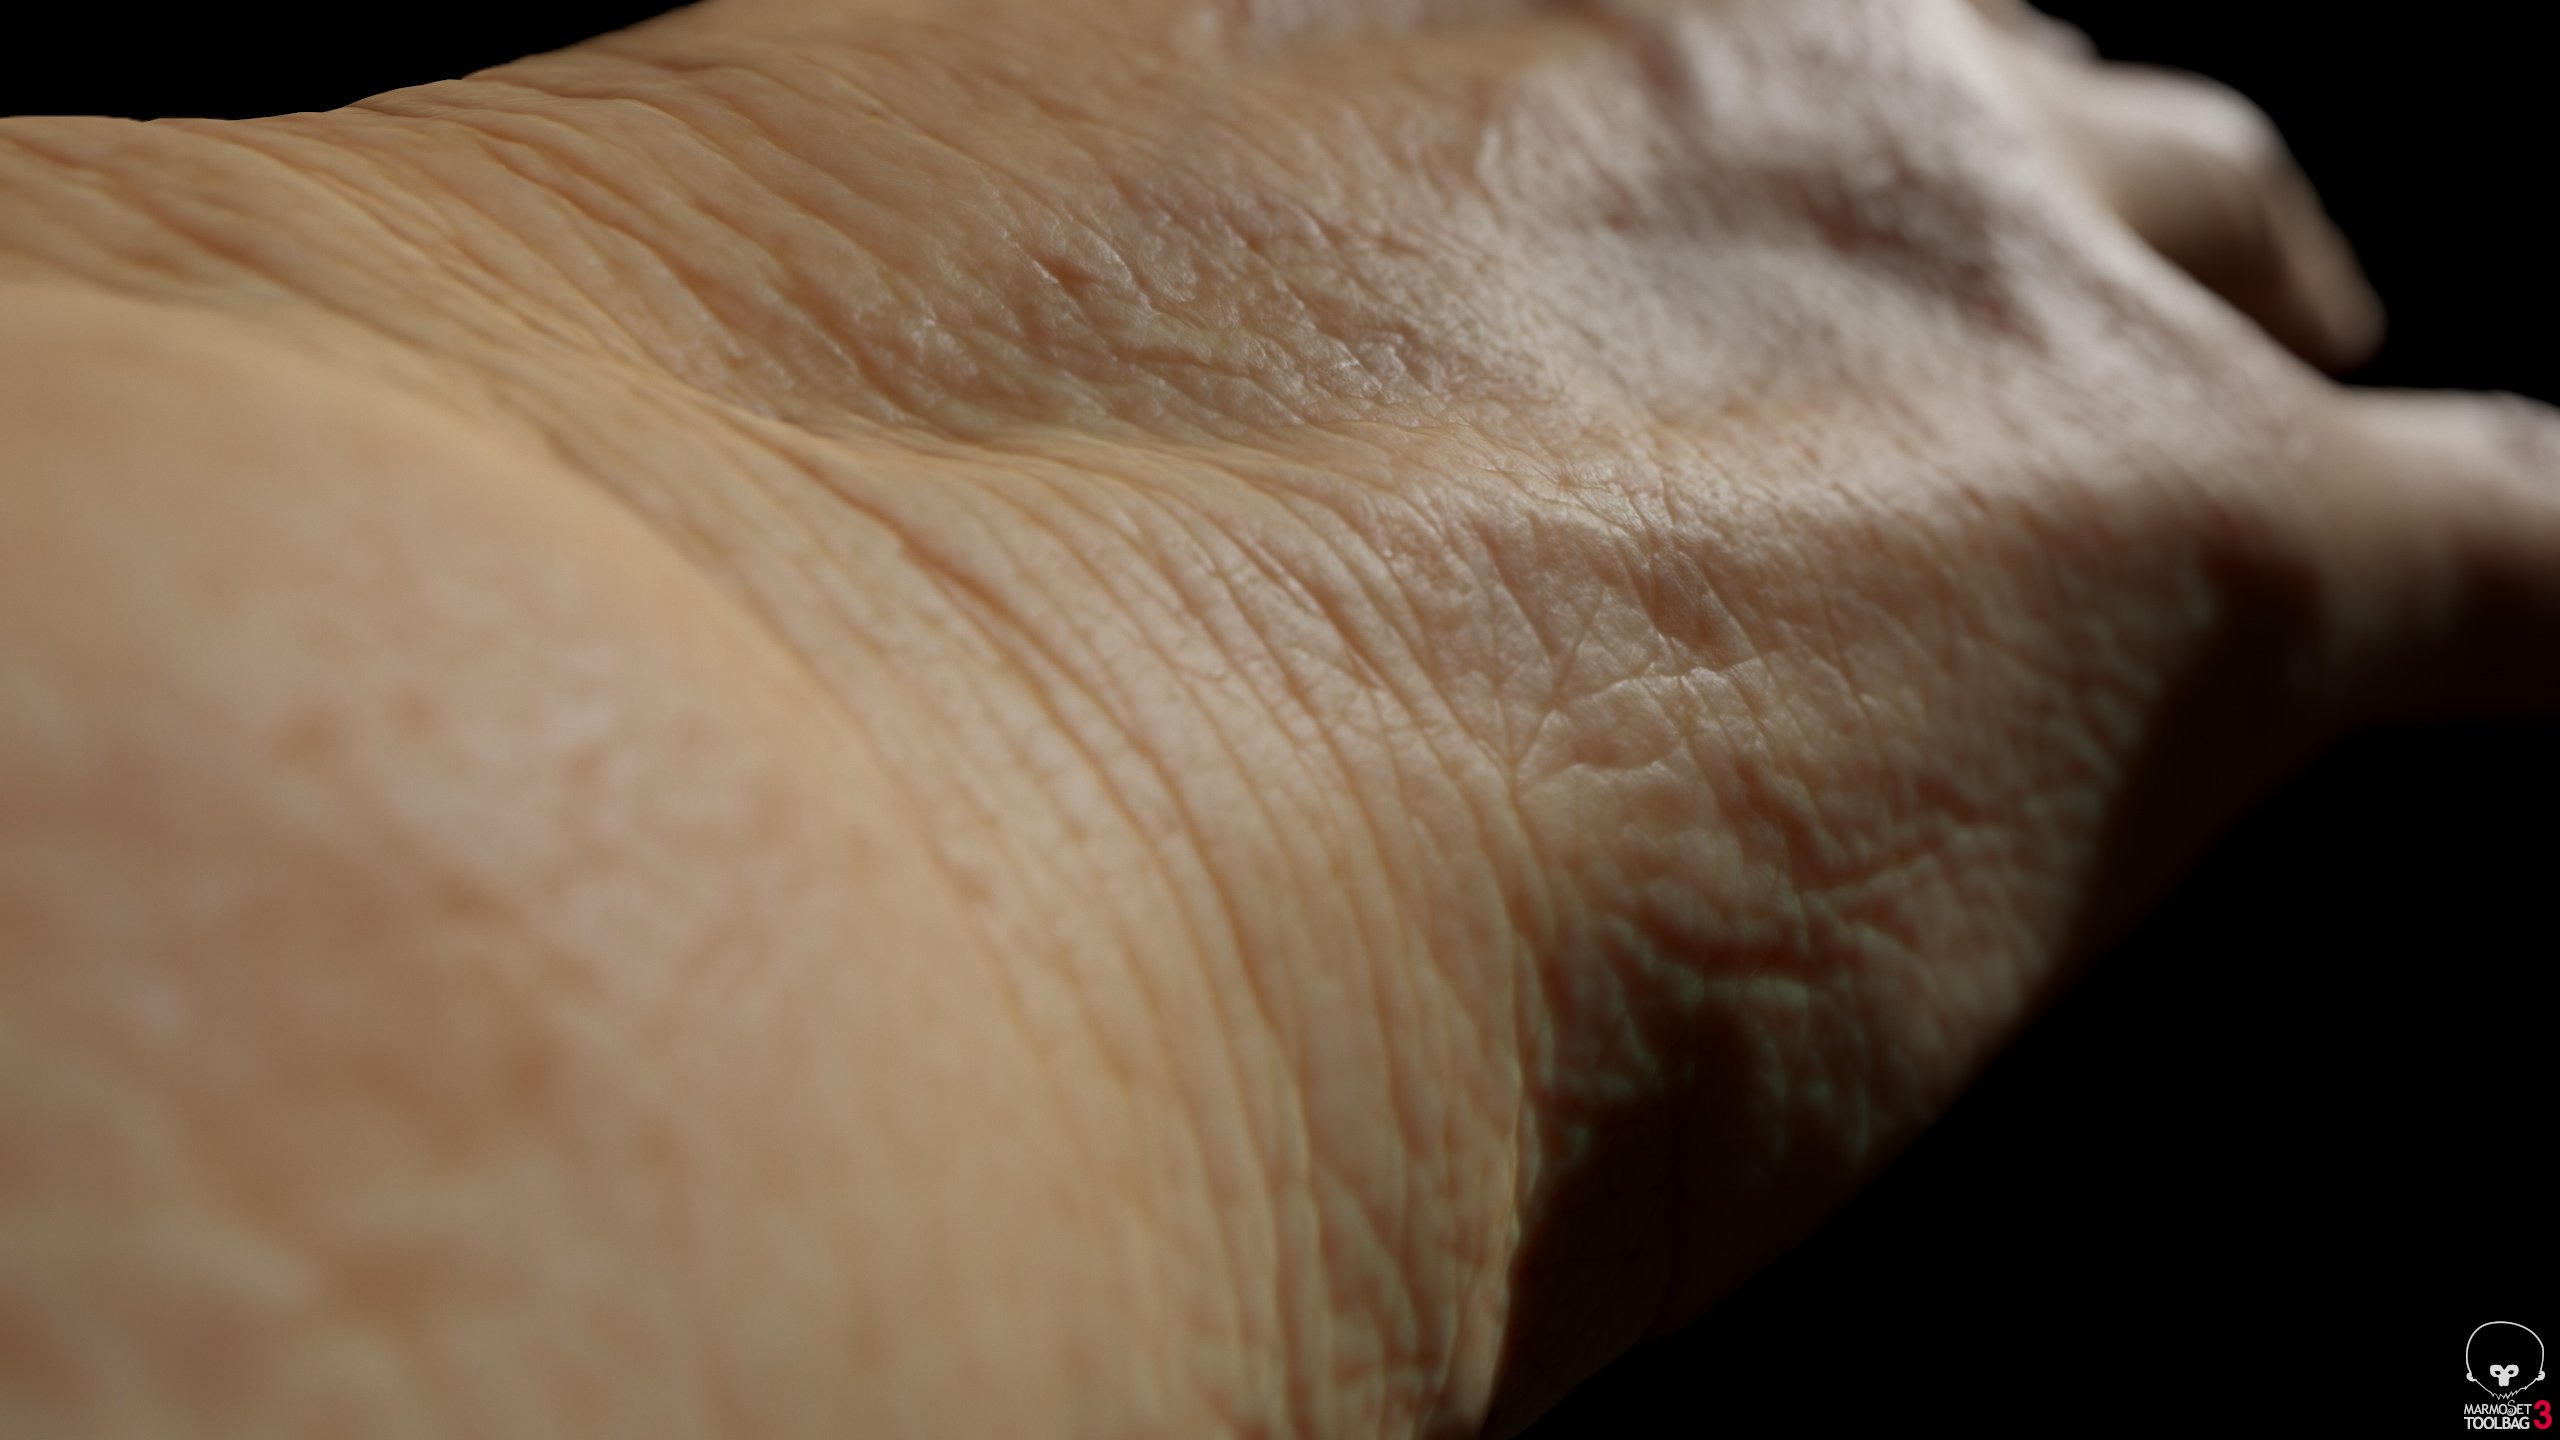
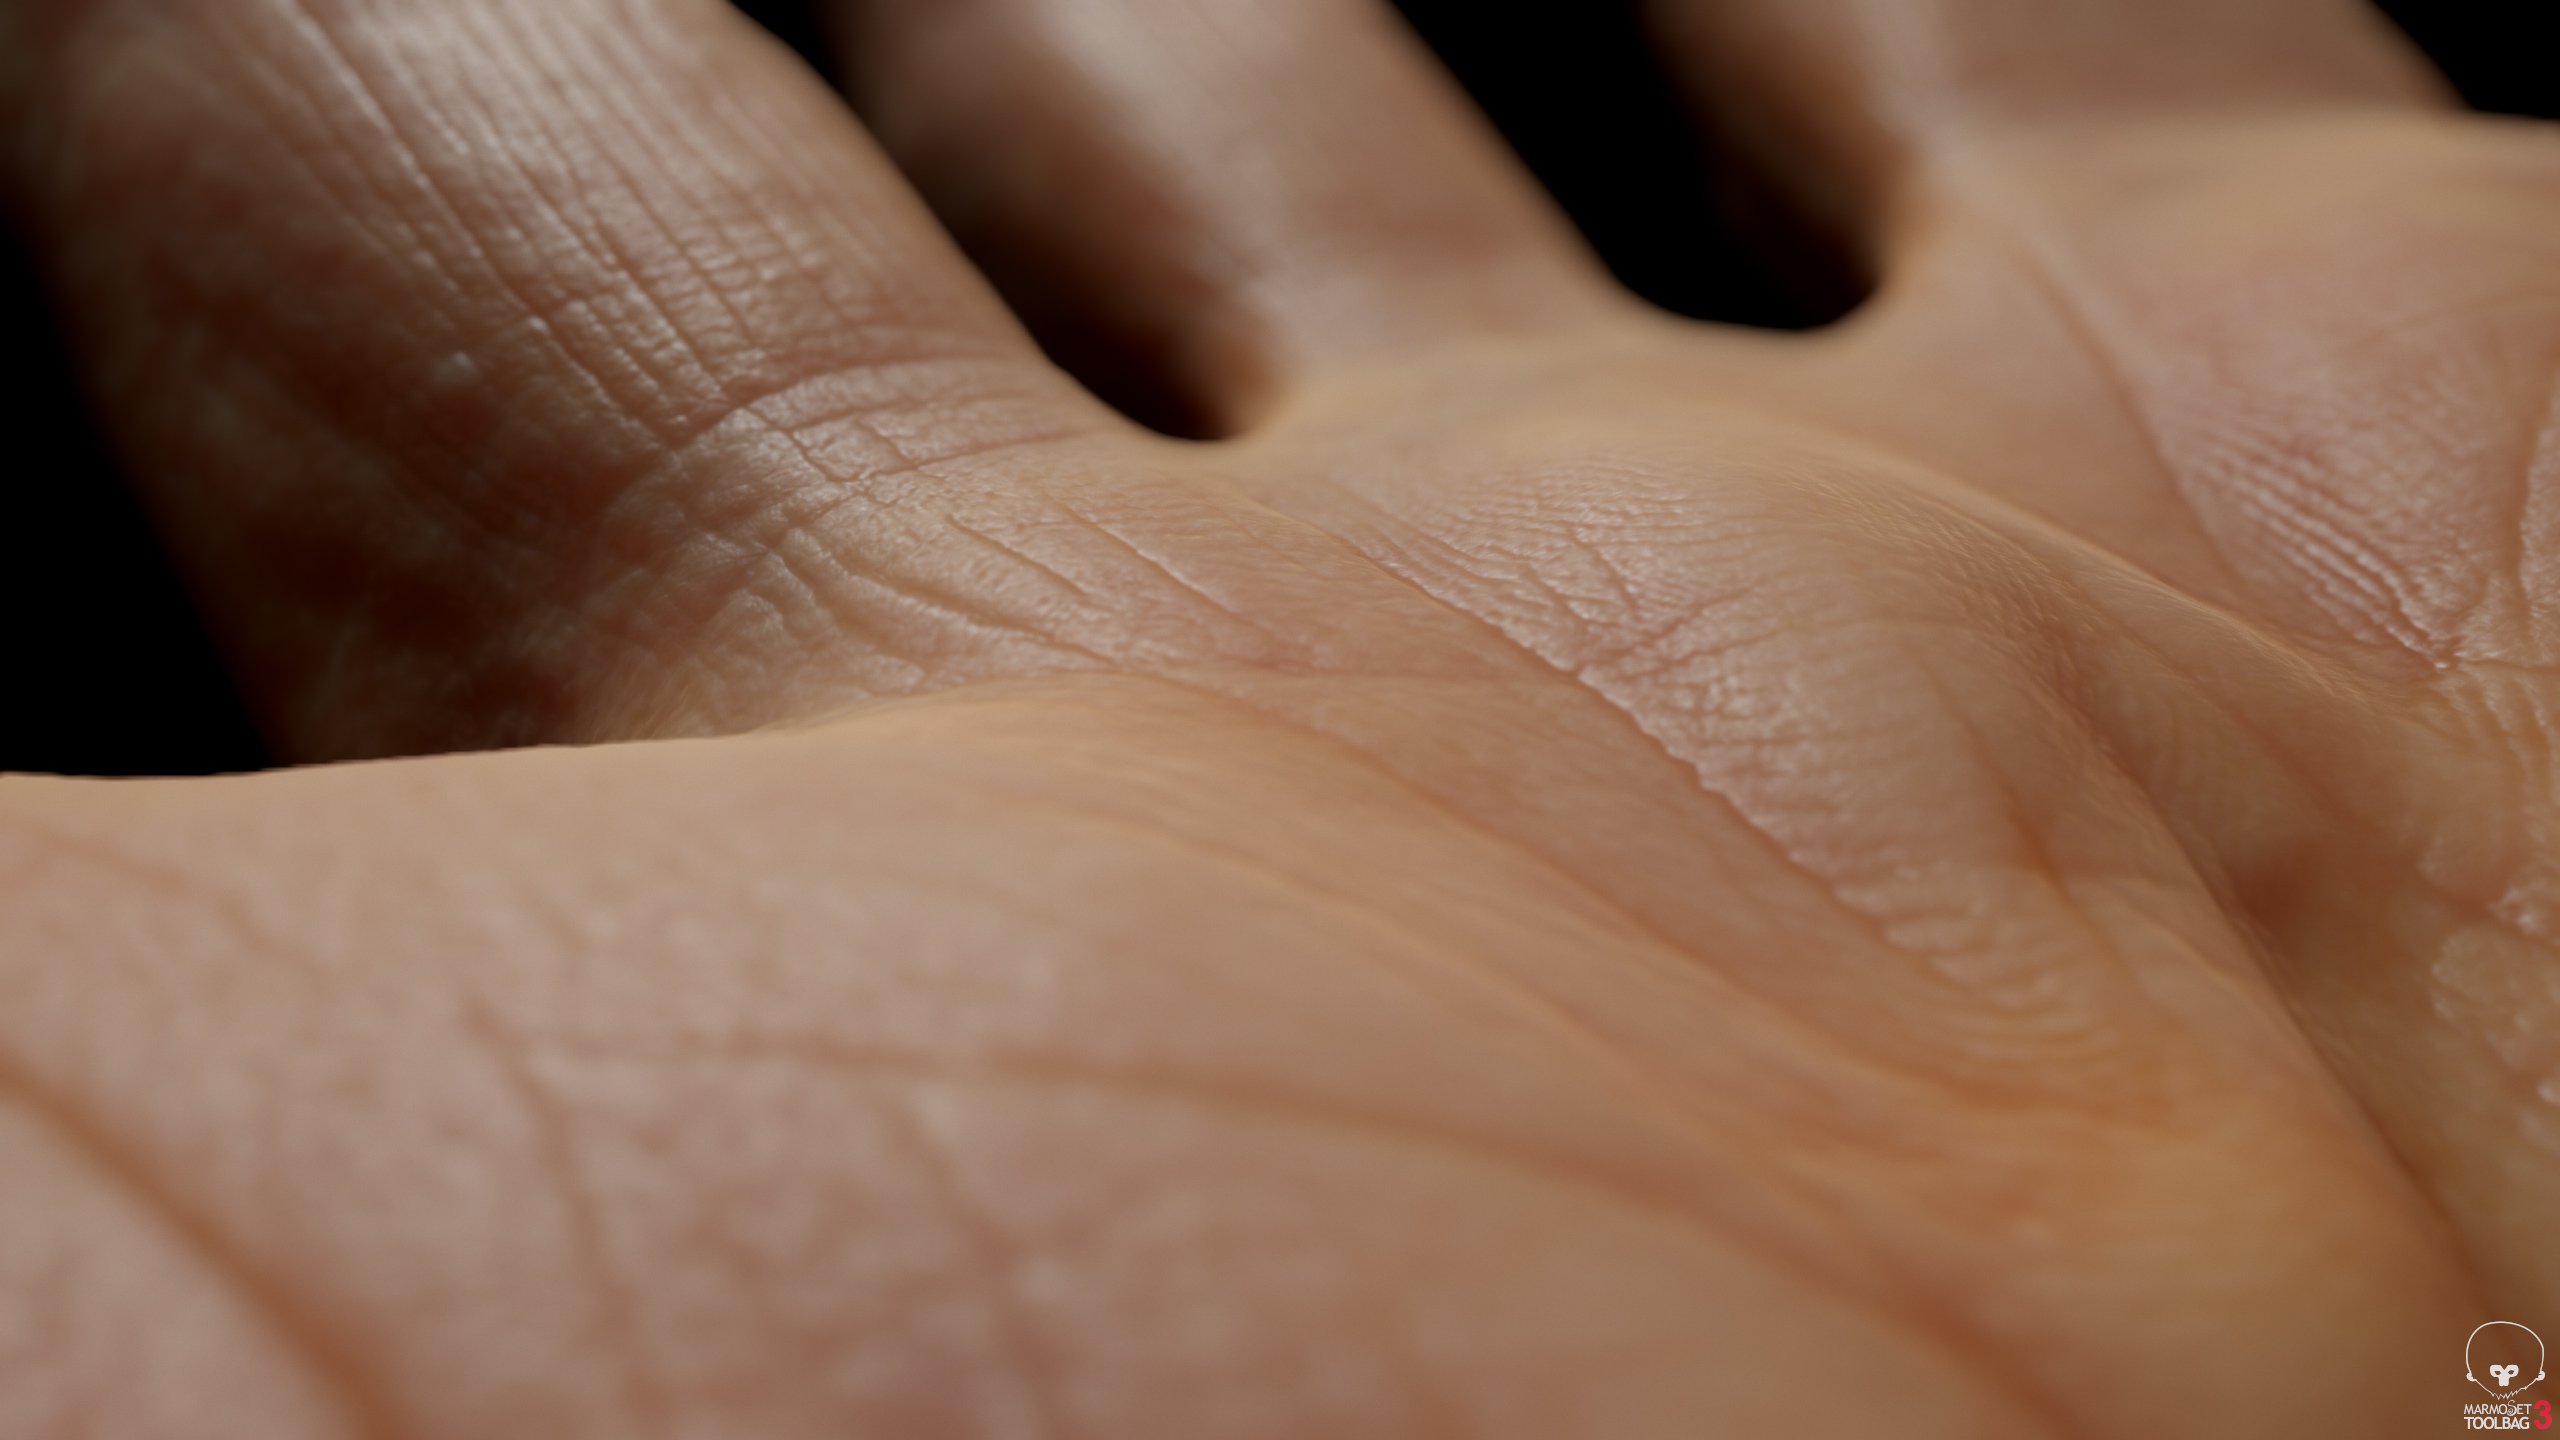
Male 3D Hand Model / White 60 Years Old
No HDR
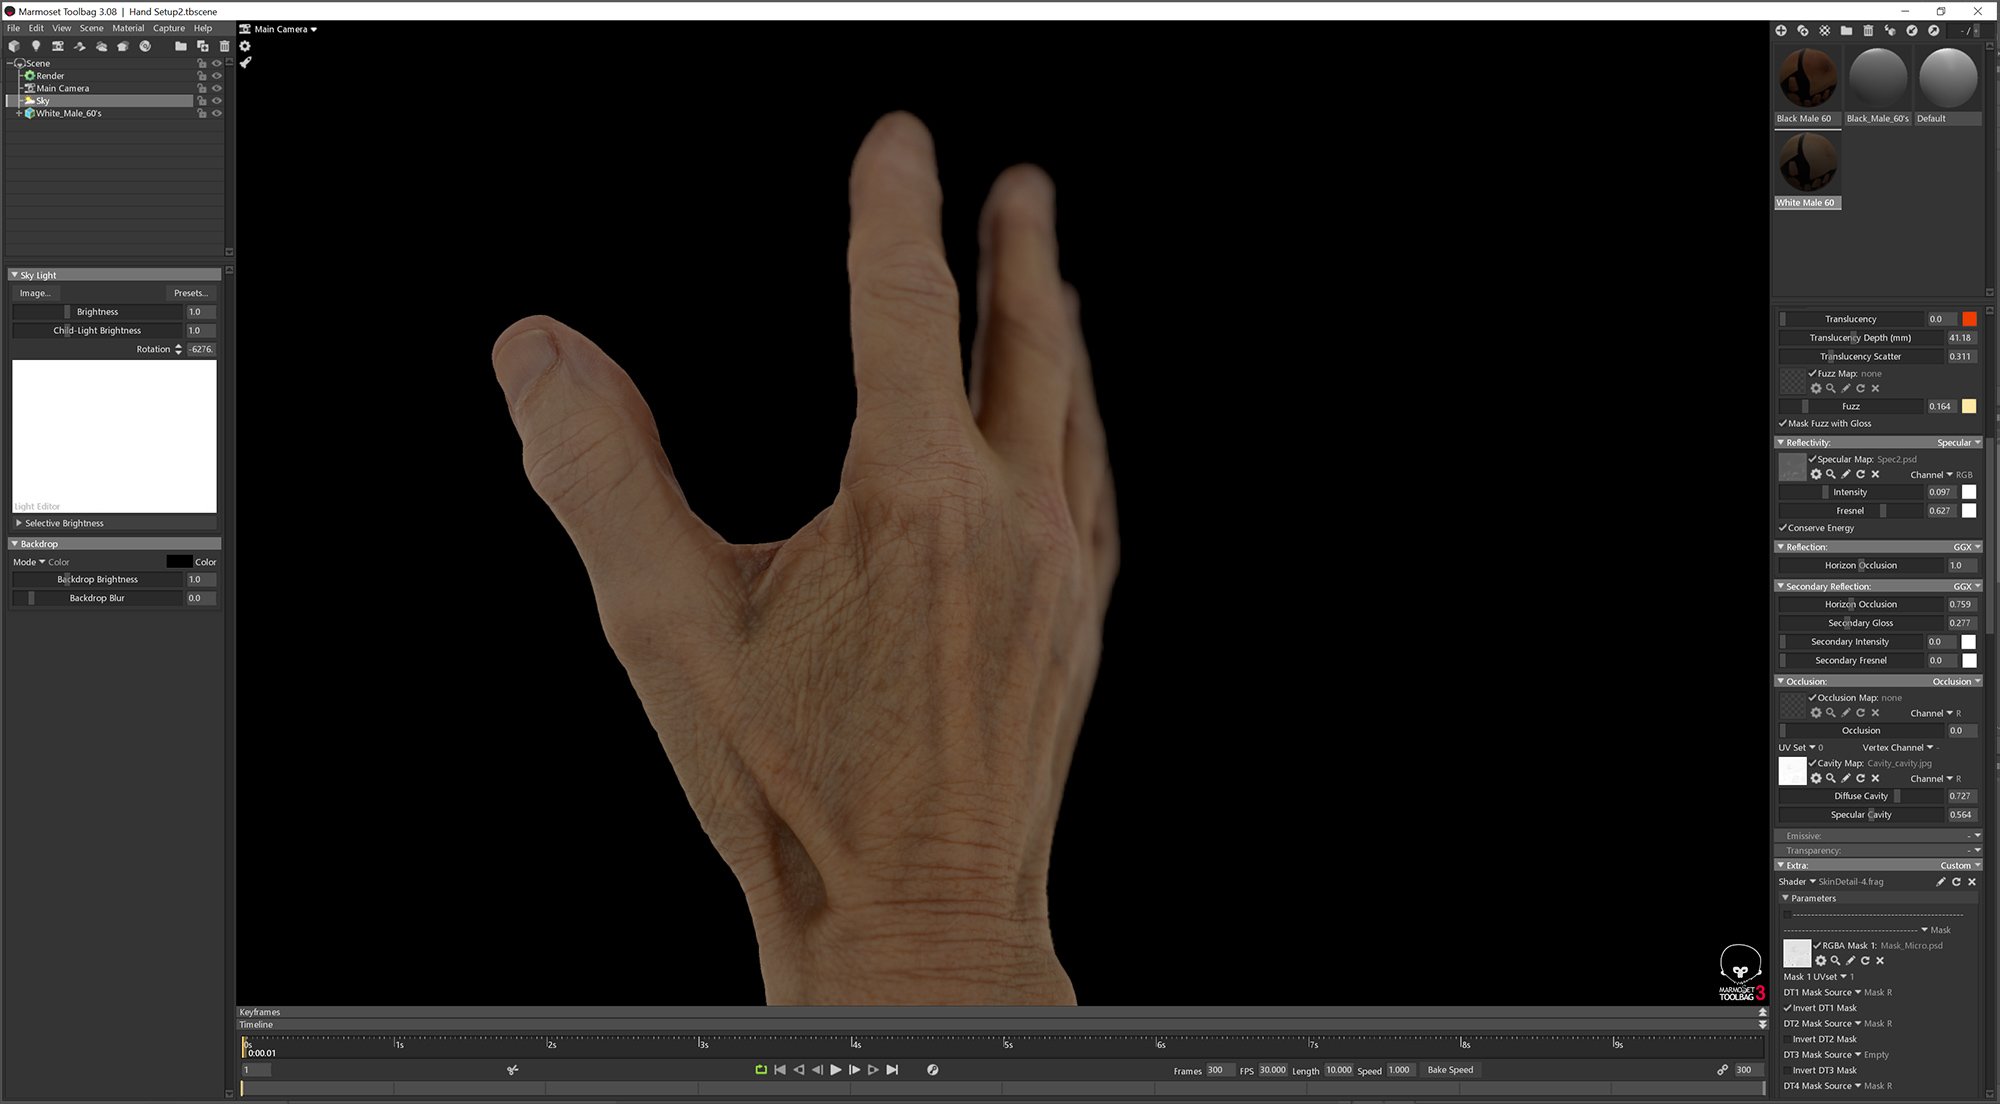
First thing's first, we're not going to use an HDR, they look great but in this situation we want to be able to easily control the lighting and HDR's can often produce unwanted reflections and highlights. So the first thing we're going to do is make a white 512 x 512 image in Photoshop to serve as our background HDR in marmoset. There's no need to save this as an .HDR a .JPG will work just fine.

Now click on the sky tab and set you new white image as the background as shown in the image below, you will end up with a very flatly lit scene with the white image providing all the light, it will look horrible but dont worry.
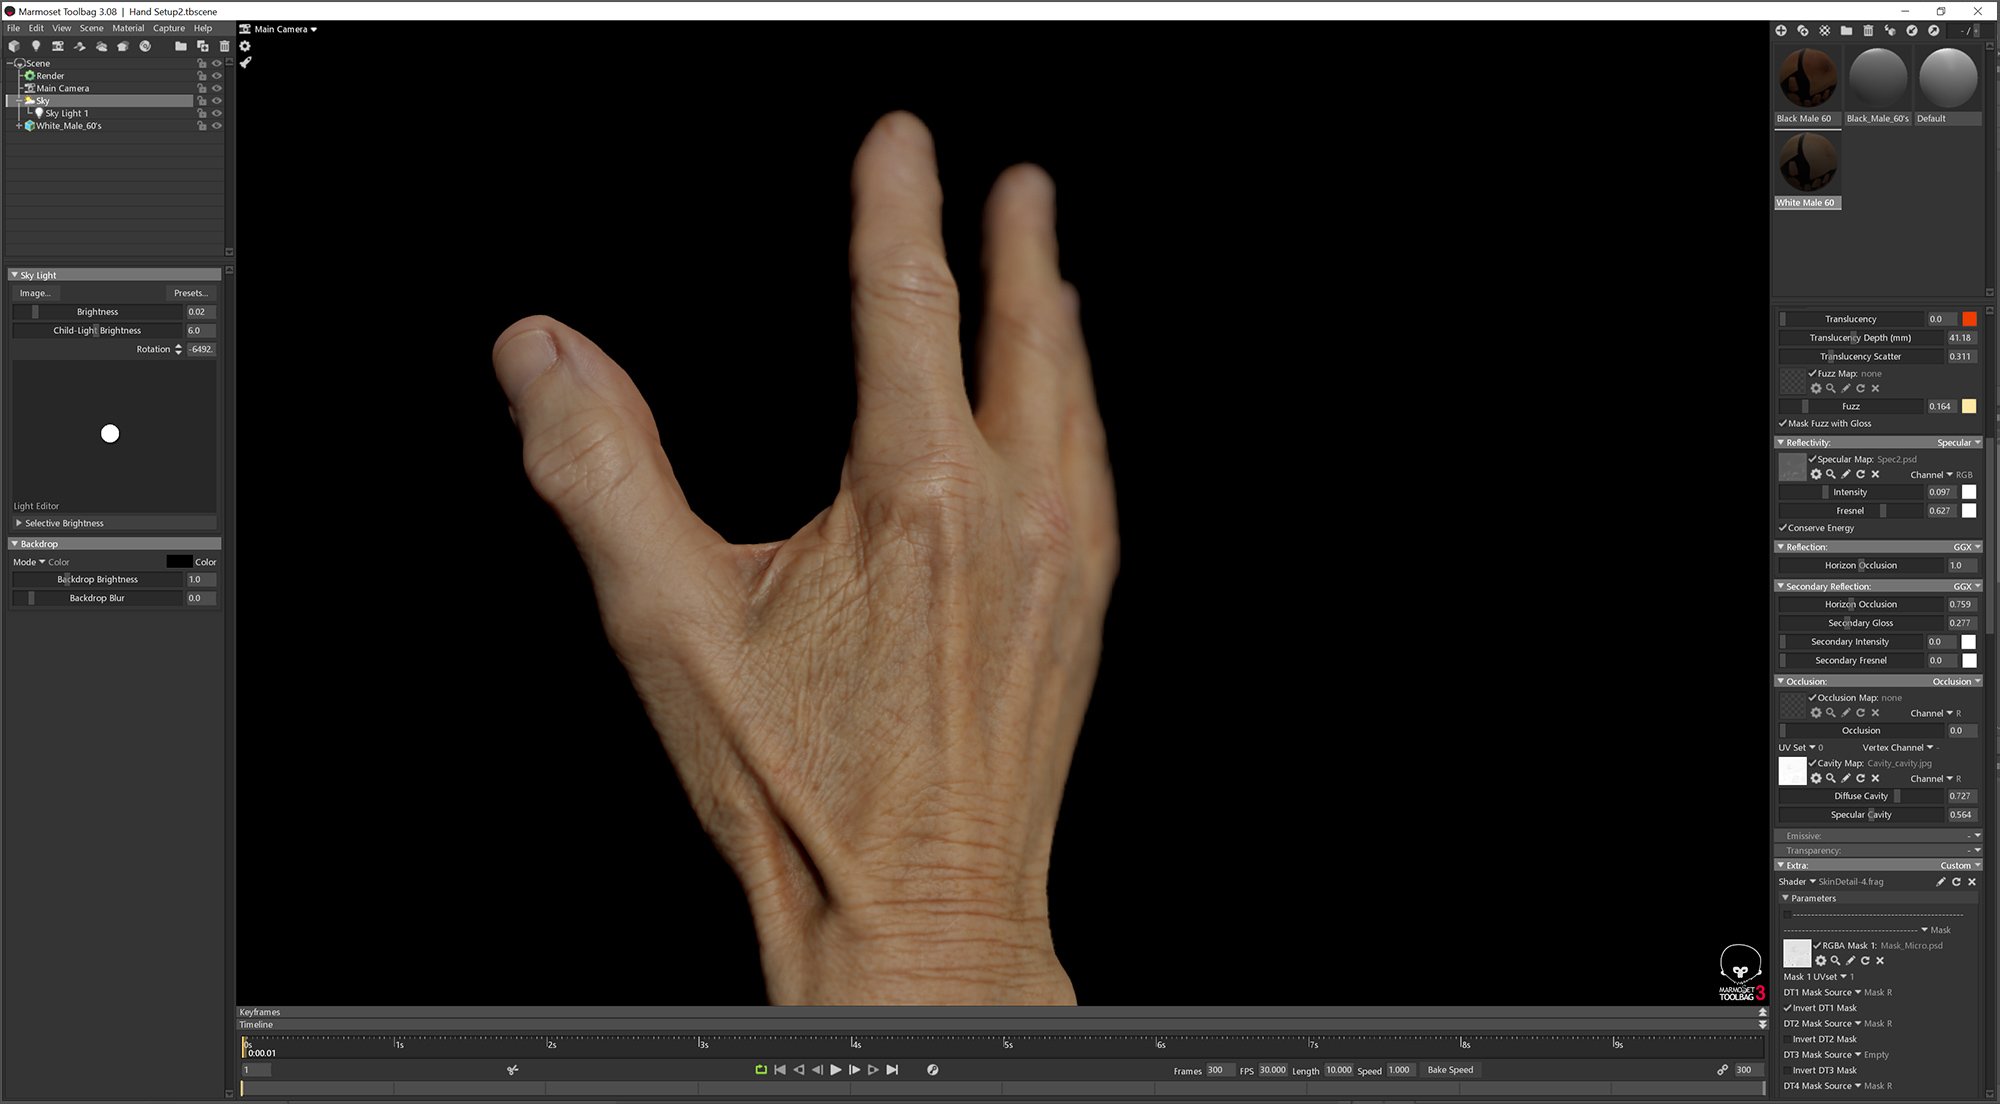
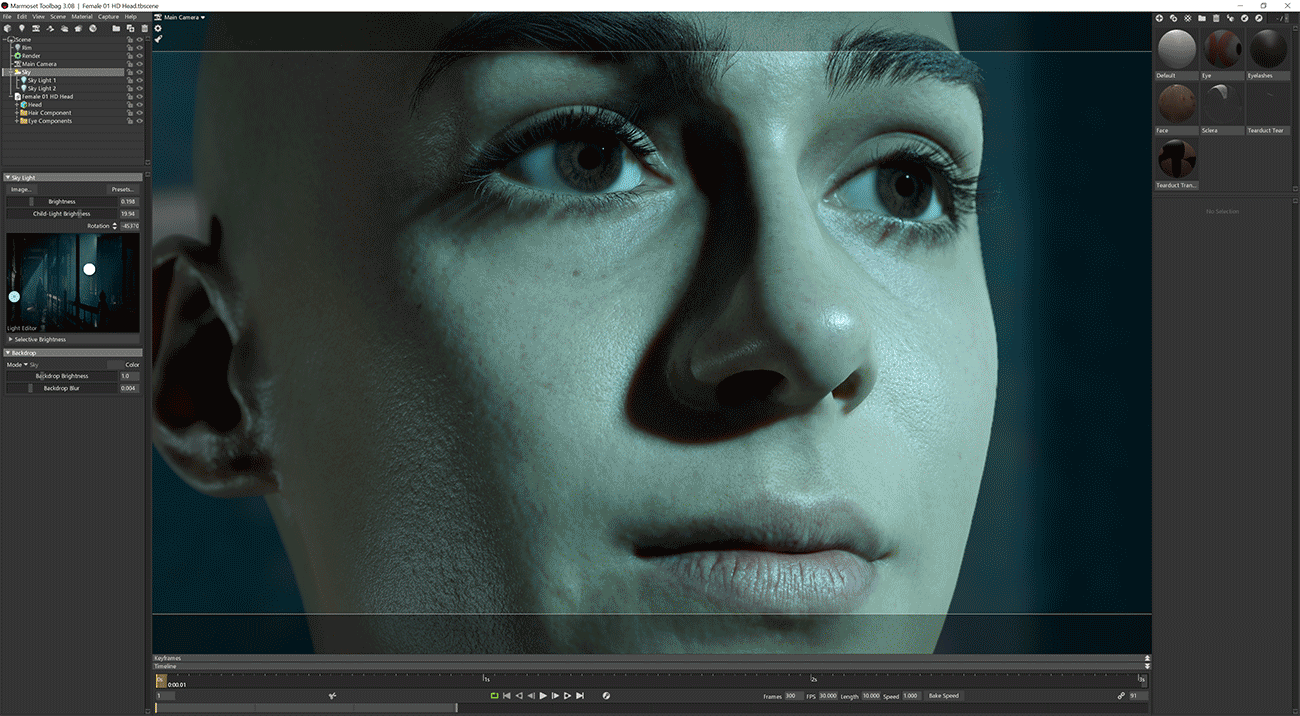
Next we want to turn the brightness of the background all the way down to 0.02 and click anywhere on the image to add a light, and ramp the Child-Light-Brightness up to 6 and hey presto! you will have a super simple lighting scene as shown below.
The beauty of this scene is that you can now control the light in multiple ways, you can use the normal Shift + LMB to rotate the sky light and also the light or you can click and drag the light position to anywhere you like in the sky image box. This is probably best explained with a video.
Here's video to show this process and the end results.
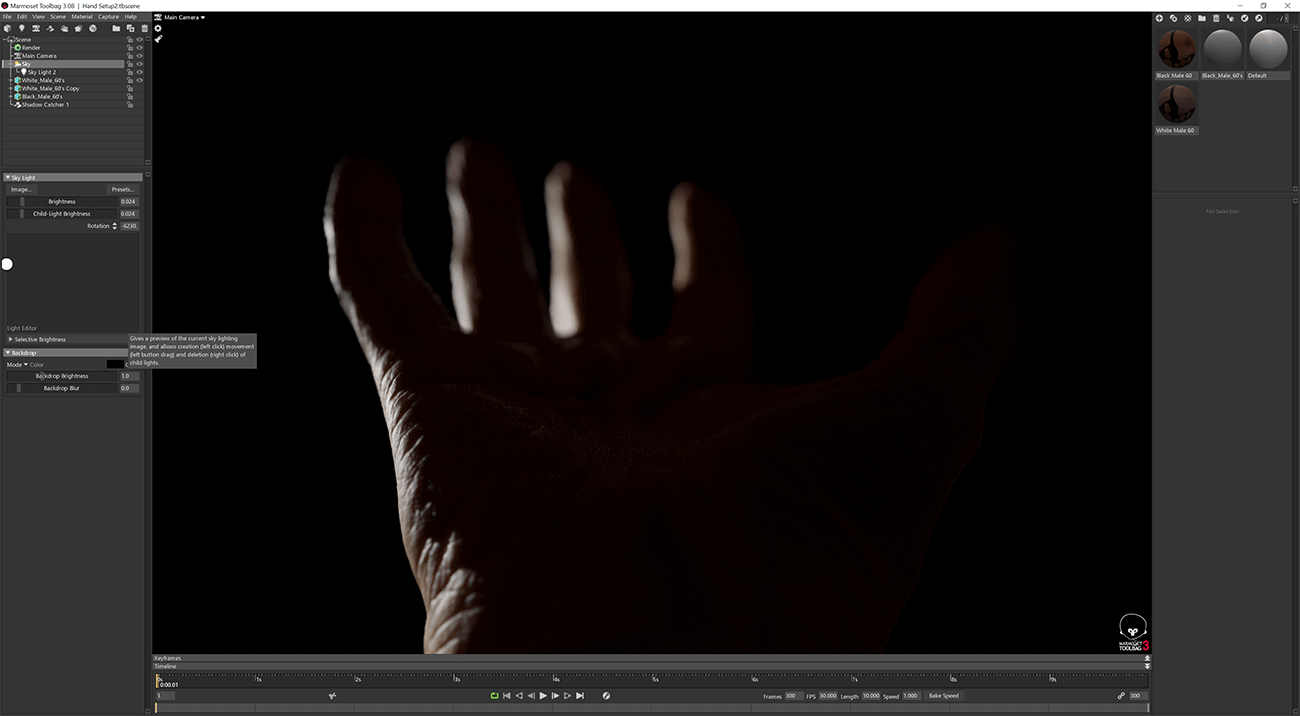
Adding multiple lights is simply a case of clicking and dragging them into position on the image box to create any lighting condition you want.
You can experiment a bit and load in some crazy images from the web, its quite fun to see what sort of results you can get loading various images into the background image.
It's also really simple to load an image from a movie or set that you like the look of and use that along with a few lights to create some interesting lighting conditions as shown in the example below.
I'm sure this is already a widely used technique but I'm using it for a lot of renders these days and it's such a quick and easy way to light model in marmoset I thought a short article might be helpful for people who have never used it before. If you have any comments or questions please feel free to put them in the comments box below.
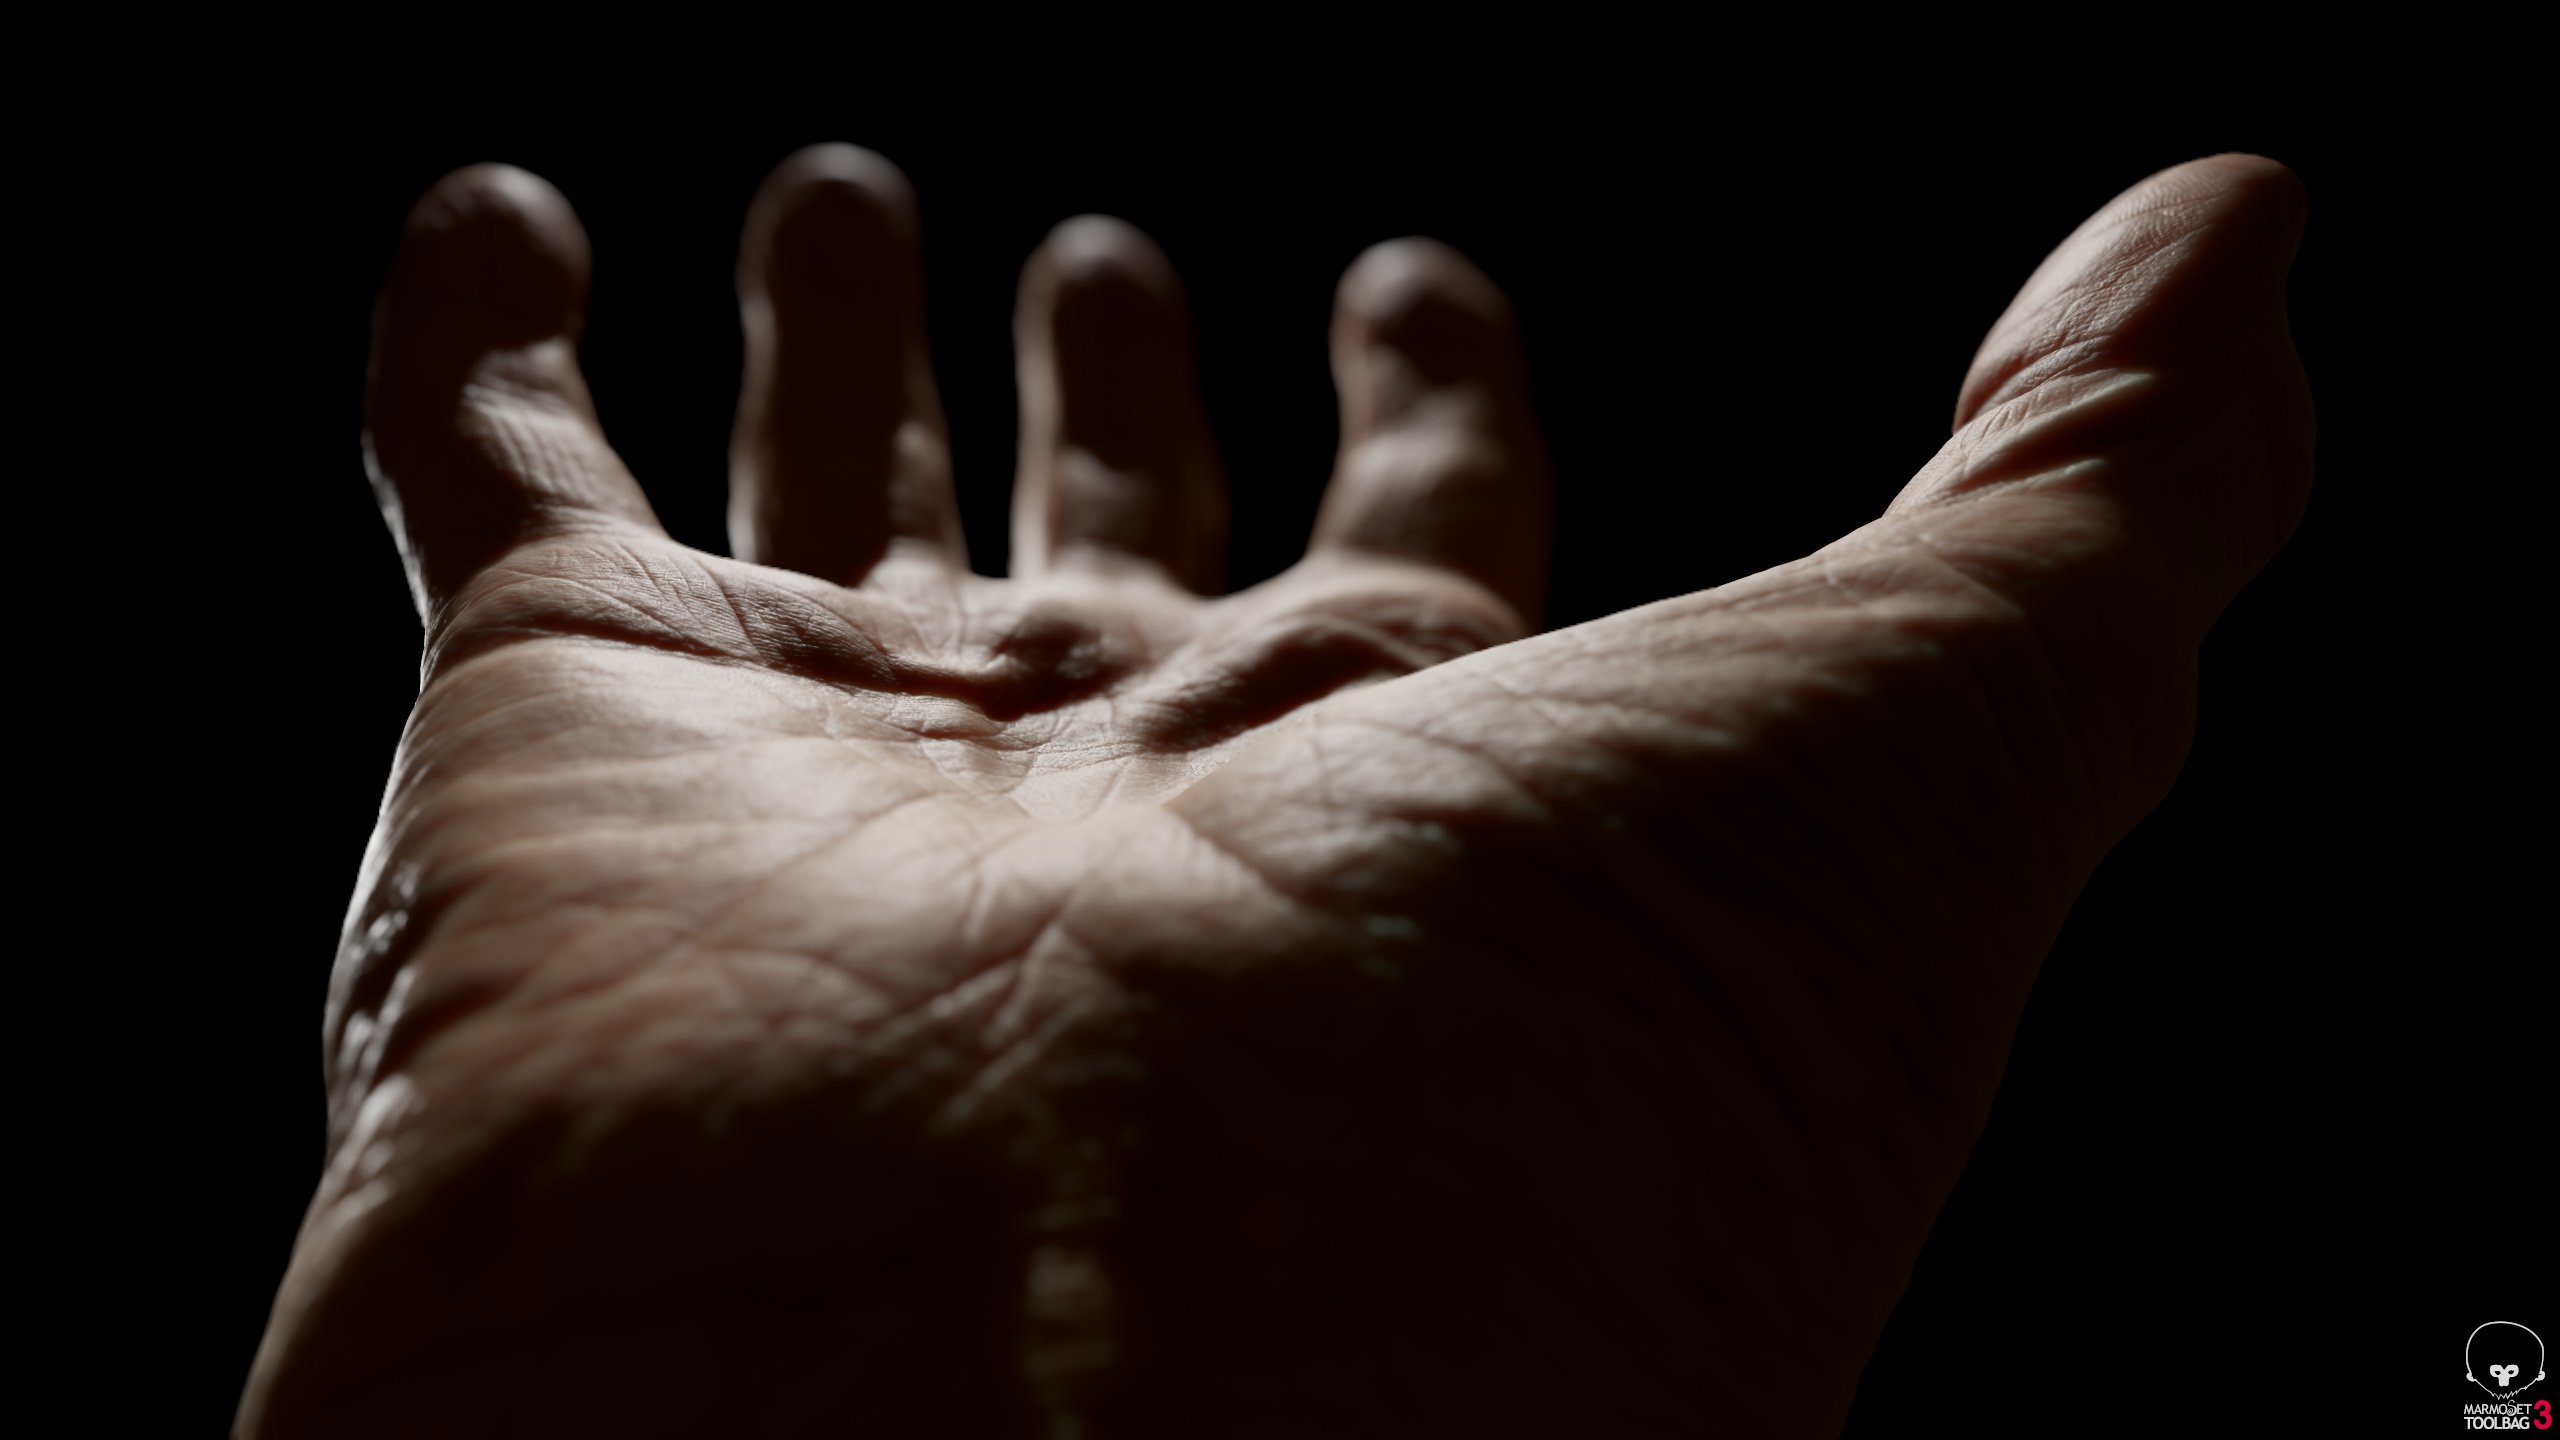
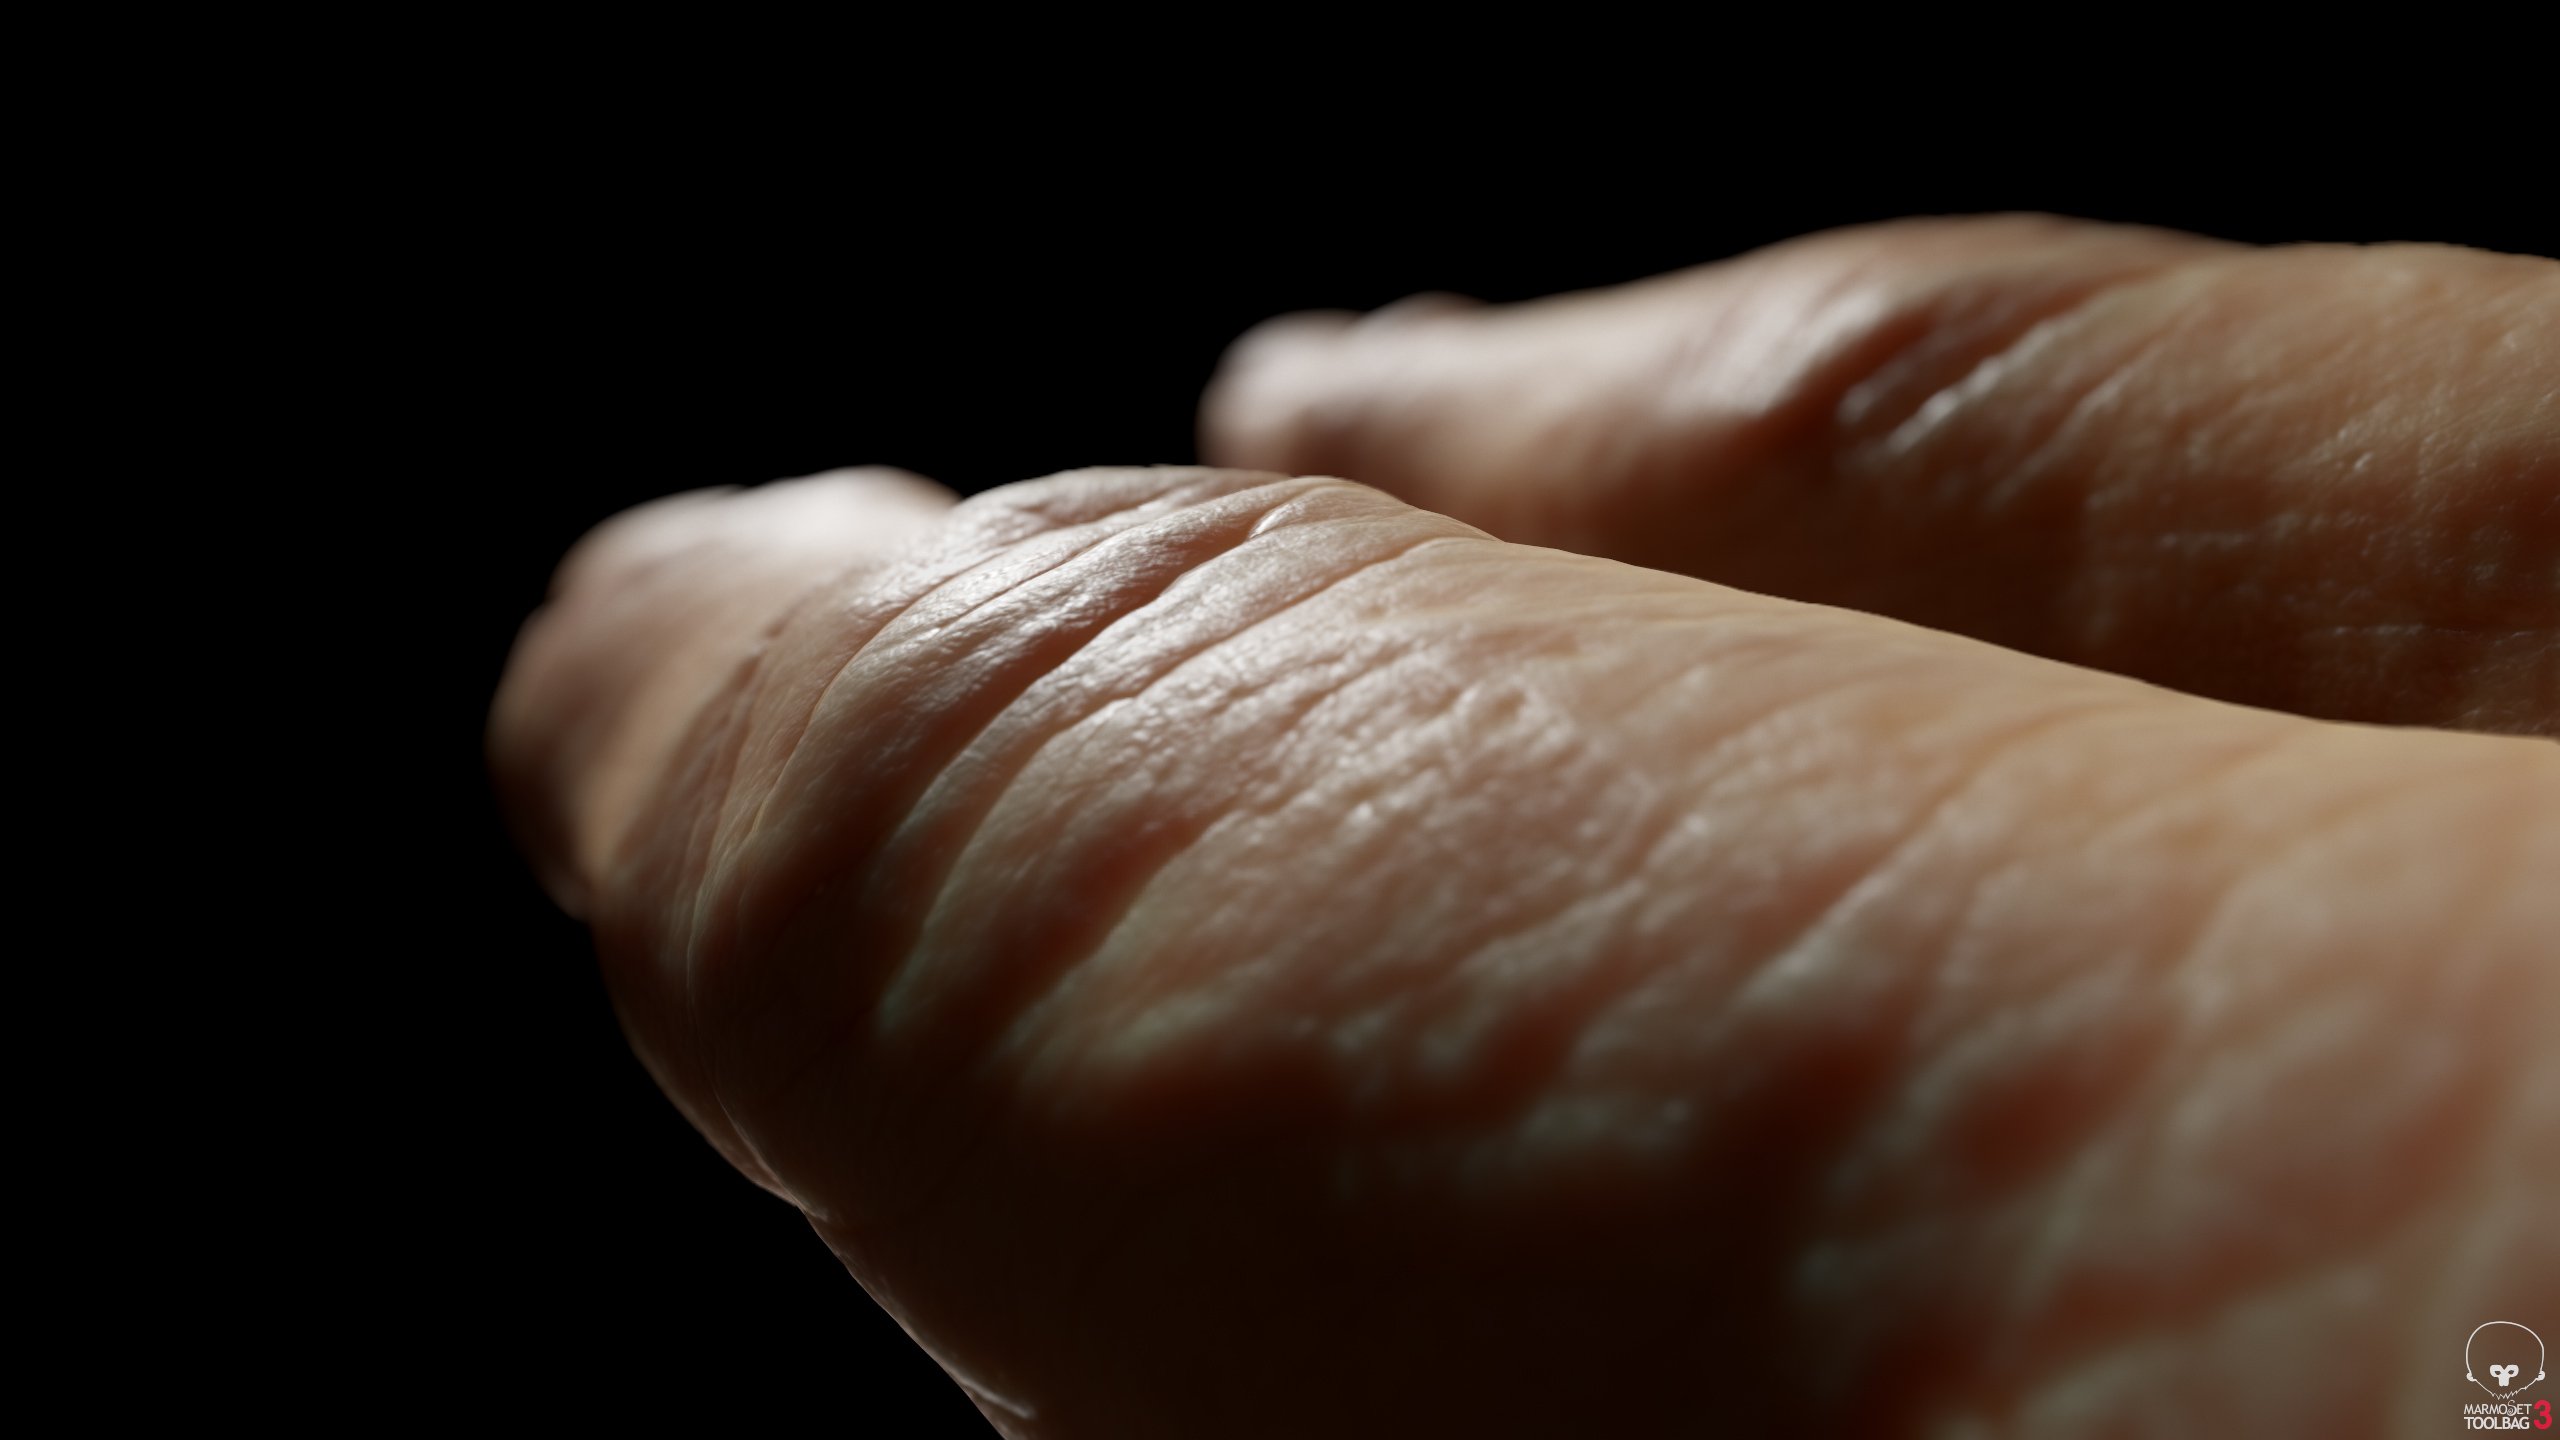
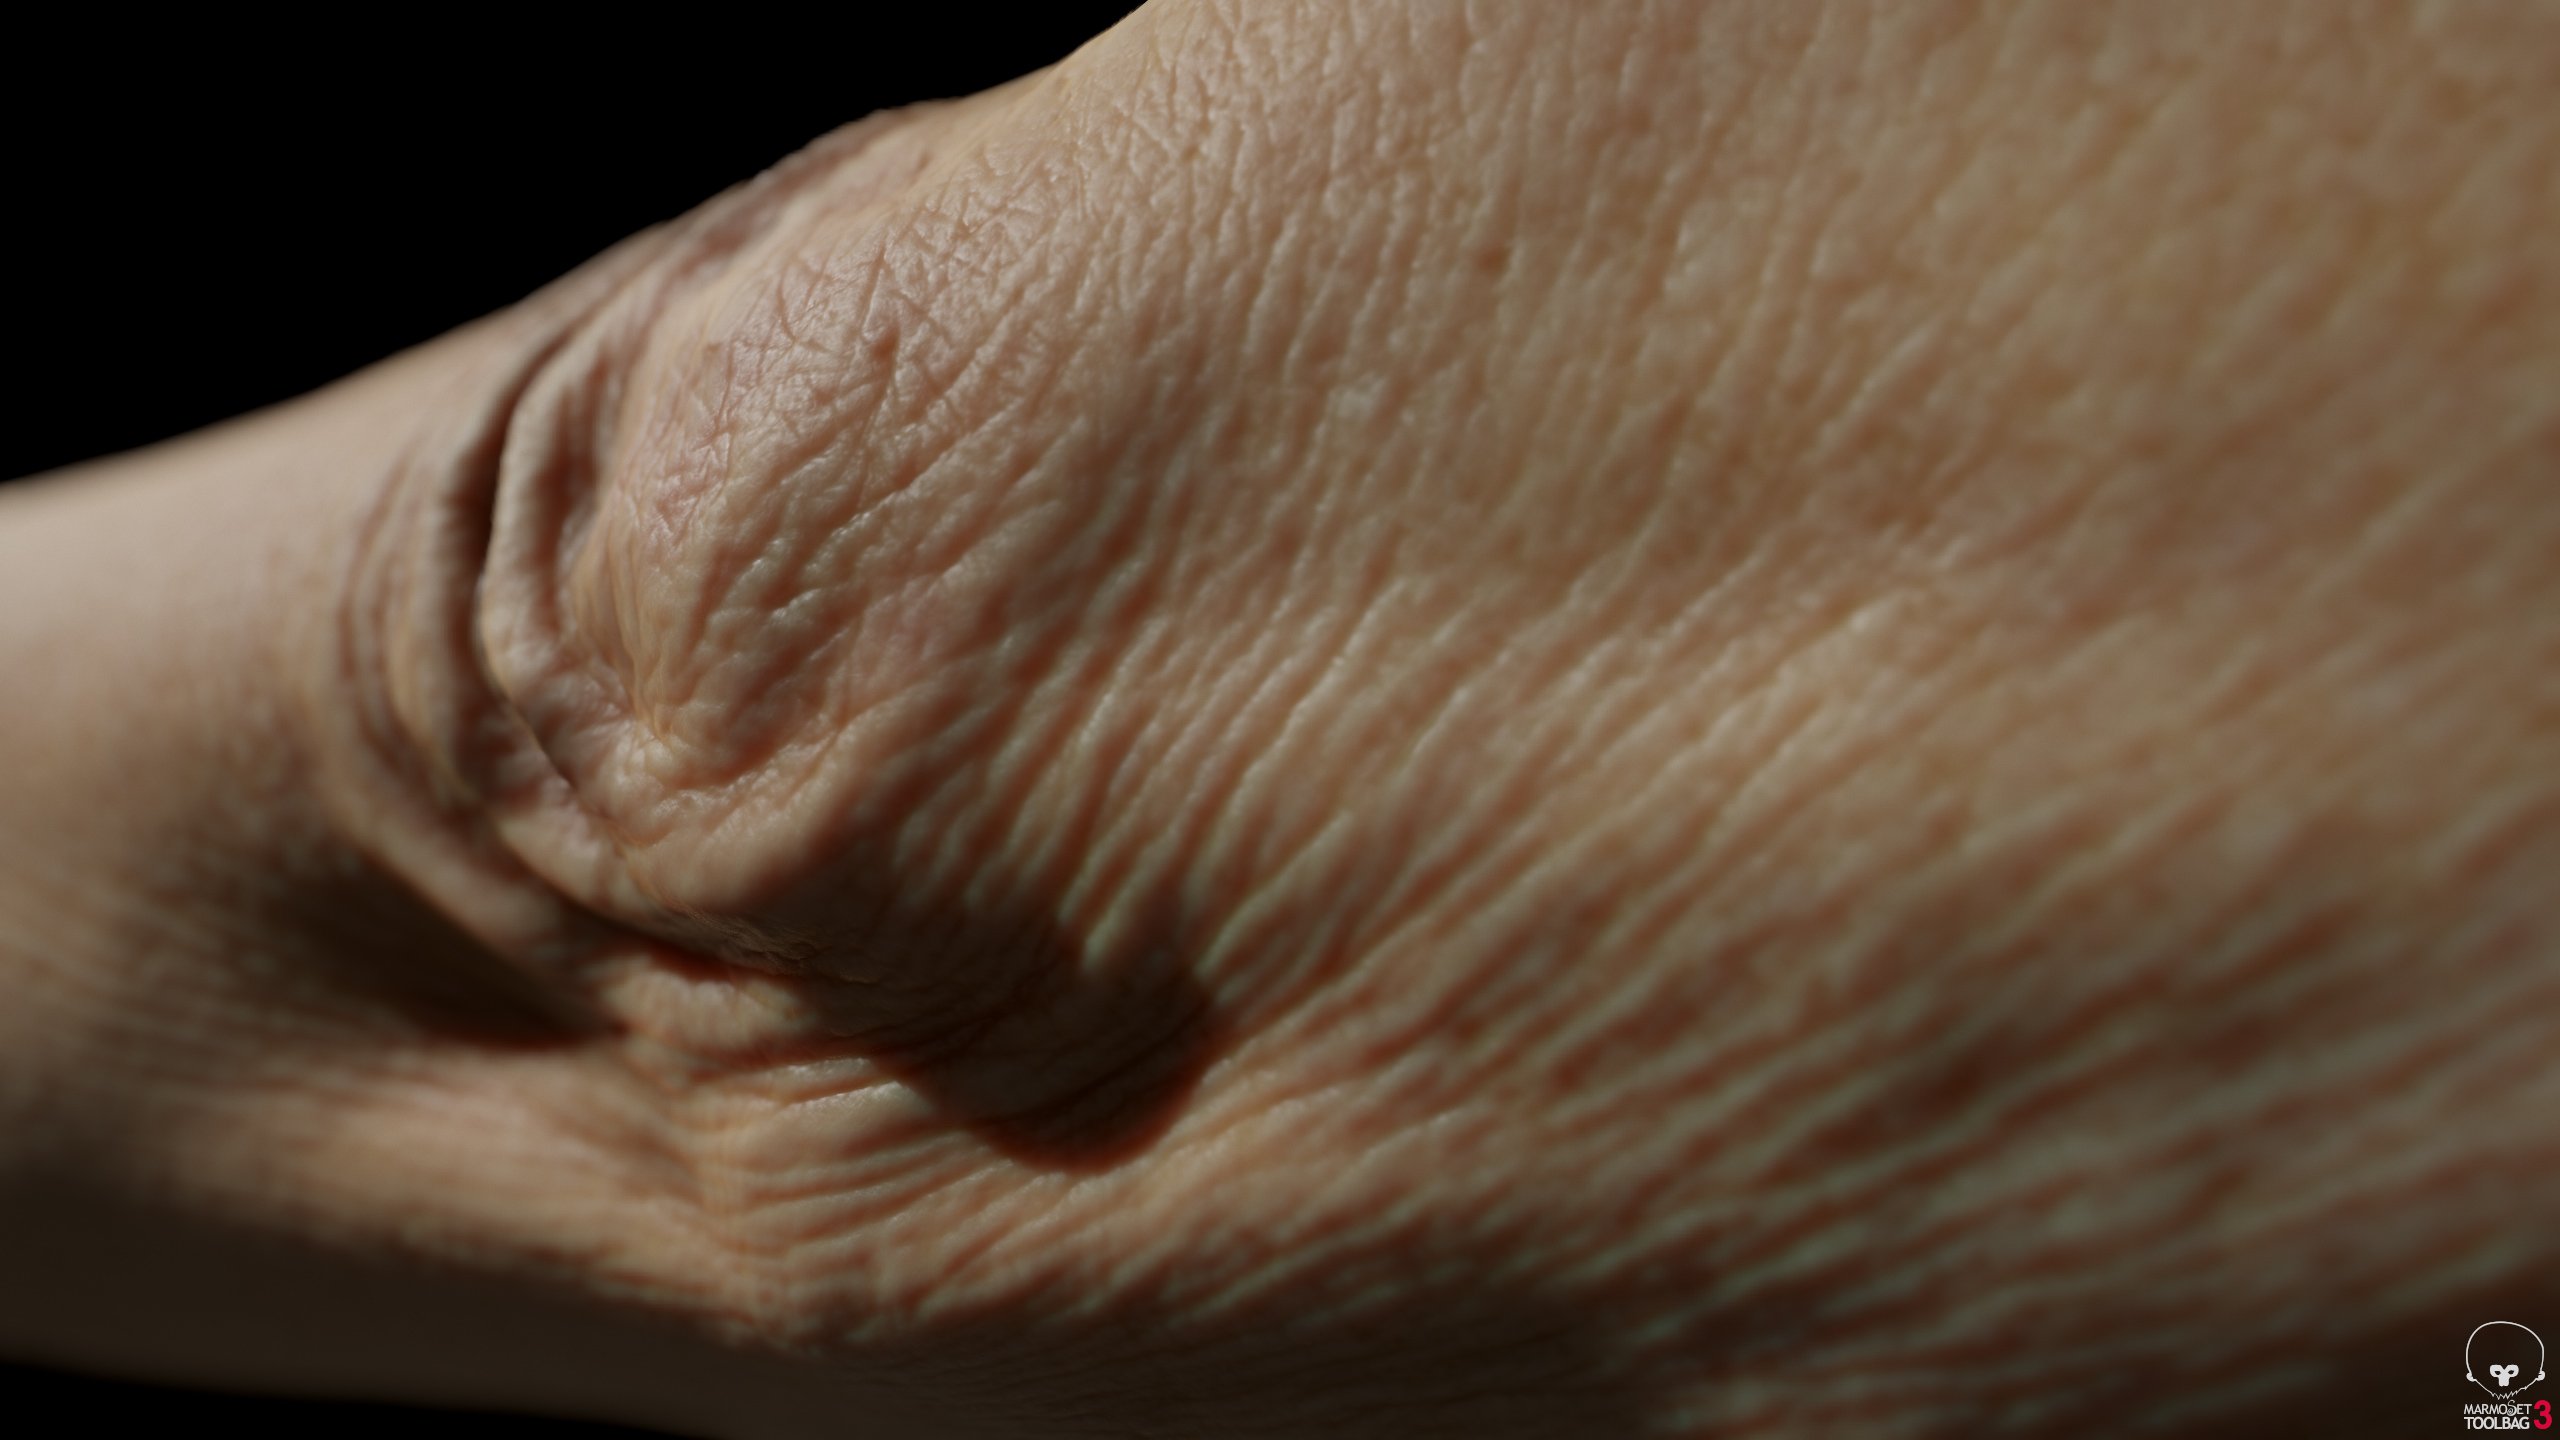
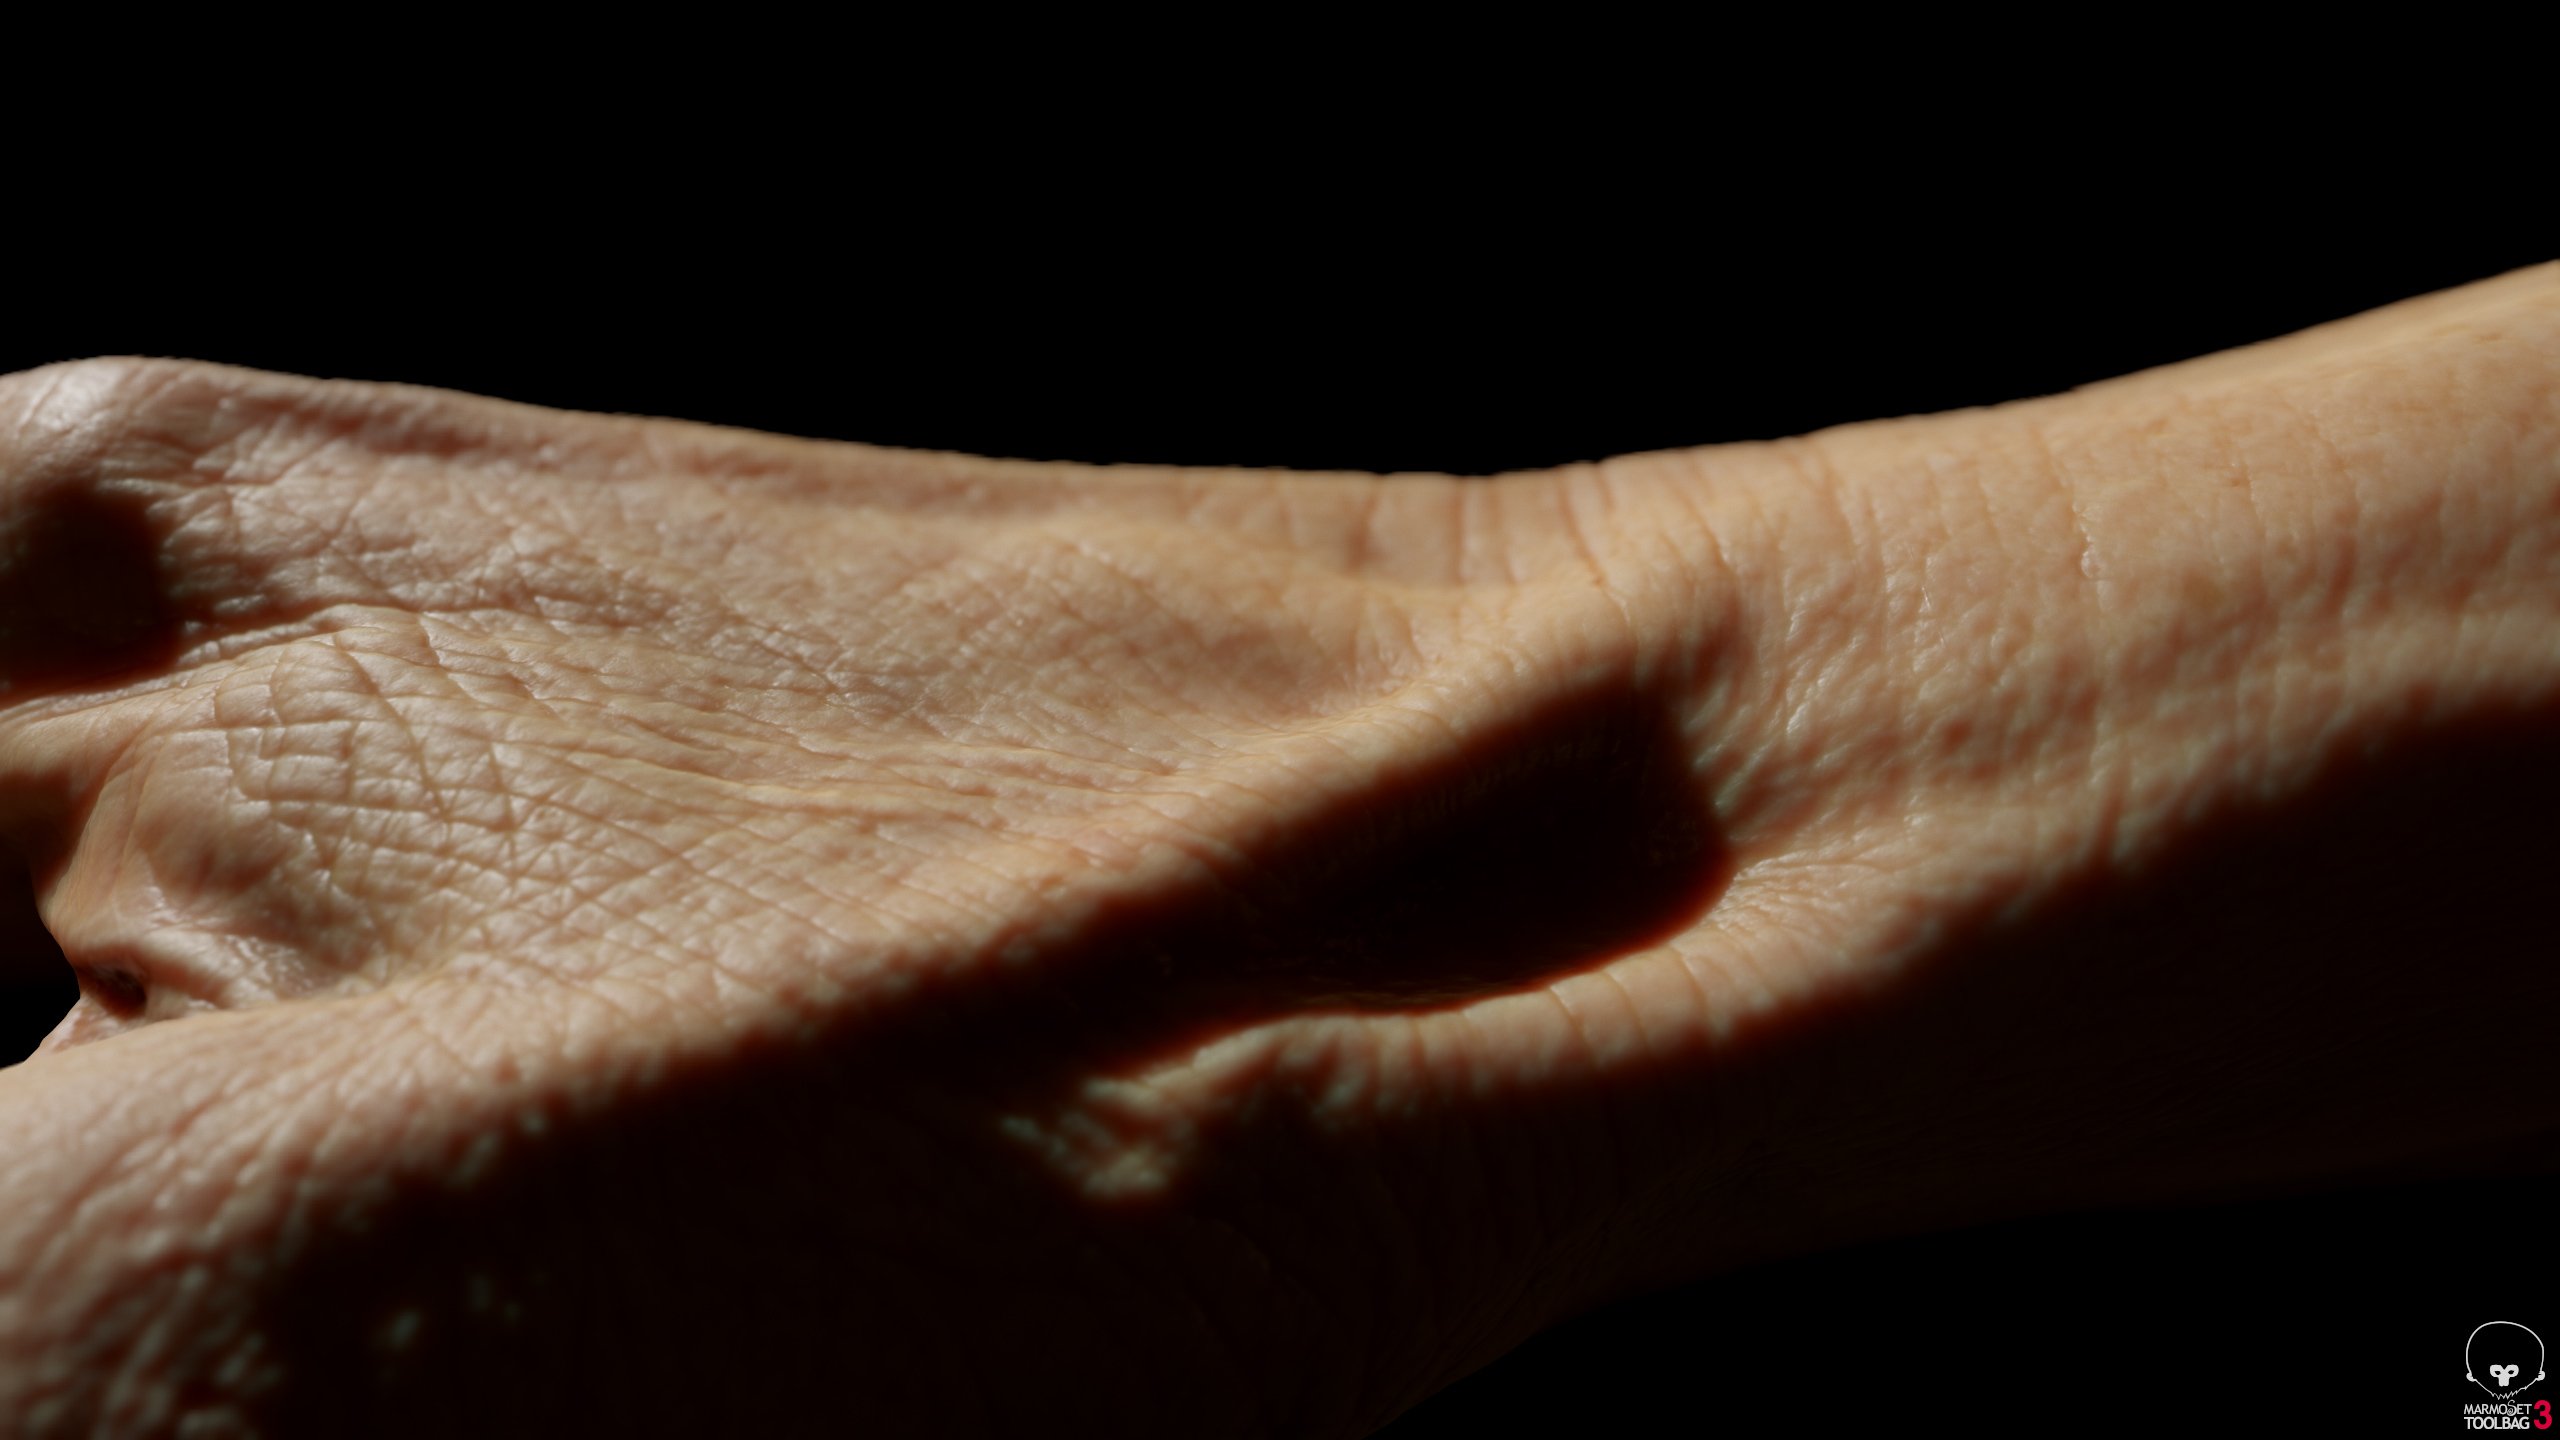
Renders
Some more renders created using the above technique